|
[
HOME
]
|
|
Model Information
|
|
|
|
VW Service
|
|
|
|
Winnebago Service
|
|
|
|
Tours & Pictures
|
|
|
|
►
Related
Links
|
| |
Granite Countertop Replacement
The old Formica countertop was starting to delaminate, so we replaced it
with granite. Started to use generic “Corian®”,
but were told we had to buy a half-sheet. That’s 16 square feet, when we only
had 6.6 square feet to replace. So, it’s cheaper to use granite. Countertop
is so small, the extra weight is negligible.
Cost breakdown:
| $412.17 |
granite material and fabrication, sink mount, hole drill, etc |
| 25.00 |
hardwood lumber, estimate (was on hand) |
| 9.00 |
26 gauge sheet steel, Ace Hardware |
| 4.50 |
Silicone II, formulated for concrete & granite Home Depot |
| 5.00 |
Silicone II, Light gray Home Depot |
| $455.67 |
Total so far, because we’re having a cutting board made to fill sink |
Step 1
Remove stove, 4 screws visible under lift up top. Center 2 of 6
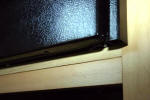
are dummies. Remove cover on gray water vent. Unscrew countertop and remove. |
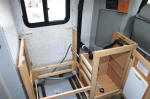 |
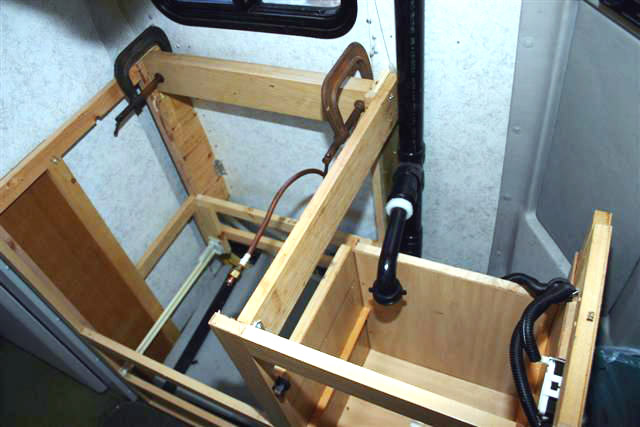
Step 2
Add hardwood bracing as shown, used 1 x 4 to right of oven, doubled 1
x 4’s at rear of oven. |
 |
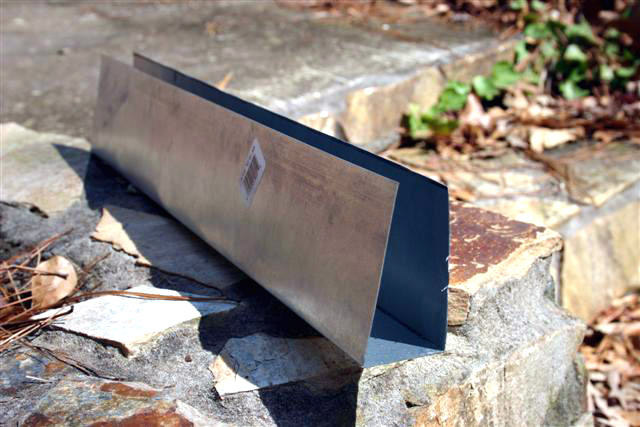
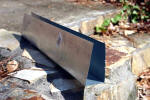
Step 3
Fabricate heat shield to protect doubled braces at rear, attach with screws. |
 |
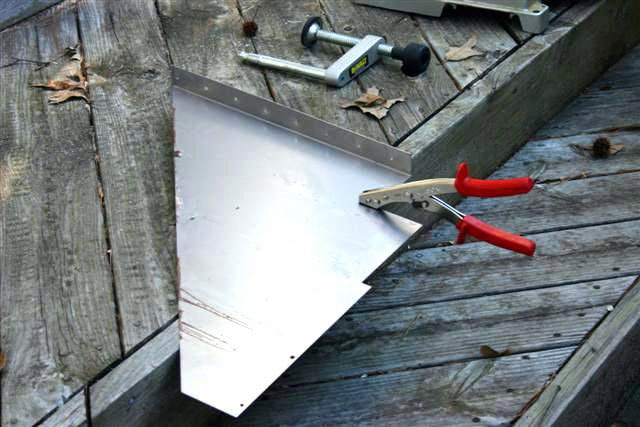
Step 4
Trim existing heat shields |
 |
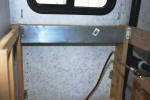
Step 5
Attach heat shield |
 |
Step 6
Take old countertop to granite fabricator for duplication in granite.
He will drill holes for fixtures, and under mount sink. |
NO
PIC
|
Step 7
Glue new granite countertop to wood cabinet. |
 |
Step 8
As granite is thicker than old countertop, trim vent cover to fit, attach
& caulk. |
NO
PIC
|
Step 9
Install oven and cut 1 x 4 to fill gap under oven. (granite is thicker,
which raises oven). Leak test gas connections with soapy water. |
 |
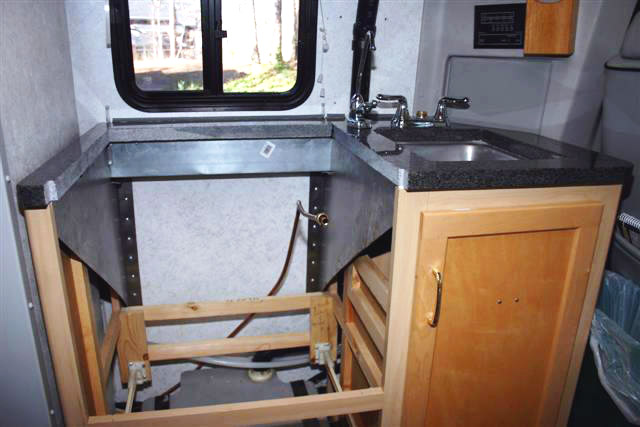
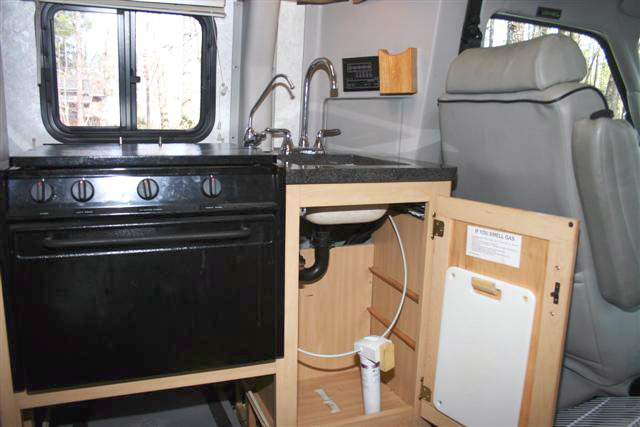
Step 8
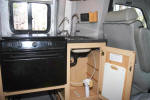
Reinstall fixtures and hook up all gas and water lines. Note - this picture
also shows the addition of a new GE water filter system. |
 |
Step 9
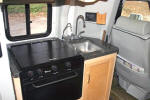
Enjoy. |
 |
Roy Adams
’02 HD Rialta
Atlanta, GA and Land ‘O Lakes, FL
Additional Modifications:
|