QD Conversion to QD-H

 [ HOME ]

Model Information

Miscellaneous
Accessories
Floor Plans & Specs
How To Buy Or Sell A Rialta
Known Problem Areas
Modifications, VW & Coach
New to RVing? Info here
Pros & Cons of a Rialta
Vehicle Checklist
VIN Information
Winter RV Storage

VW Service

Air Conditioner
Brakes
Door & Locks
Engine Battery
Engine Repair Information
Filters
Fuses: Dash & Engine
Mechanics & Dealers List
NHTSA Recall Notices
Oil Change
Parts Diagrams
Radiator & Coolant
Serpentine Belt
Service & Tech Bulletins
Spark Plugs & Ignition Wires
Transmission Service

Winnebago Service

Appliance Recalls
Bulbs
Caulking and Sealants
Coach Batteries
Electrical Breakers & Fuses
Furnace & Thermostat
Generator
Microwave, Range & Oven
NHTSA Recall Notices
Paint Codes
Parts Catalog
Plumbing Diagrams
Refrigerator
Service Bulletins
Shocks and Air Springs
Shower
Supplier Links
Tires & Wheels
Toilet
Water Heater
Water Pumps & Filters
Winnebago Corporate Info
Wiring Diagrams

Tours & Pictures

Public RV Sanitary Dumps
Strange & Unusual Places
Winnebago Factory Tour

   ► Related Links


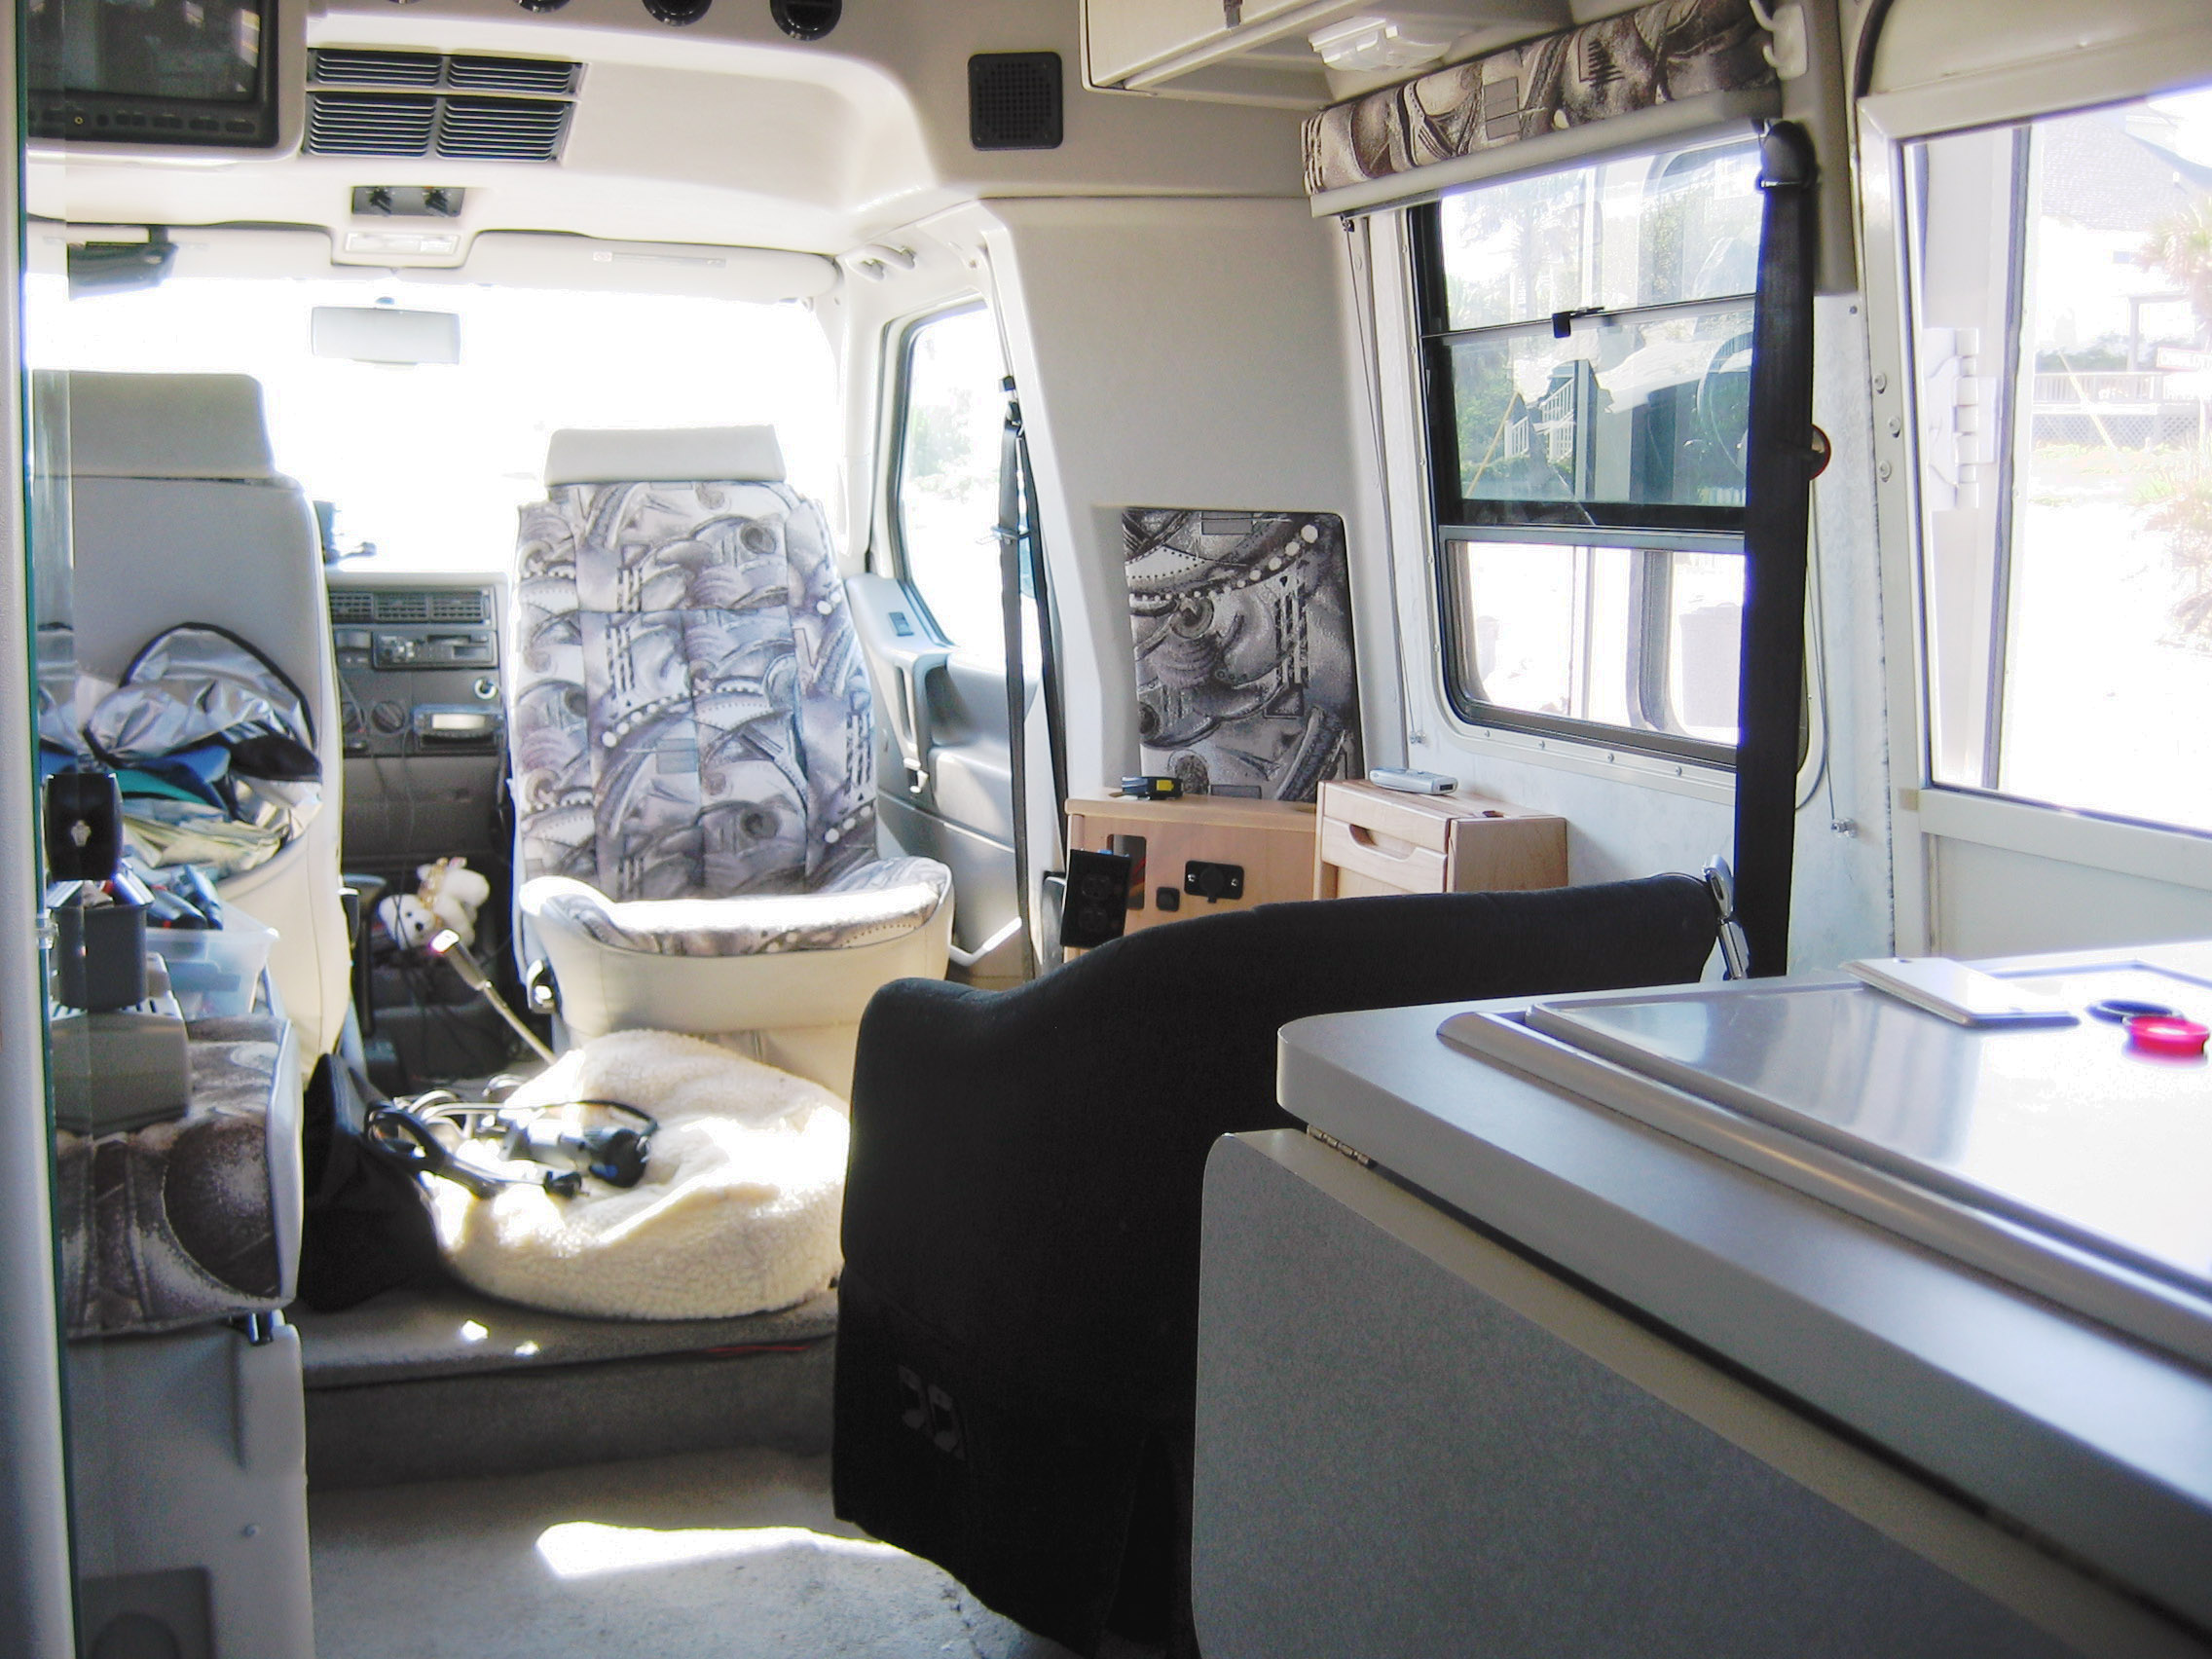
This modification converts the Model QD into a quasi-HD by removing one of the two seats behind the cab and installing a barrel seat and pull-out table similar to the Model HD.

Holly H. Towne was the first to attempt and complete this modification and the following was originally posted on her web site at http://www.myhome.org/rialta99QD/.

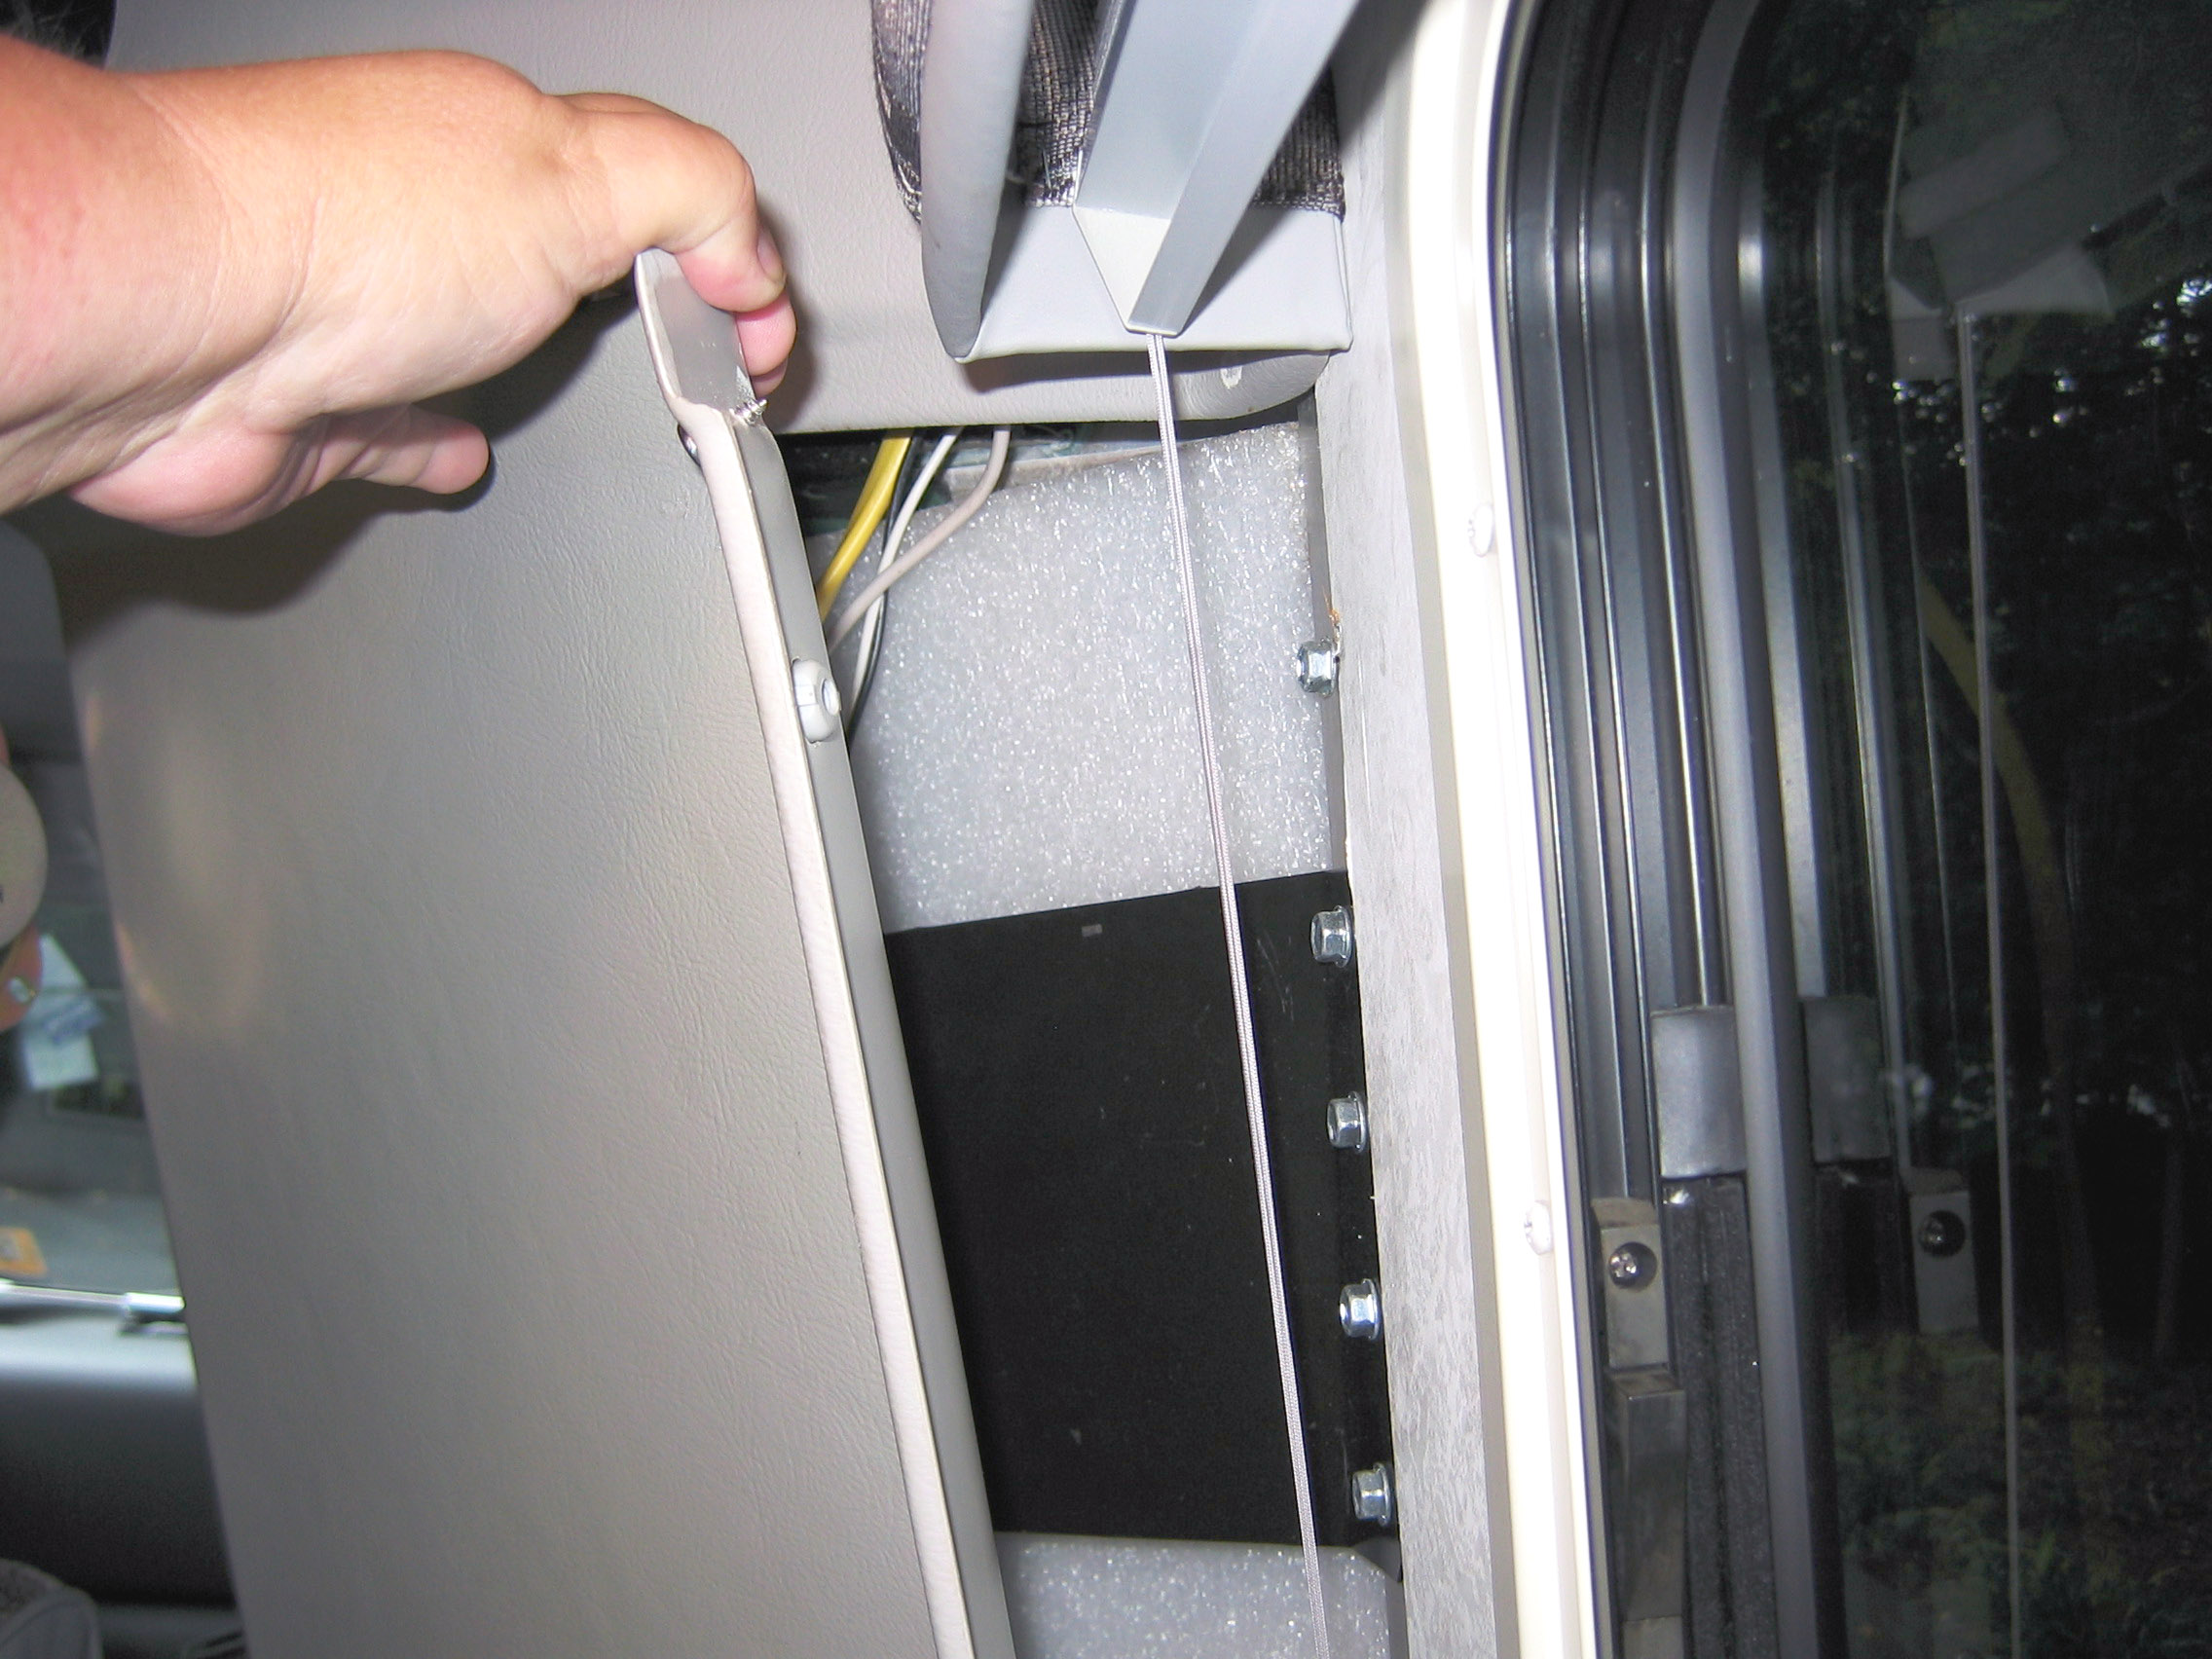
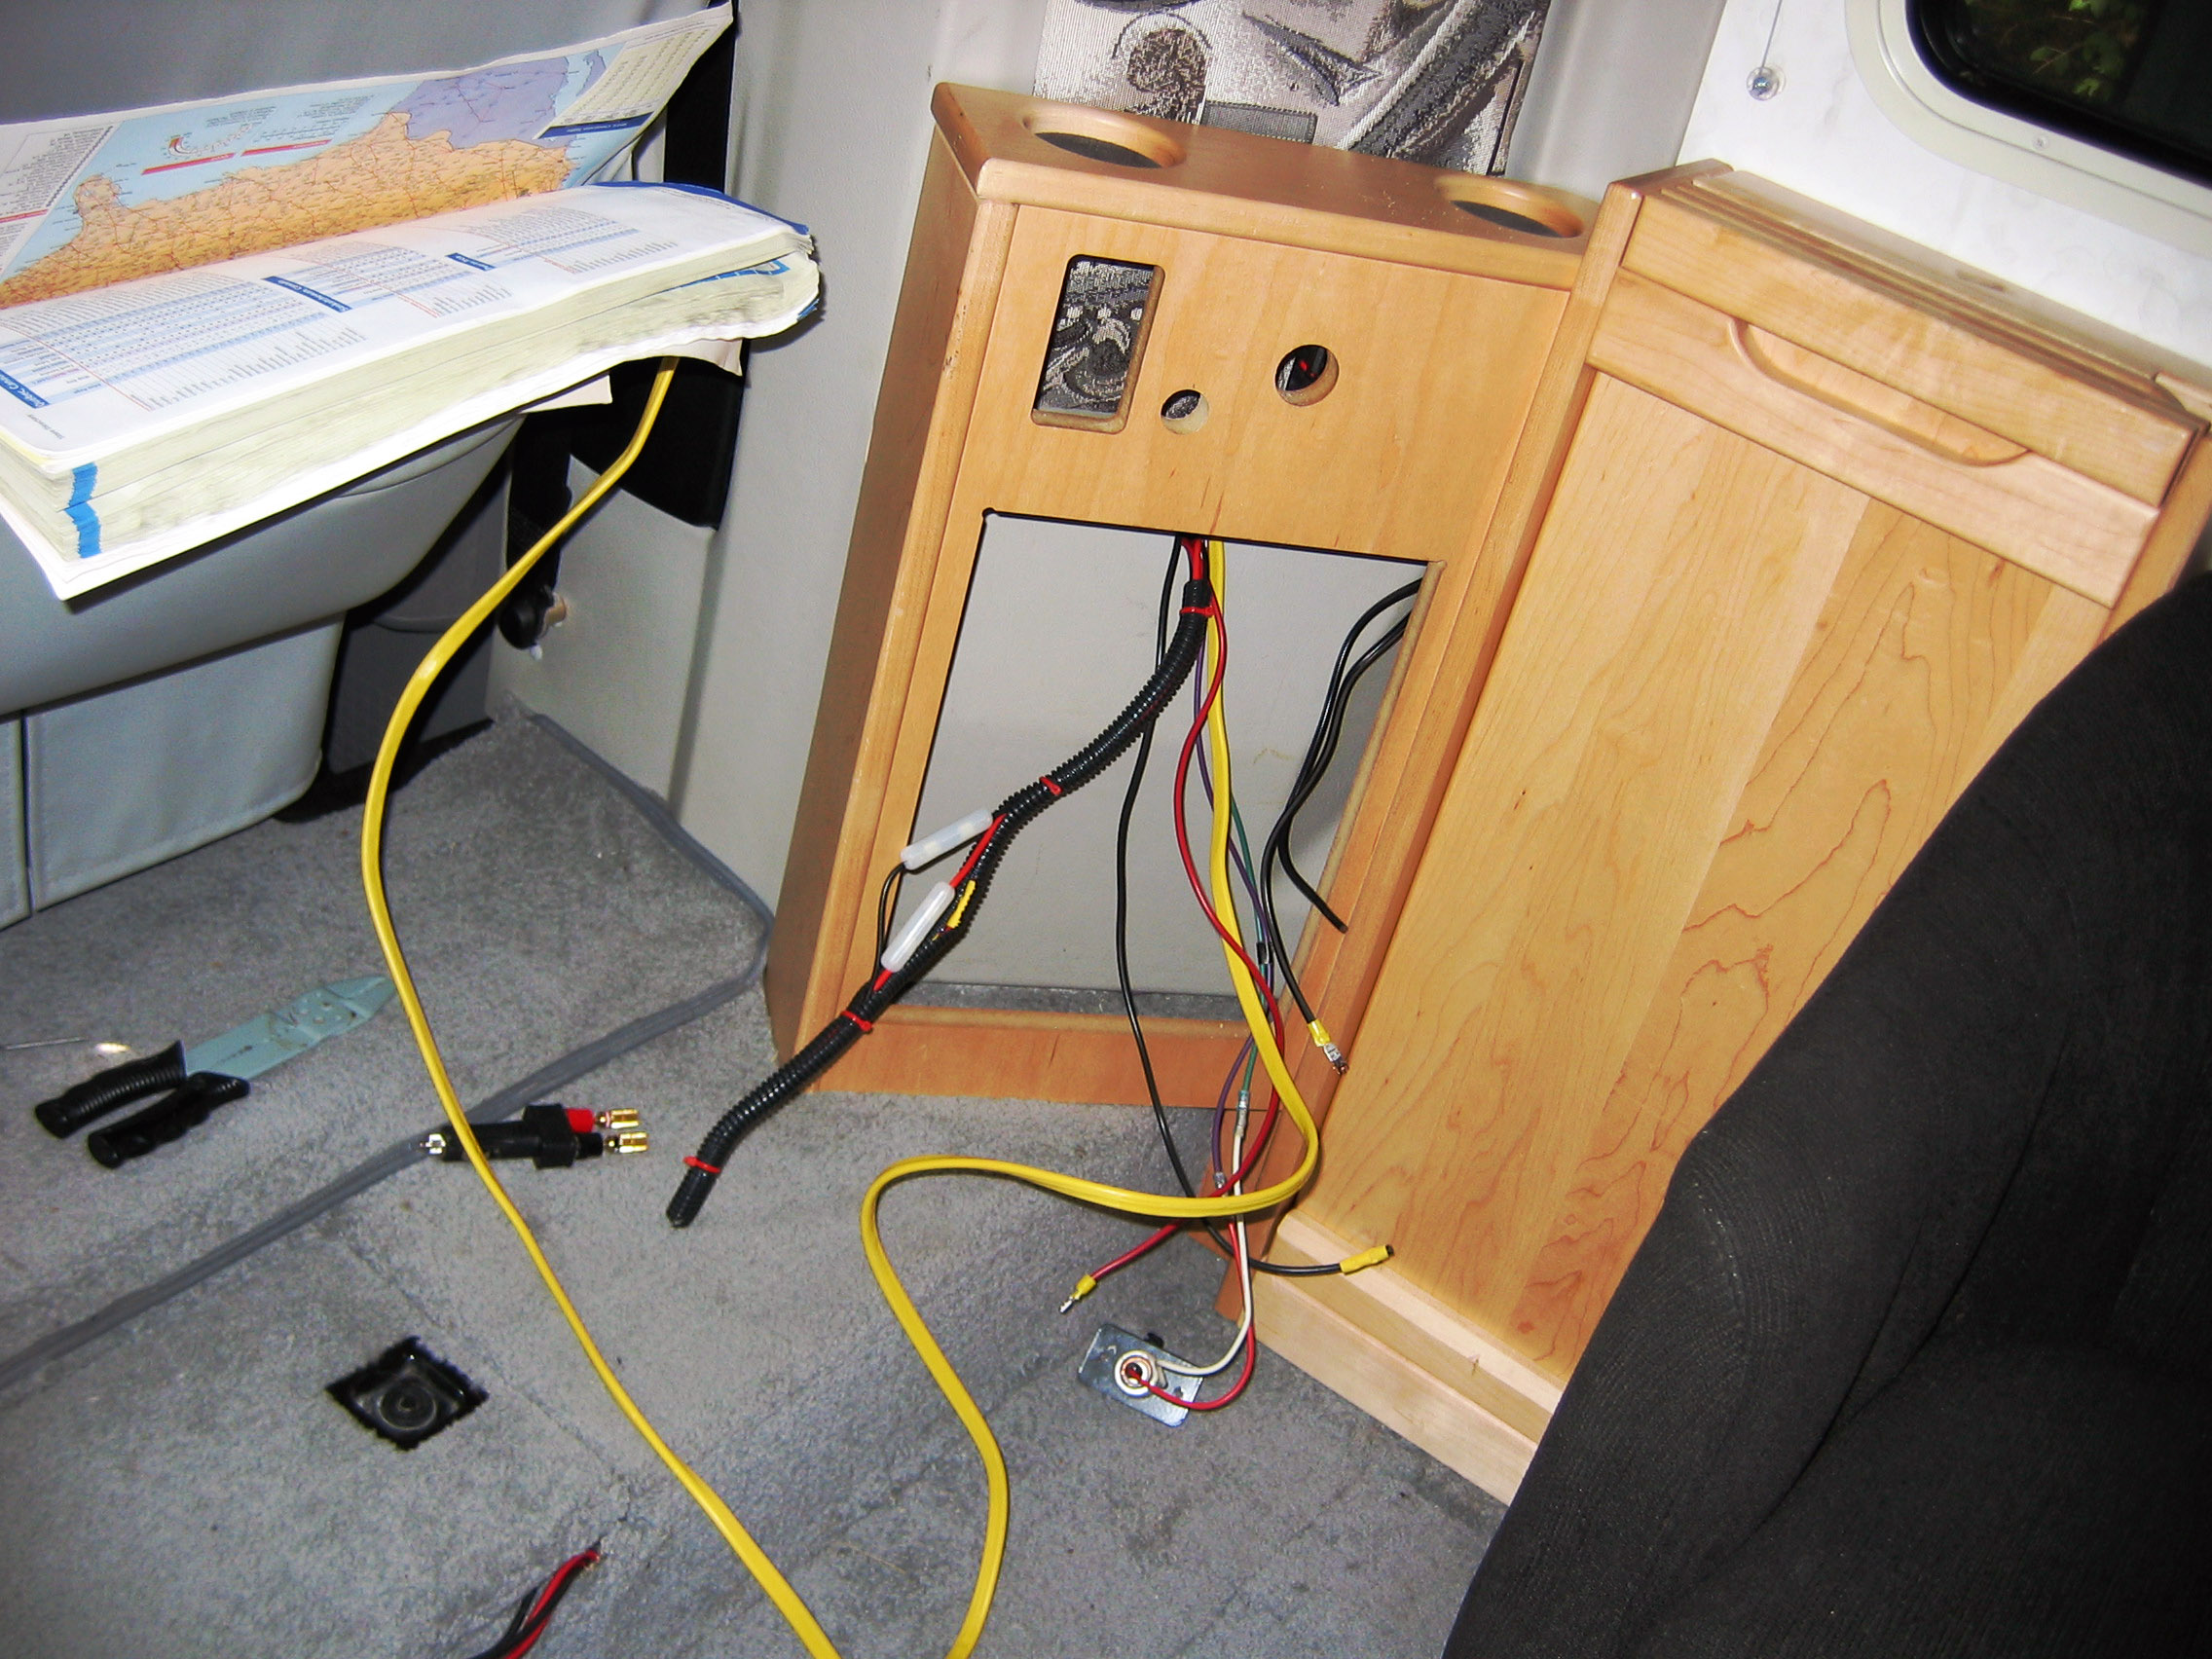
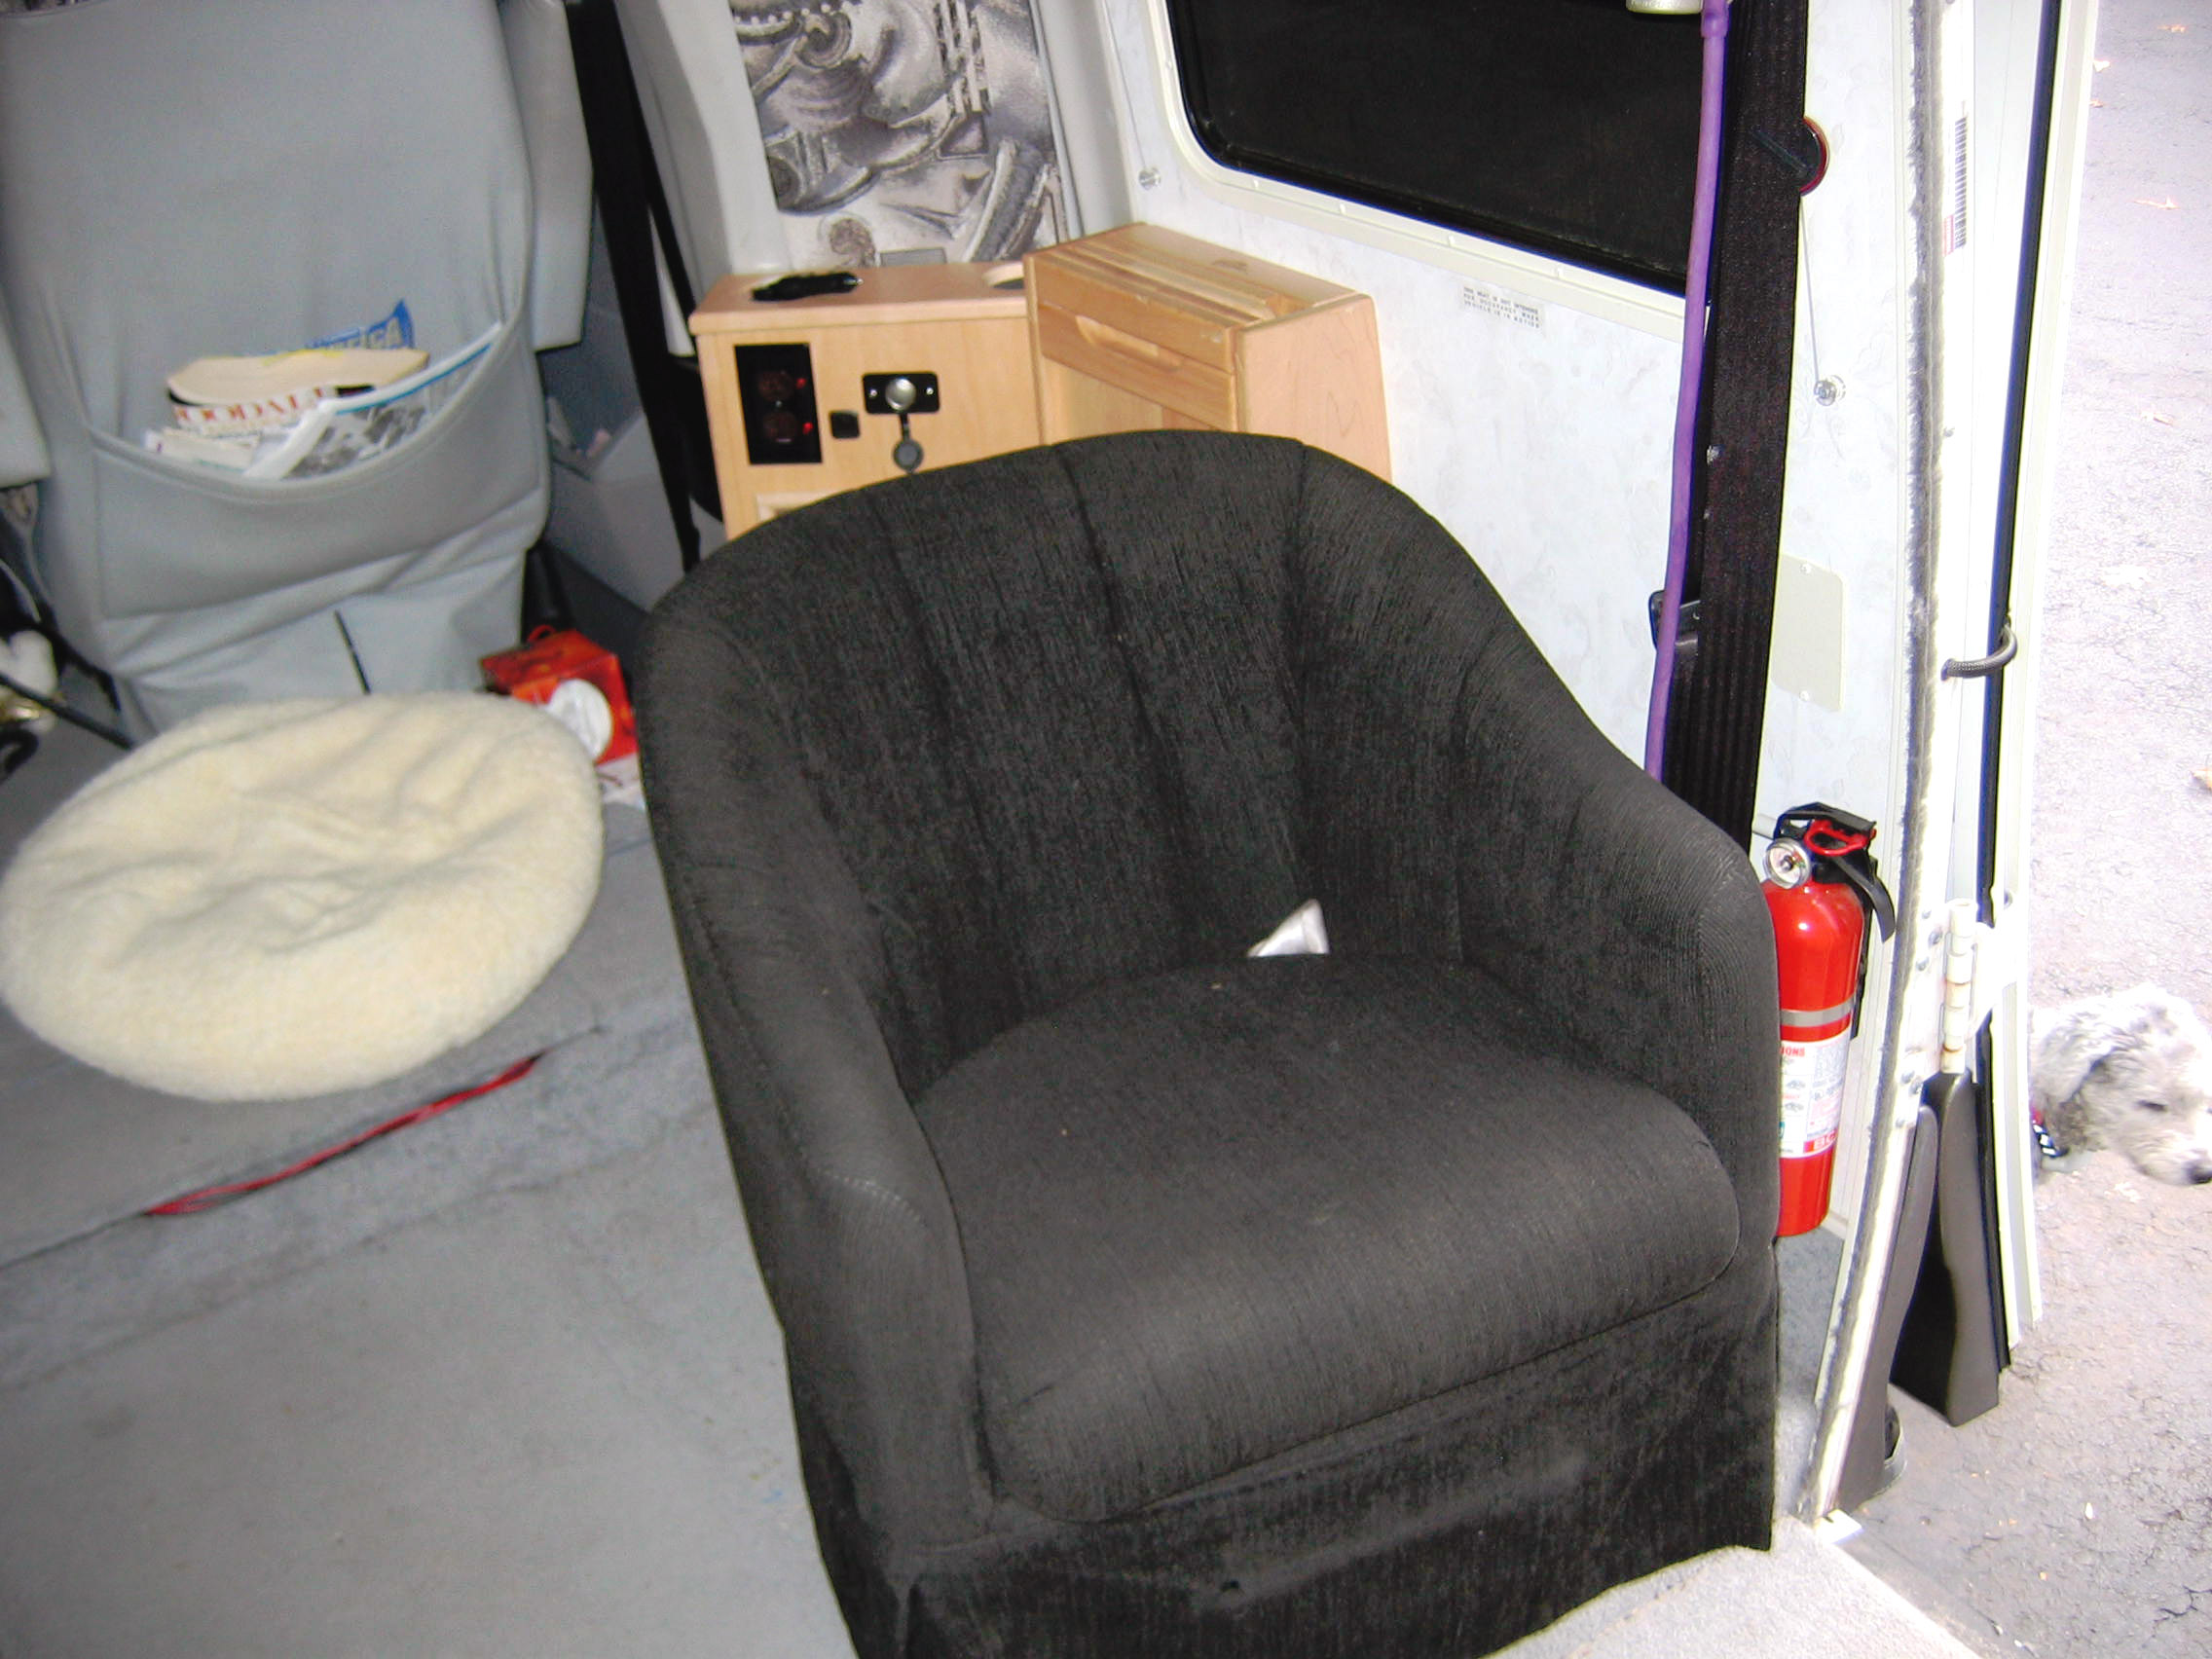
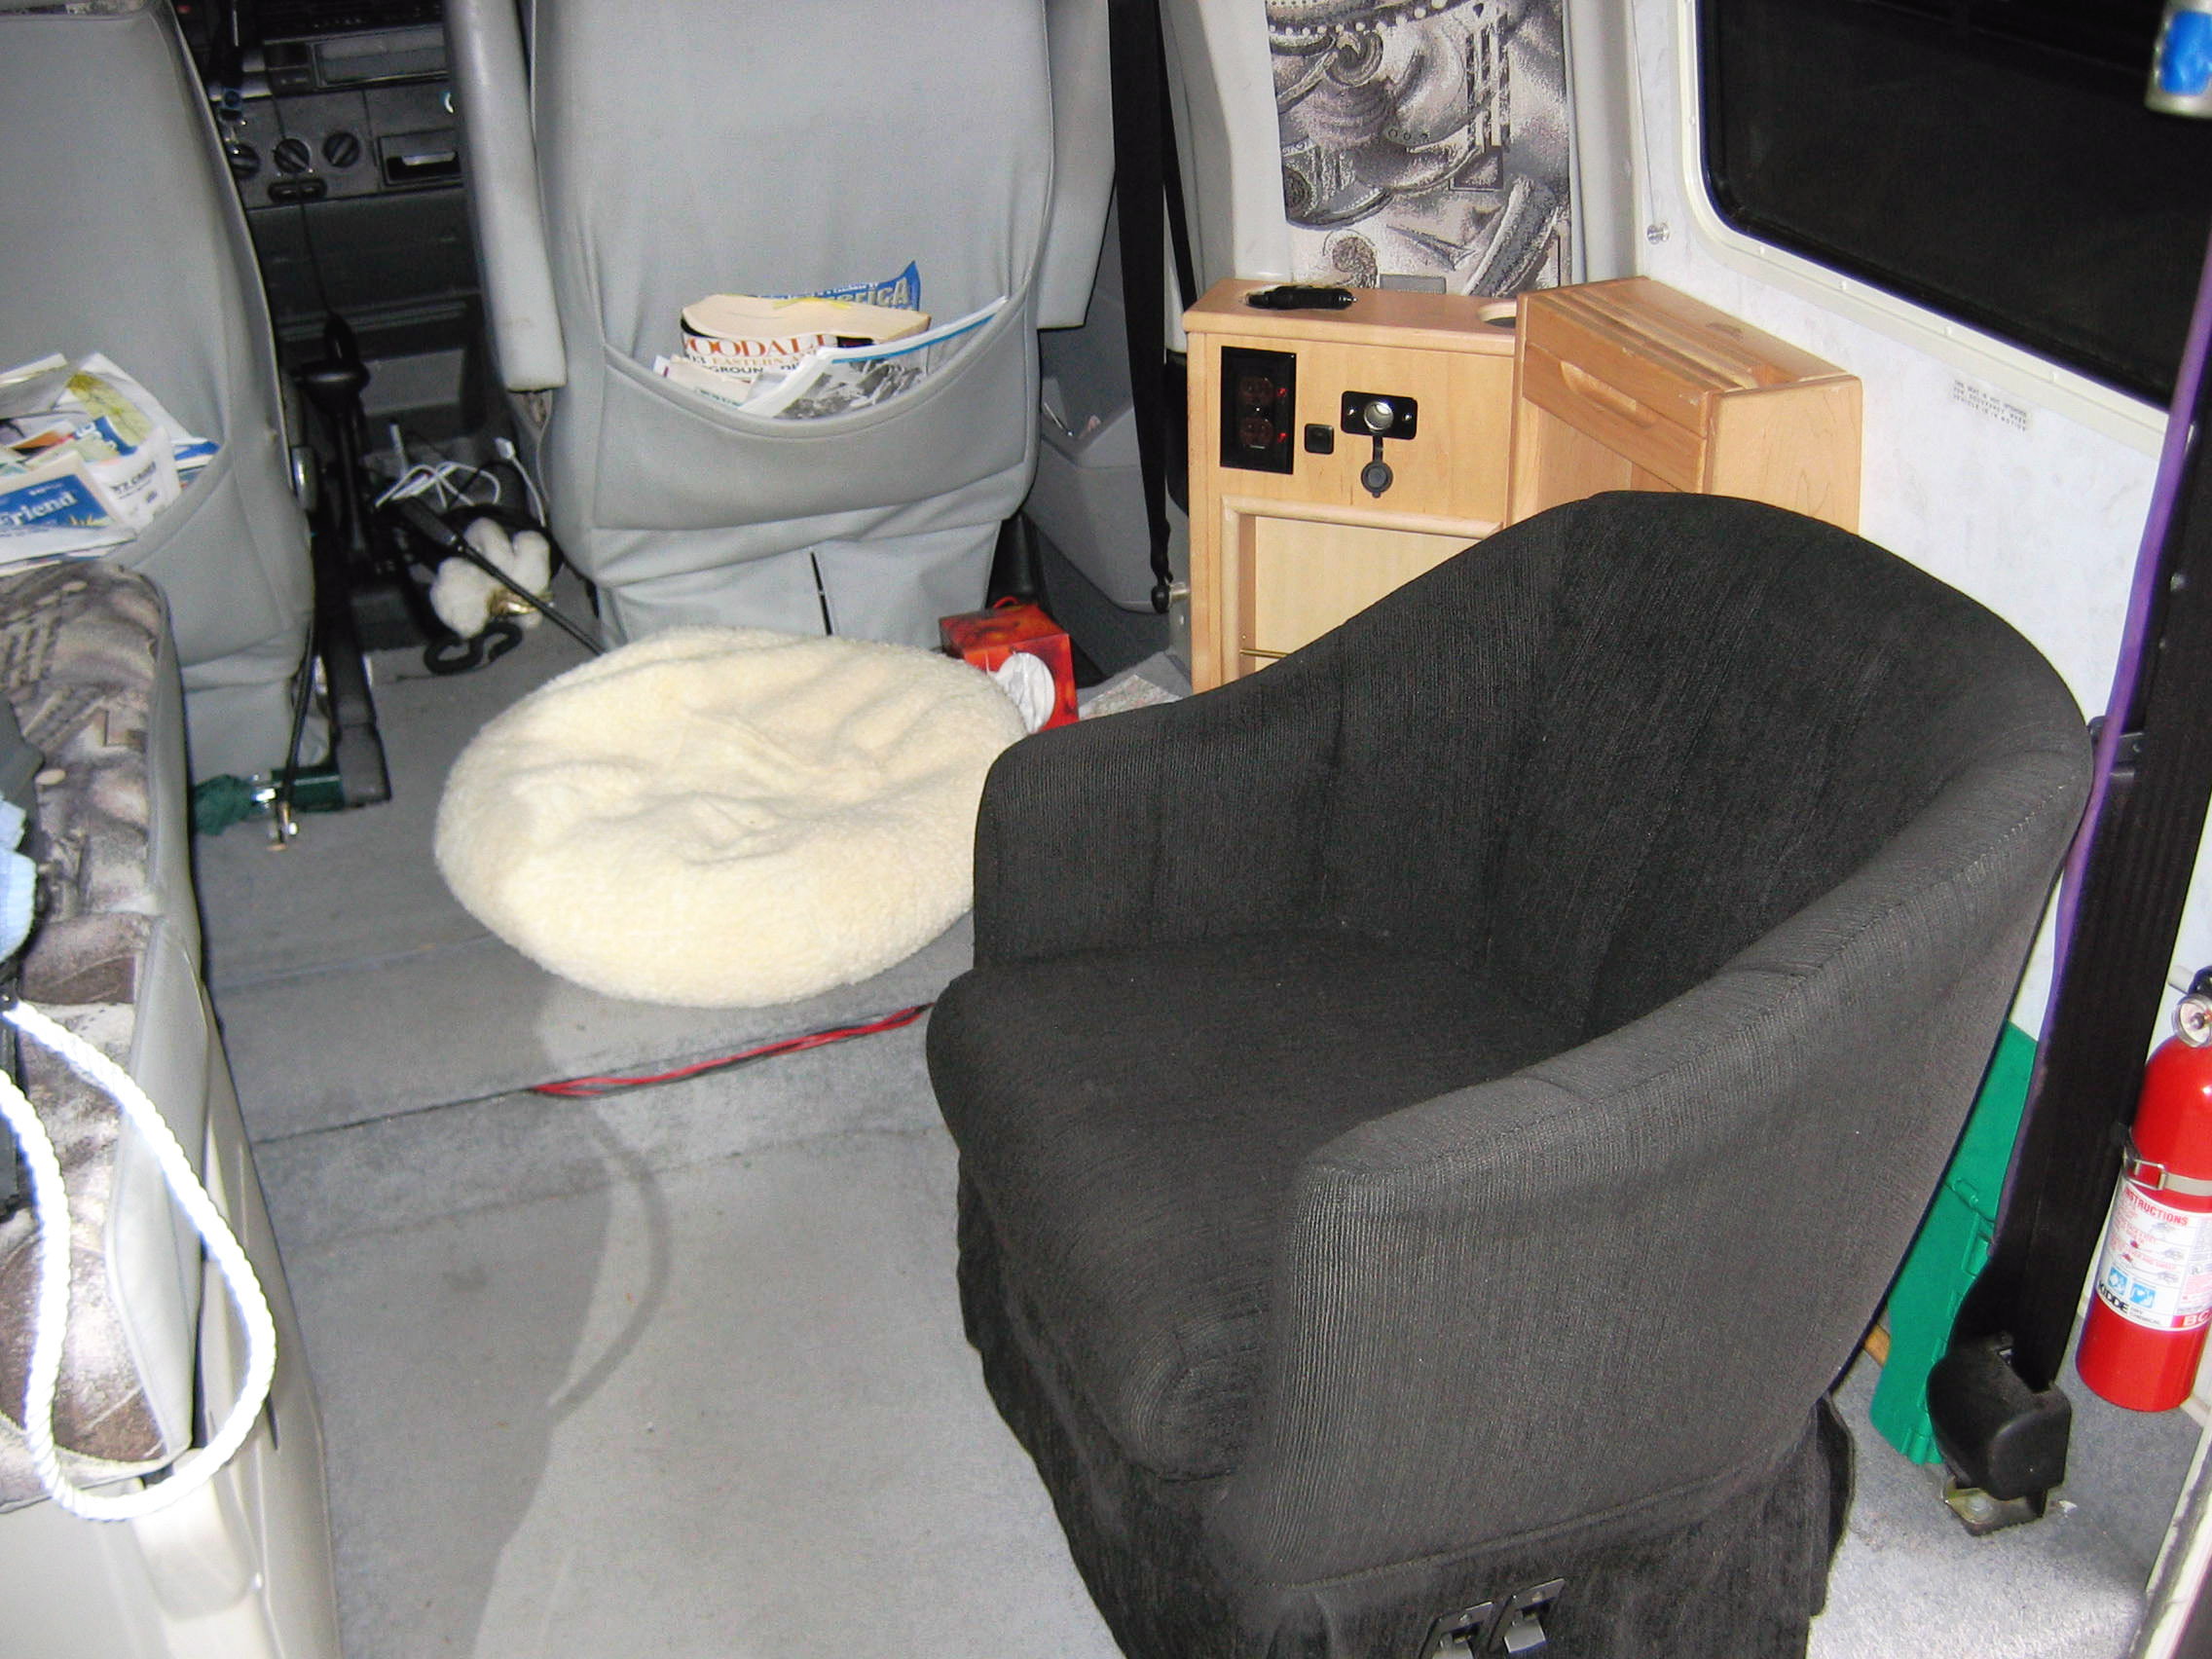
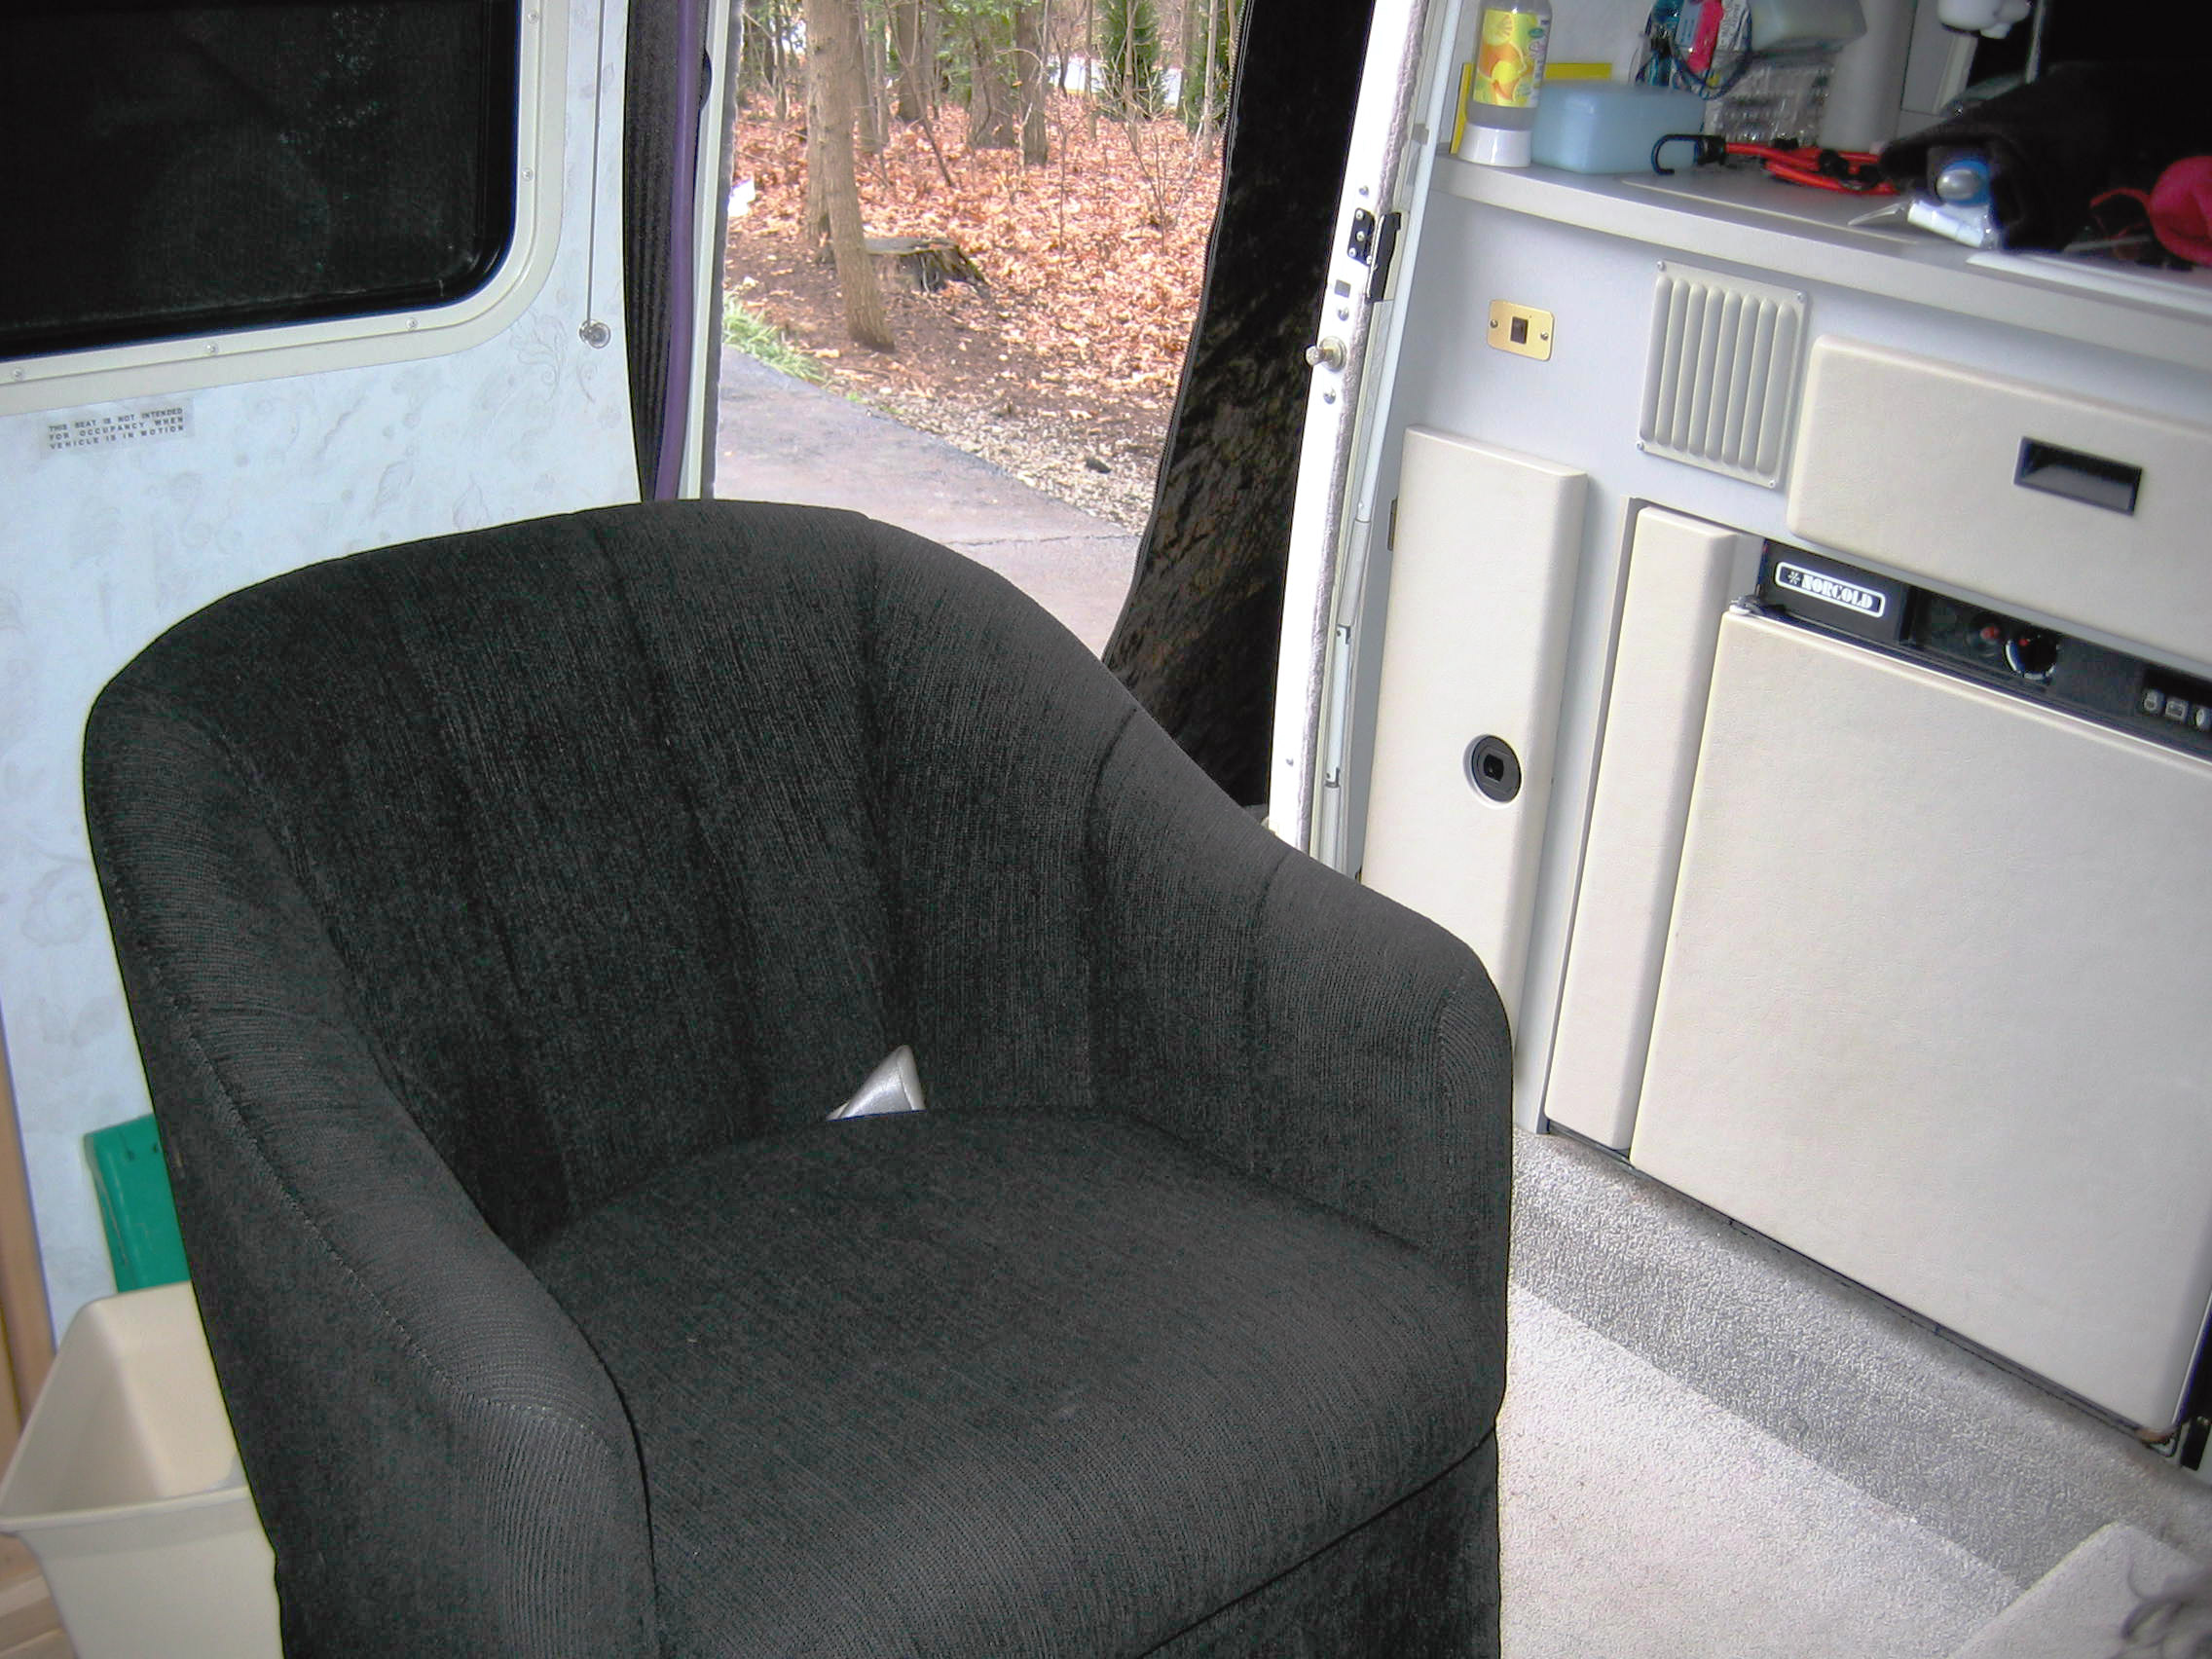
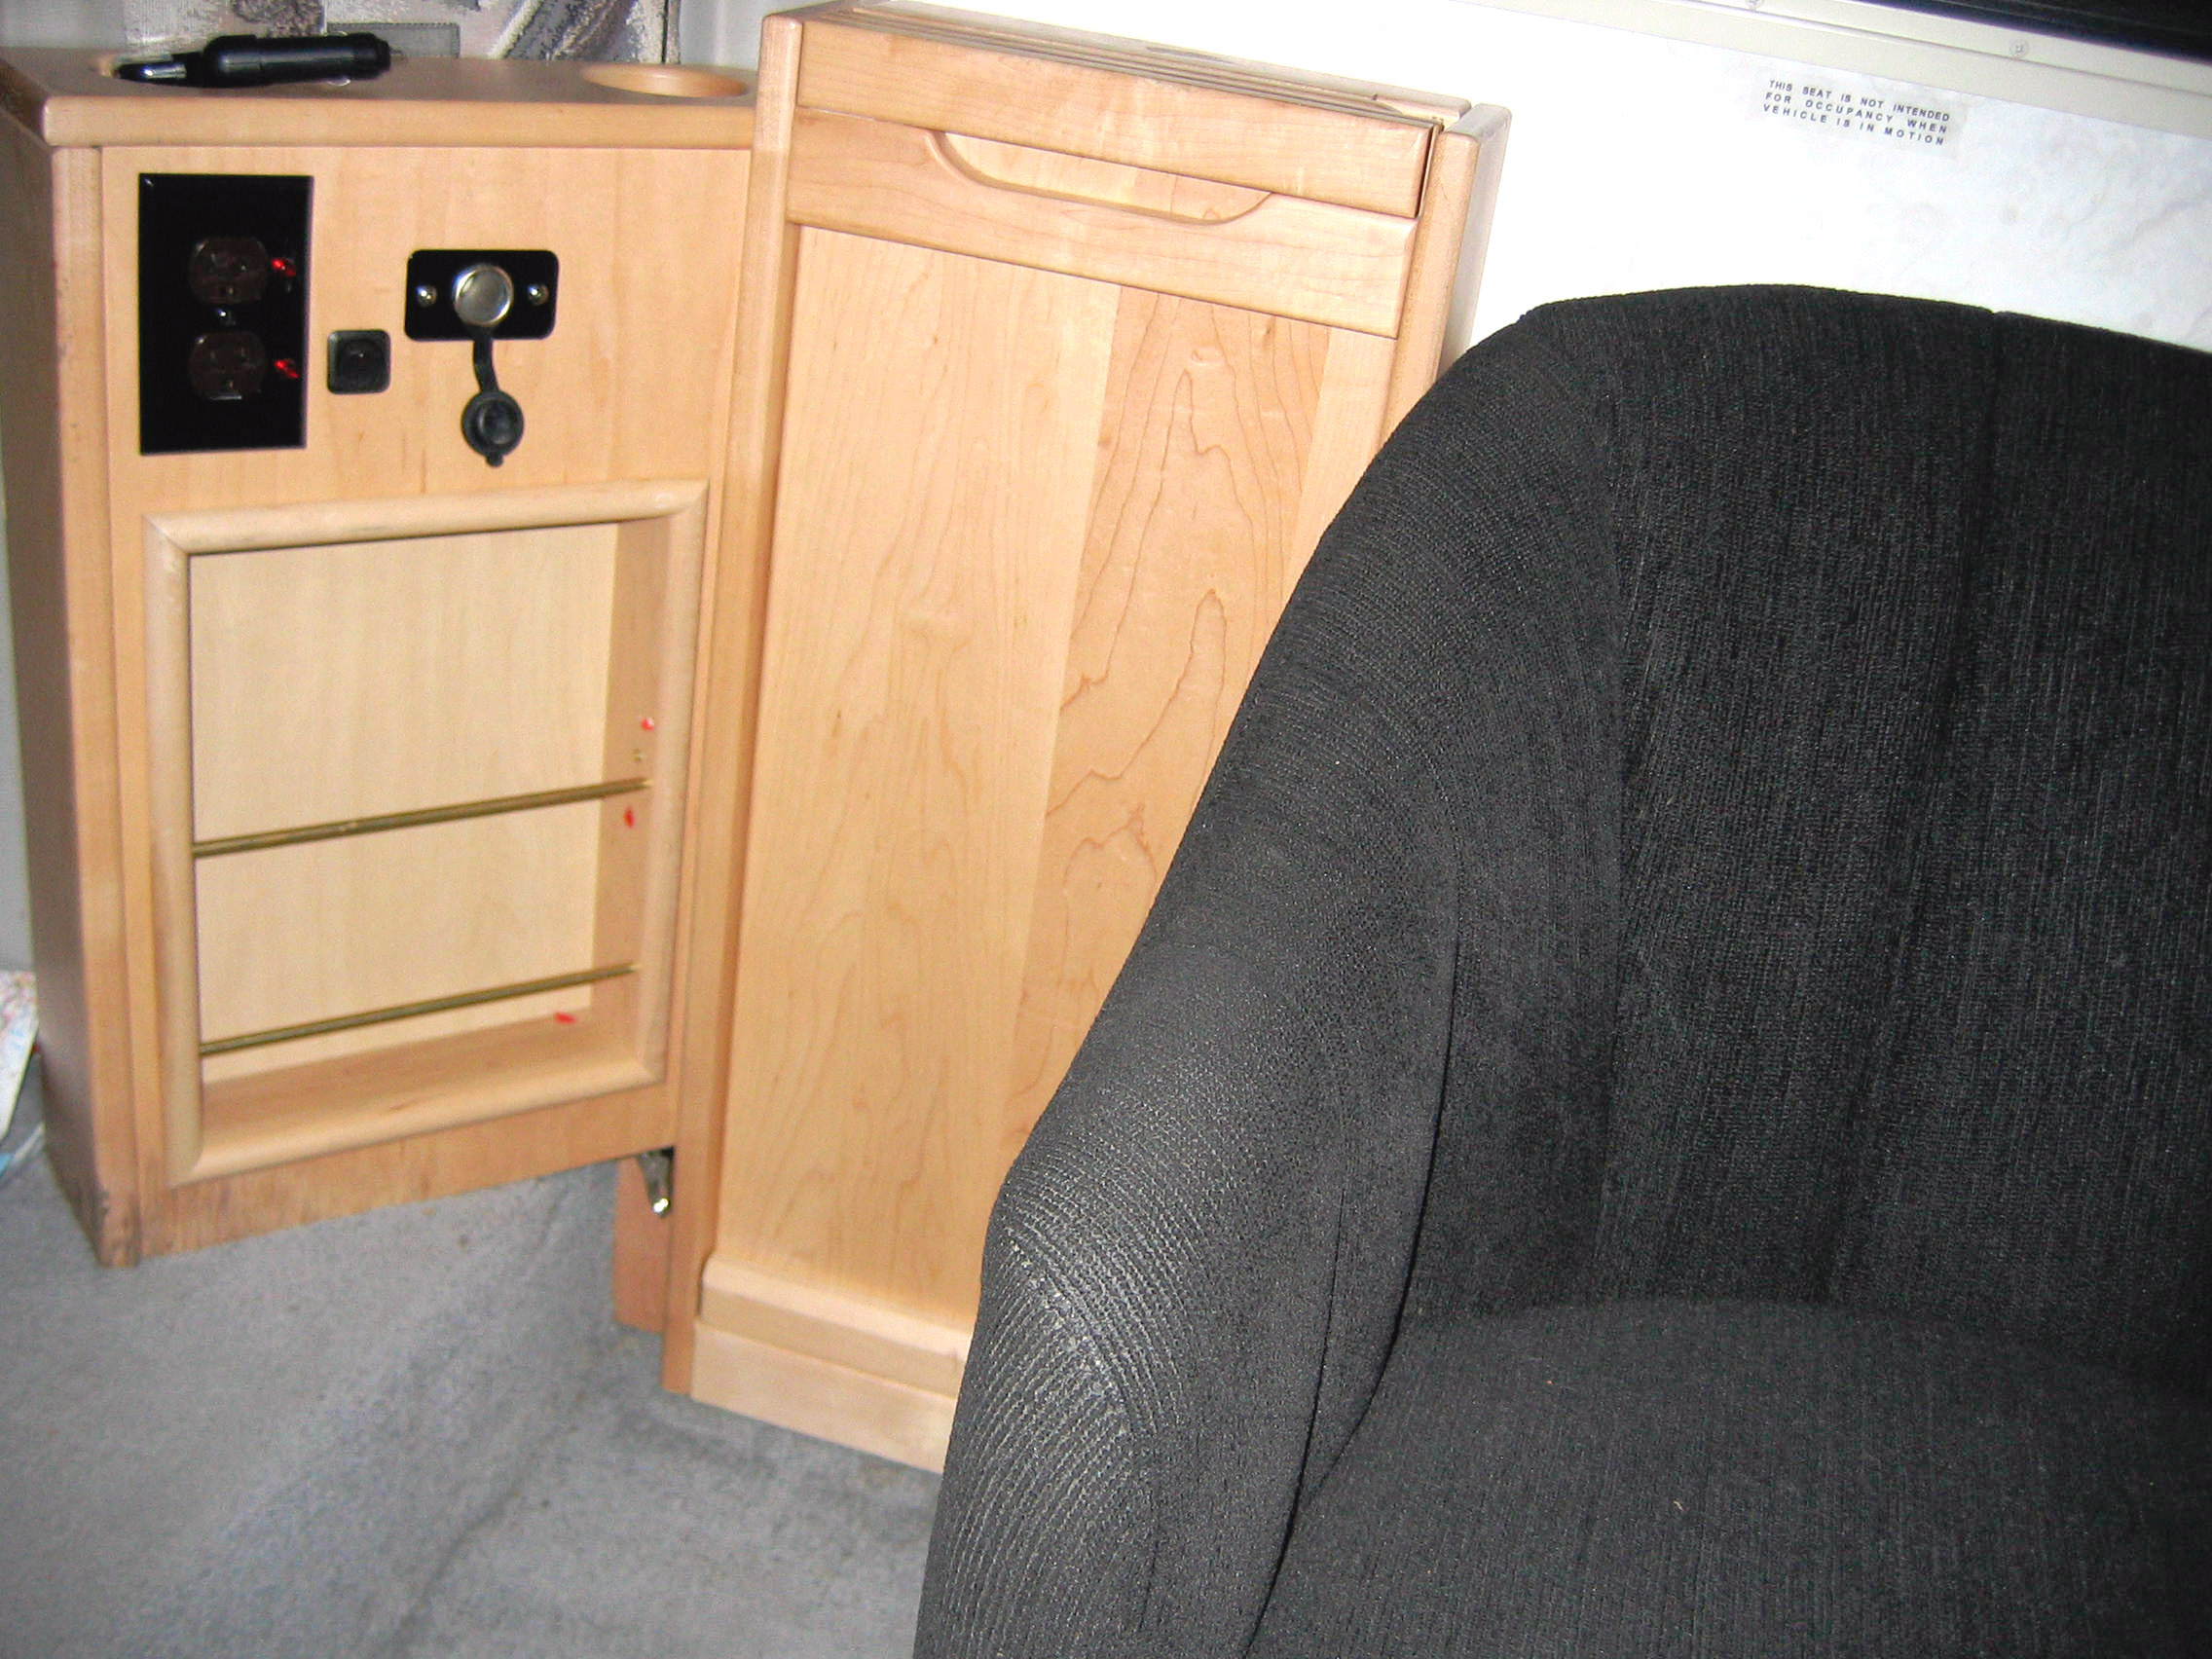
Here are the pictures of a conversion from QD to QD-H wherein we removed the 2nd row passenger side quad seat, the security bin on the floor in front of it, and added the swivel barrel chair and pull-up table like the FD or HD models have.

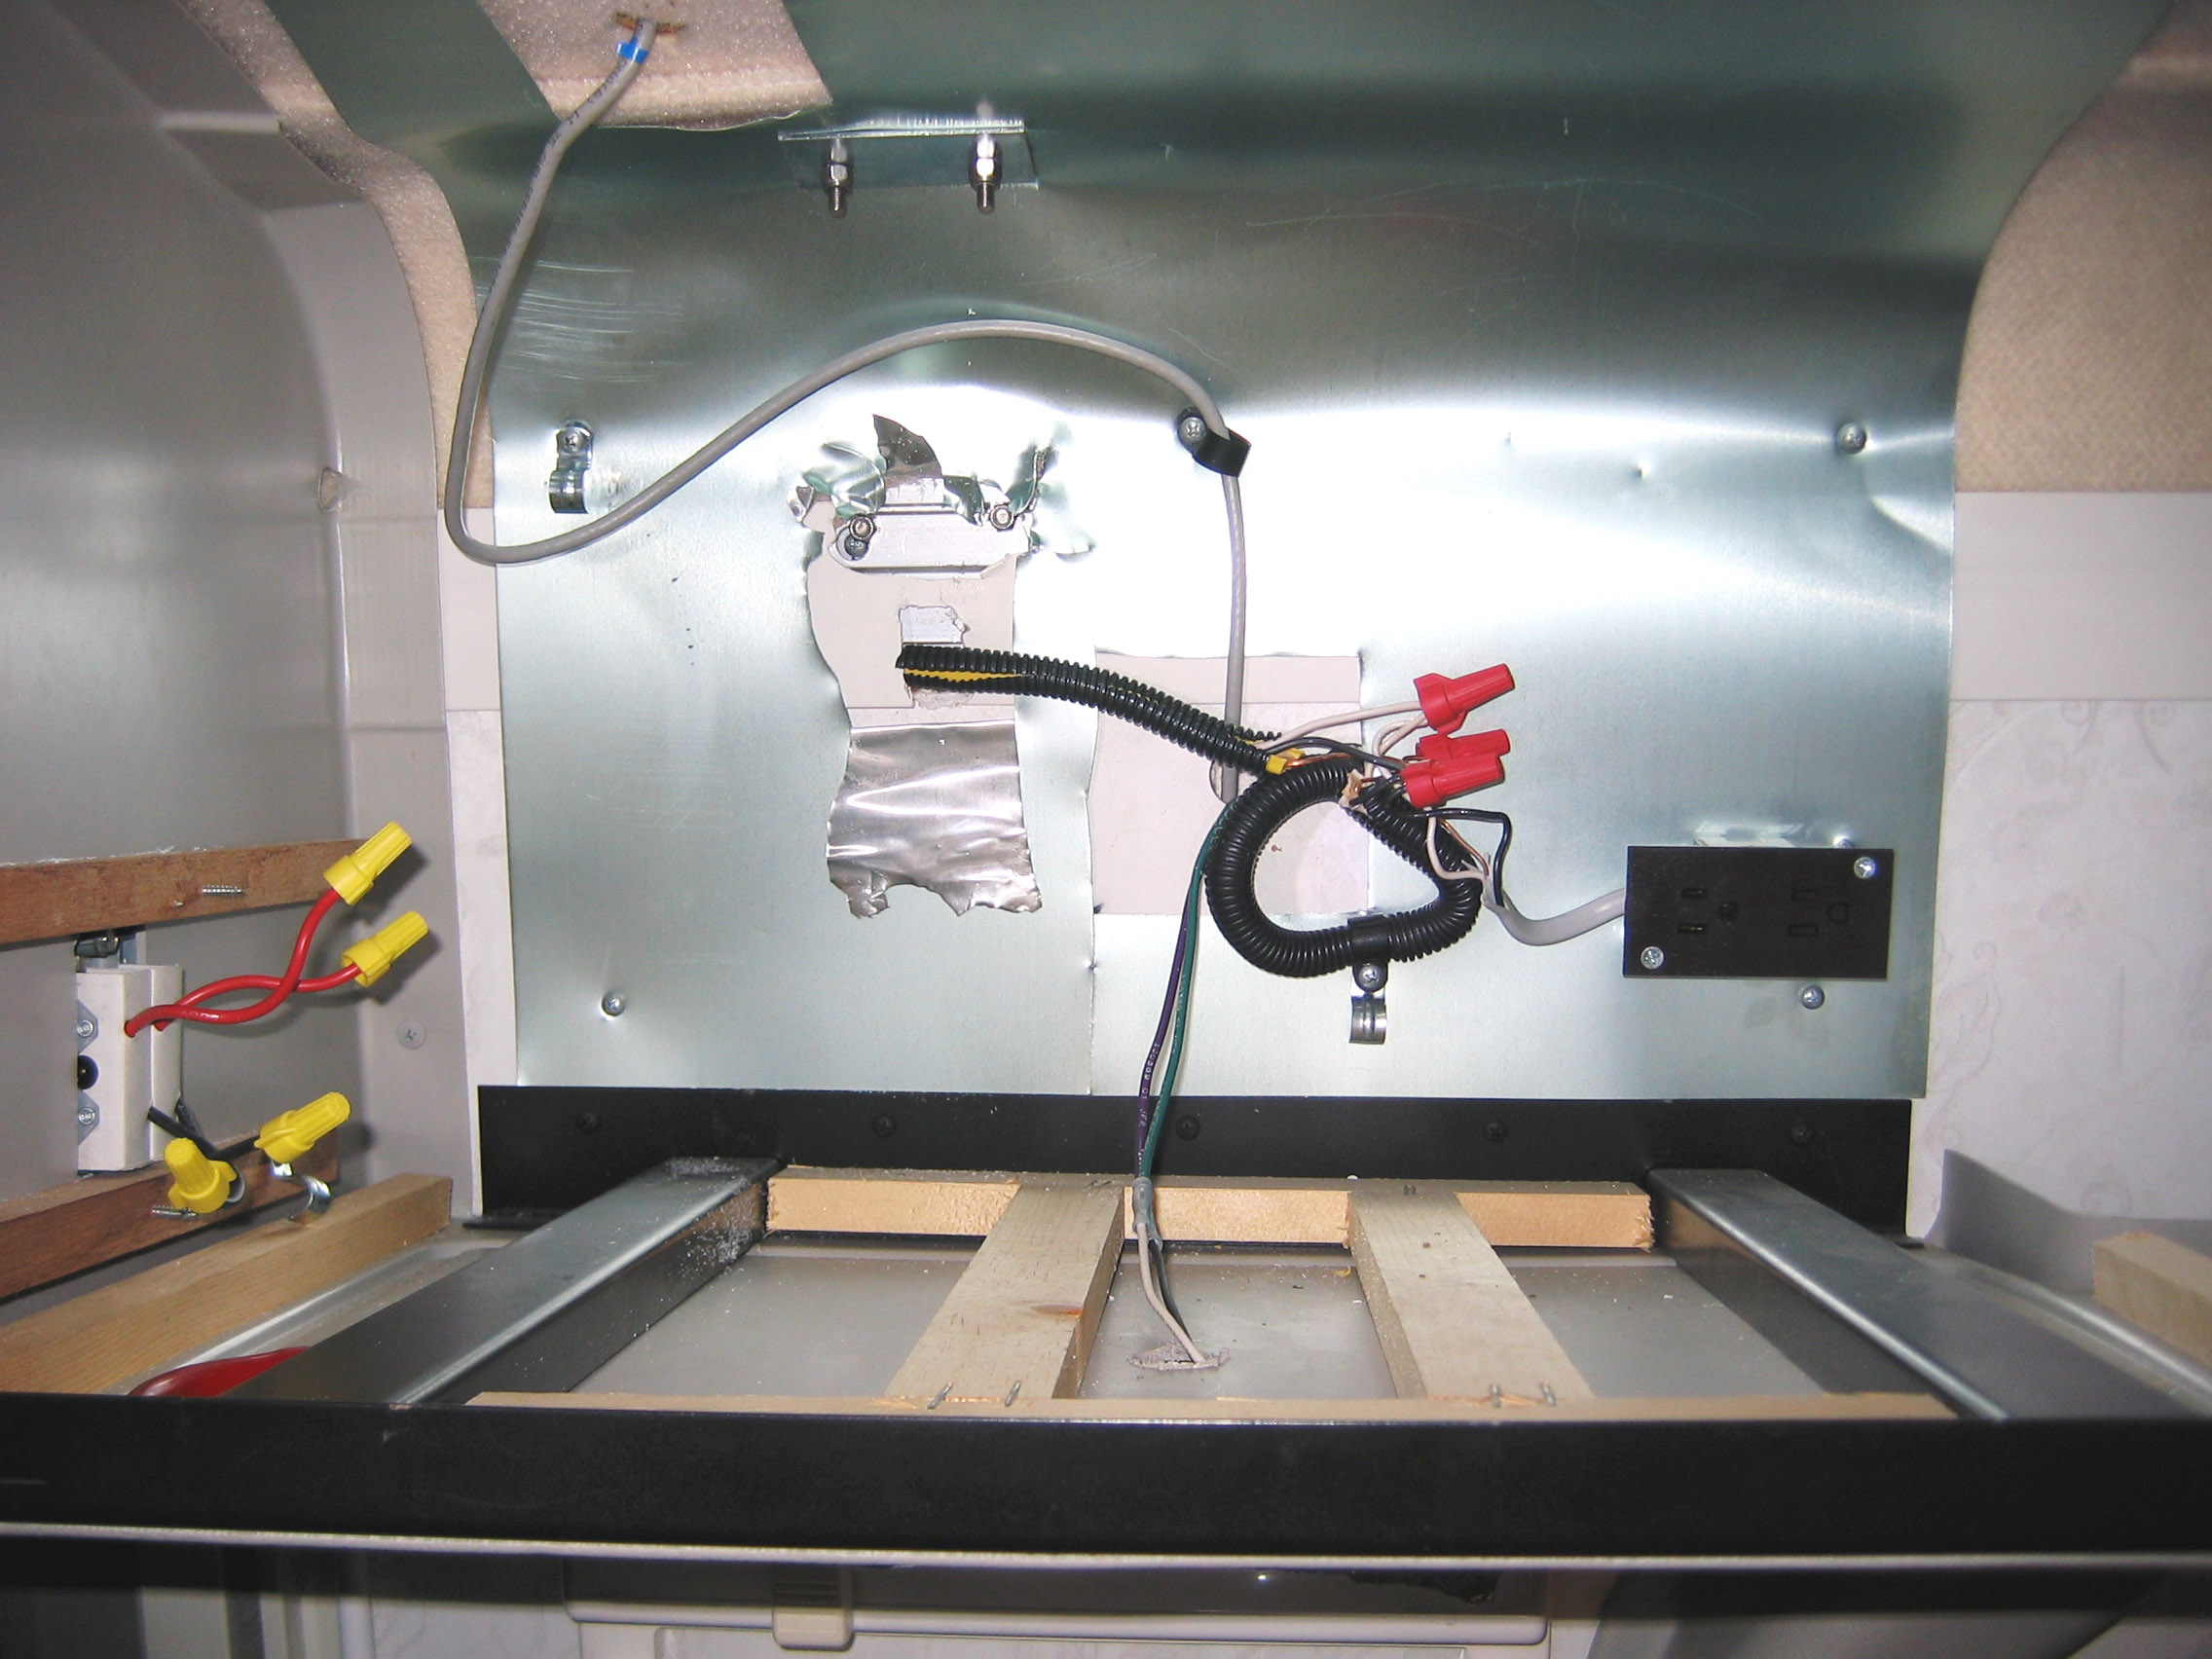
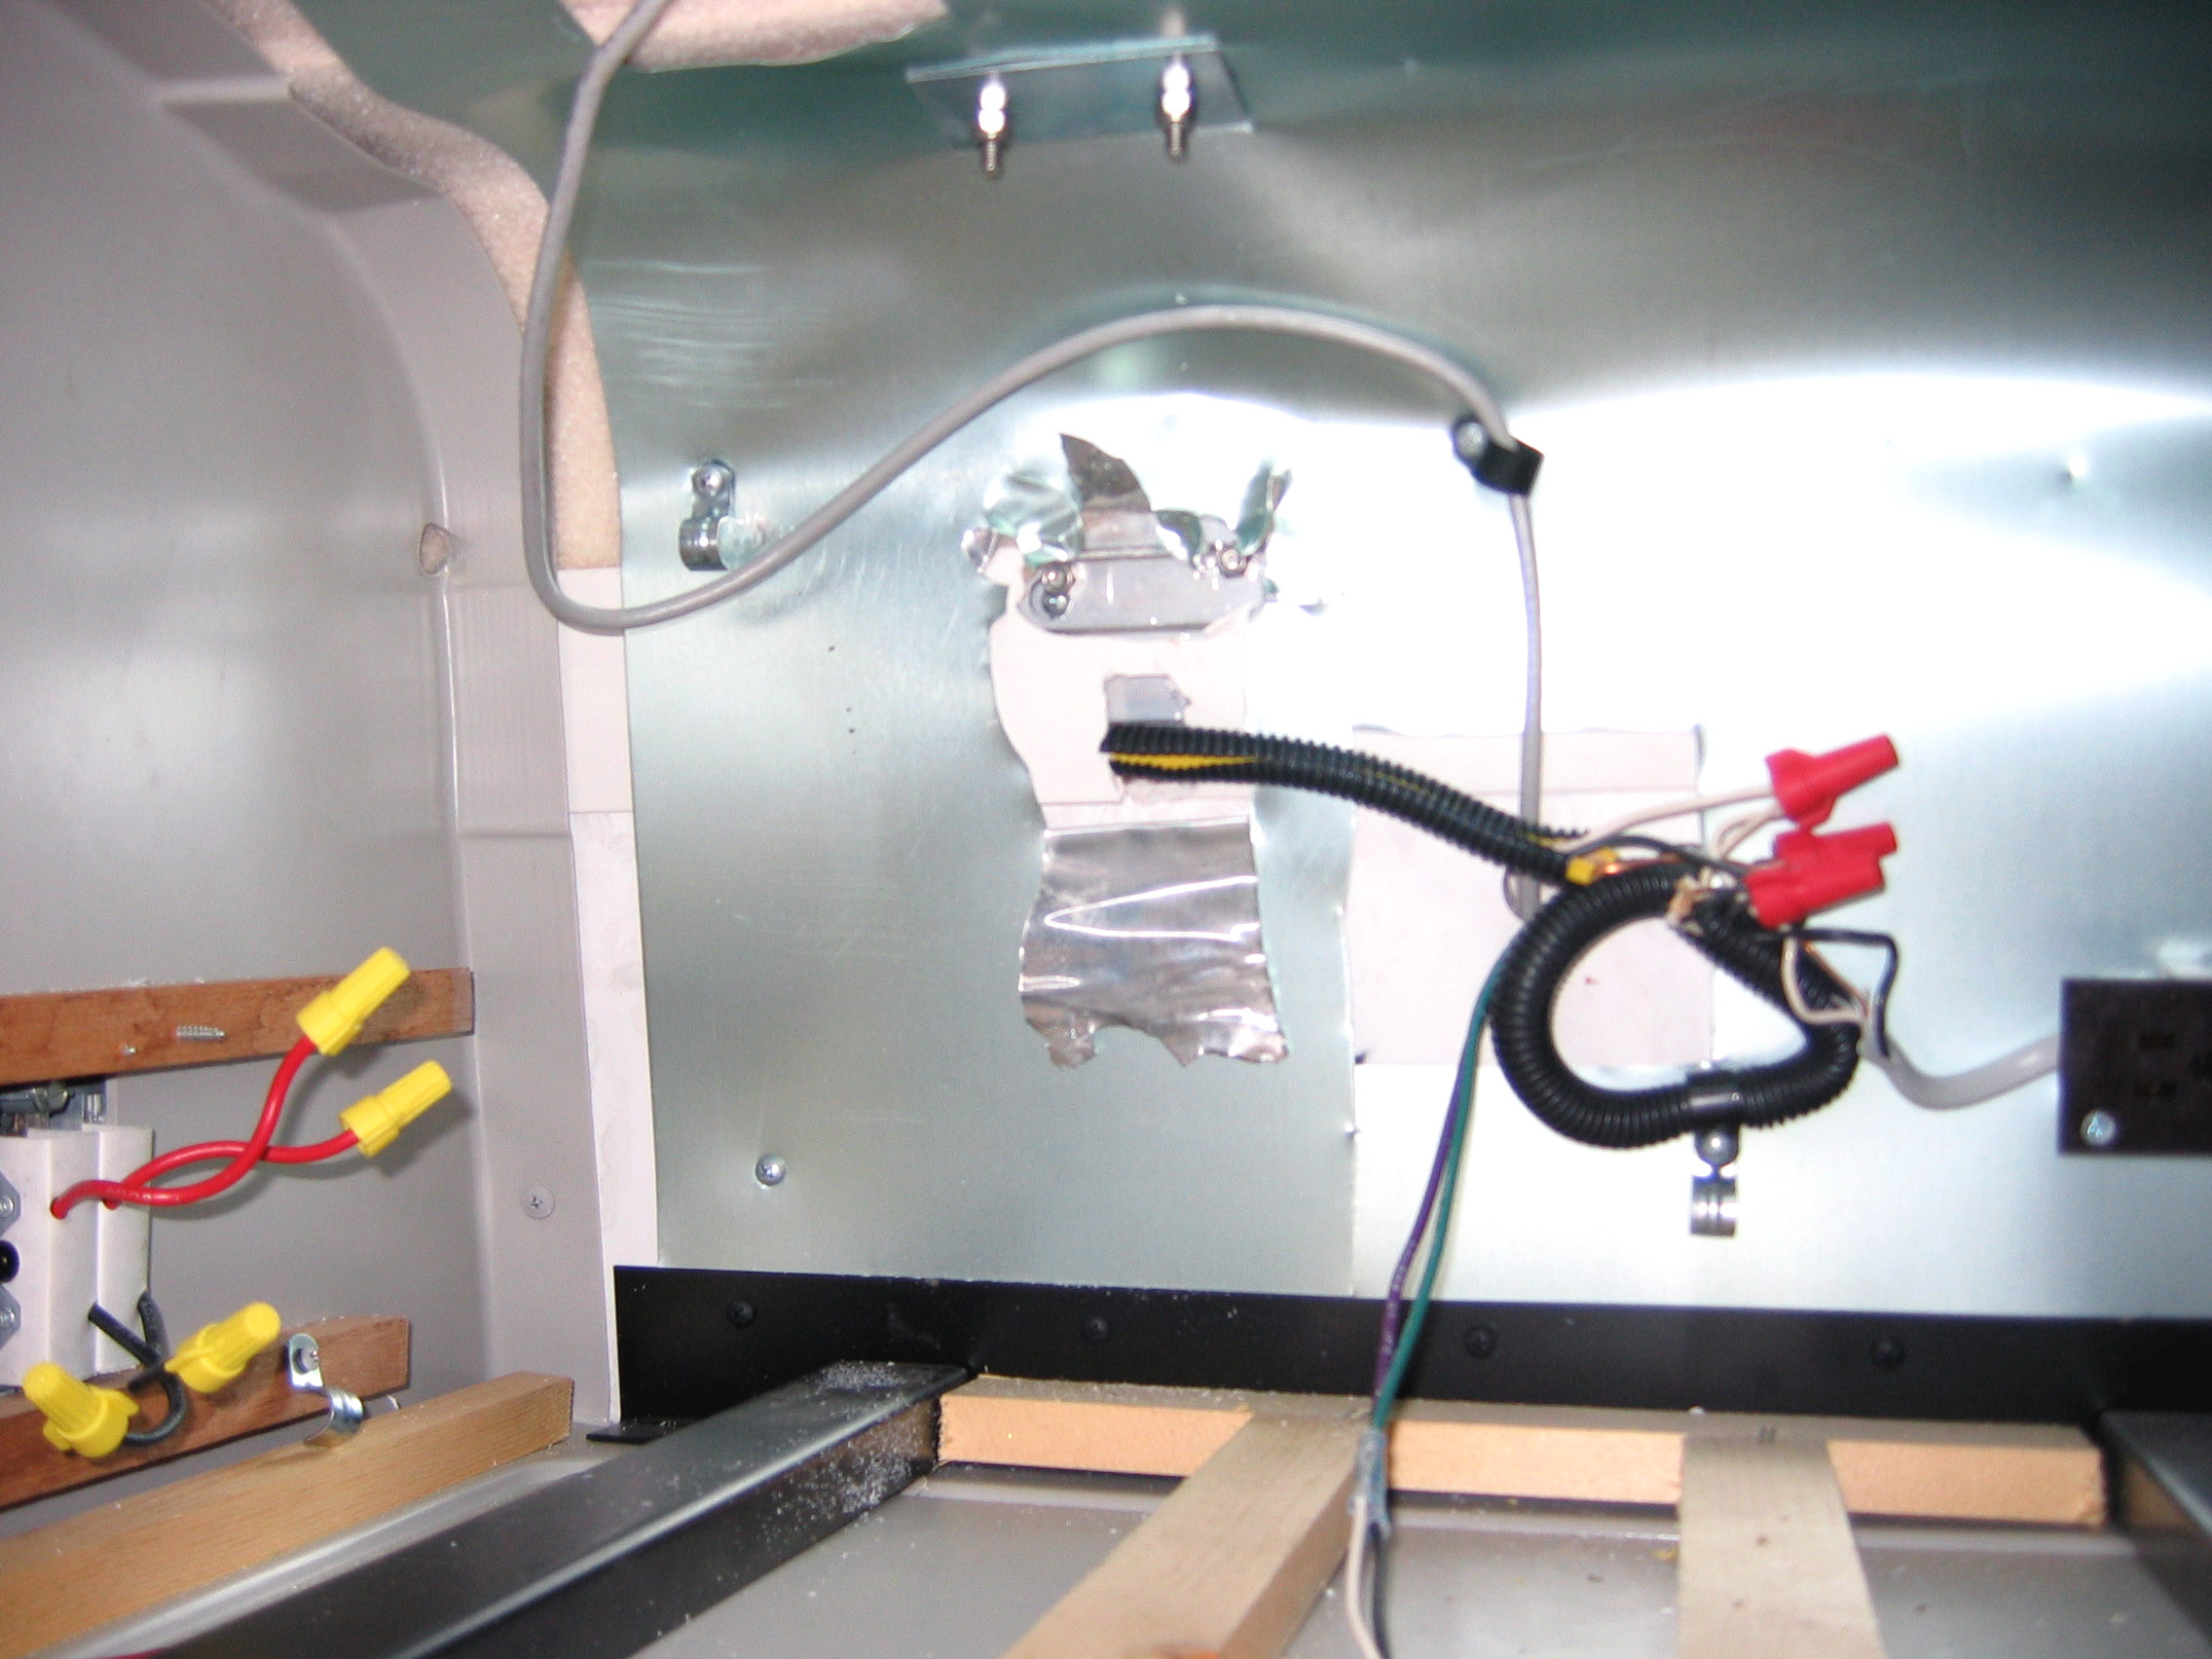
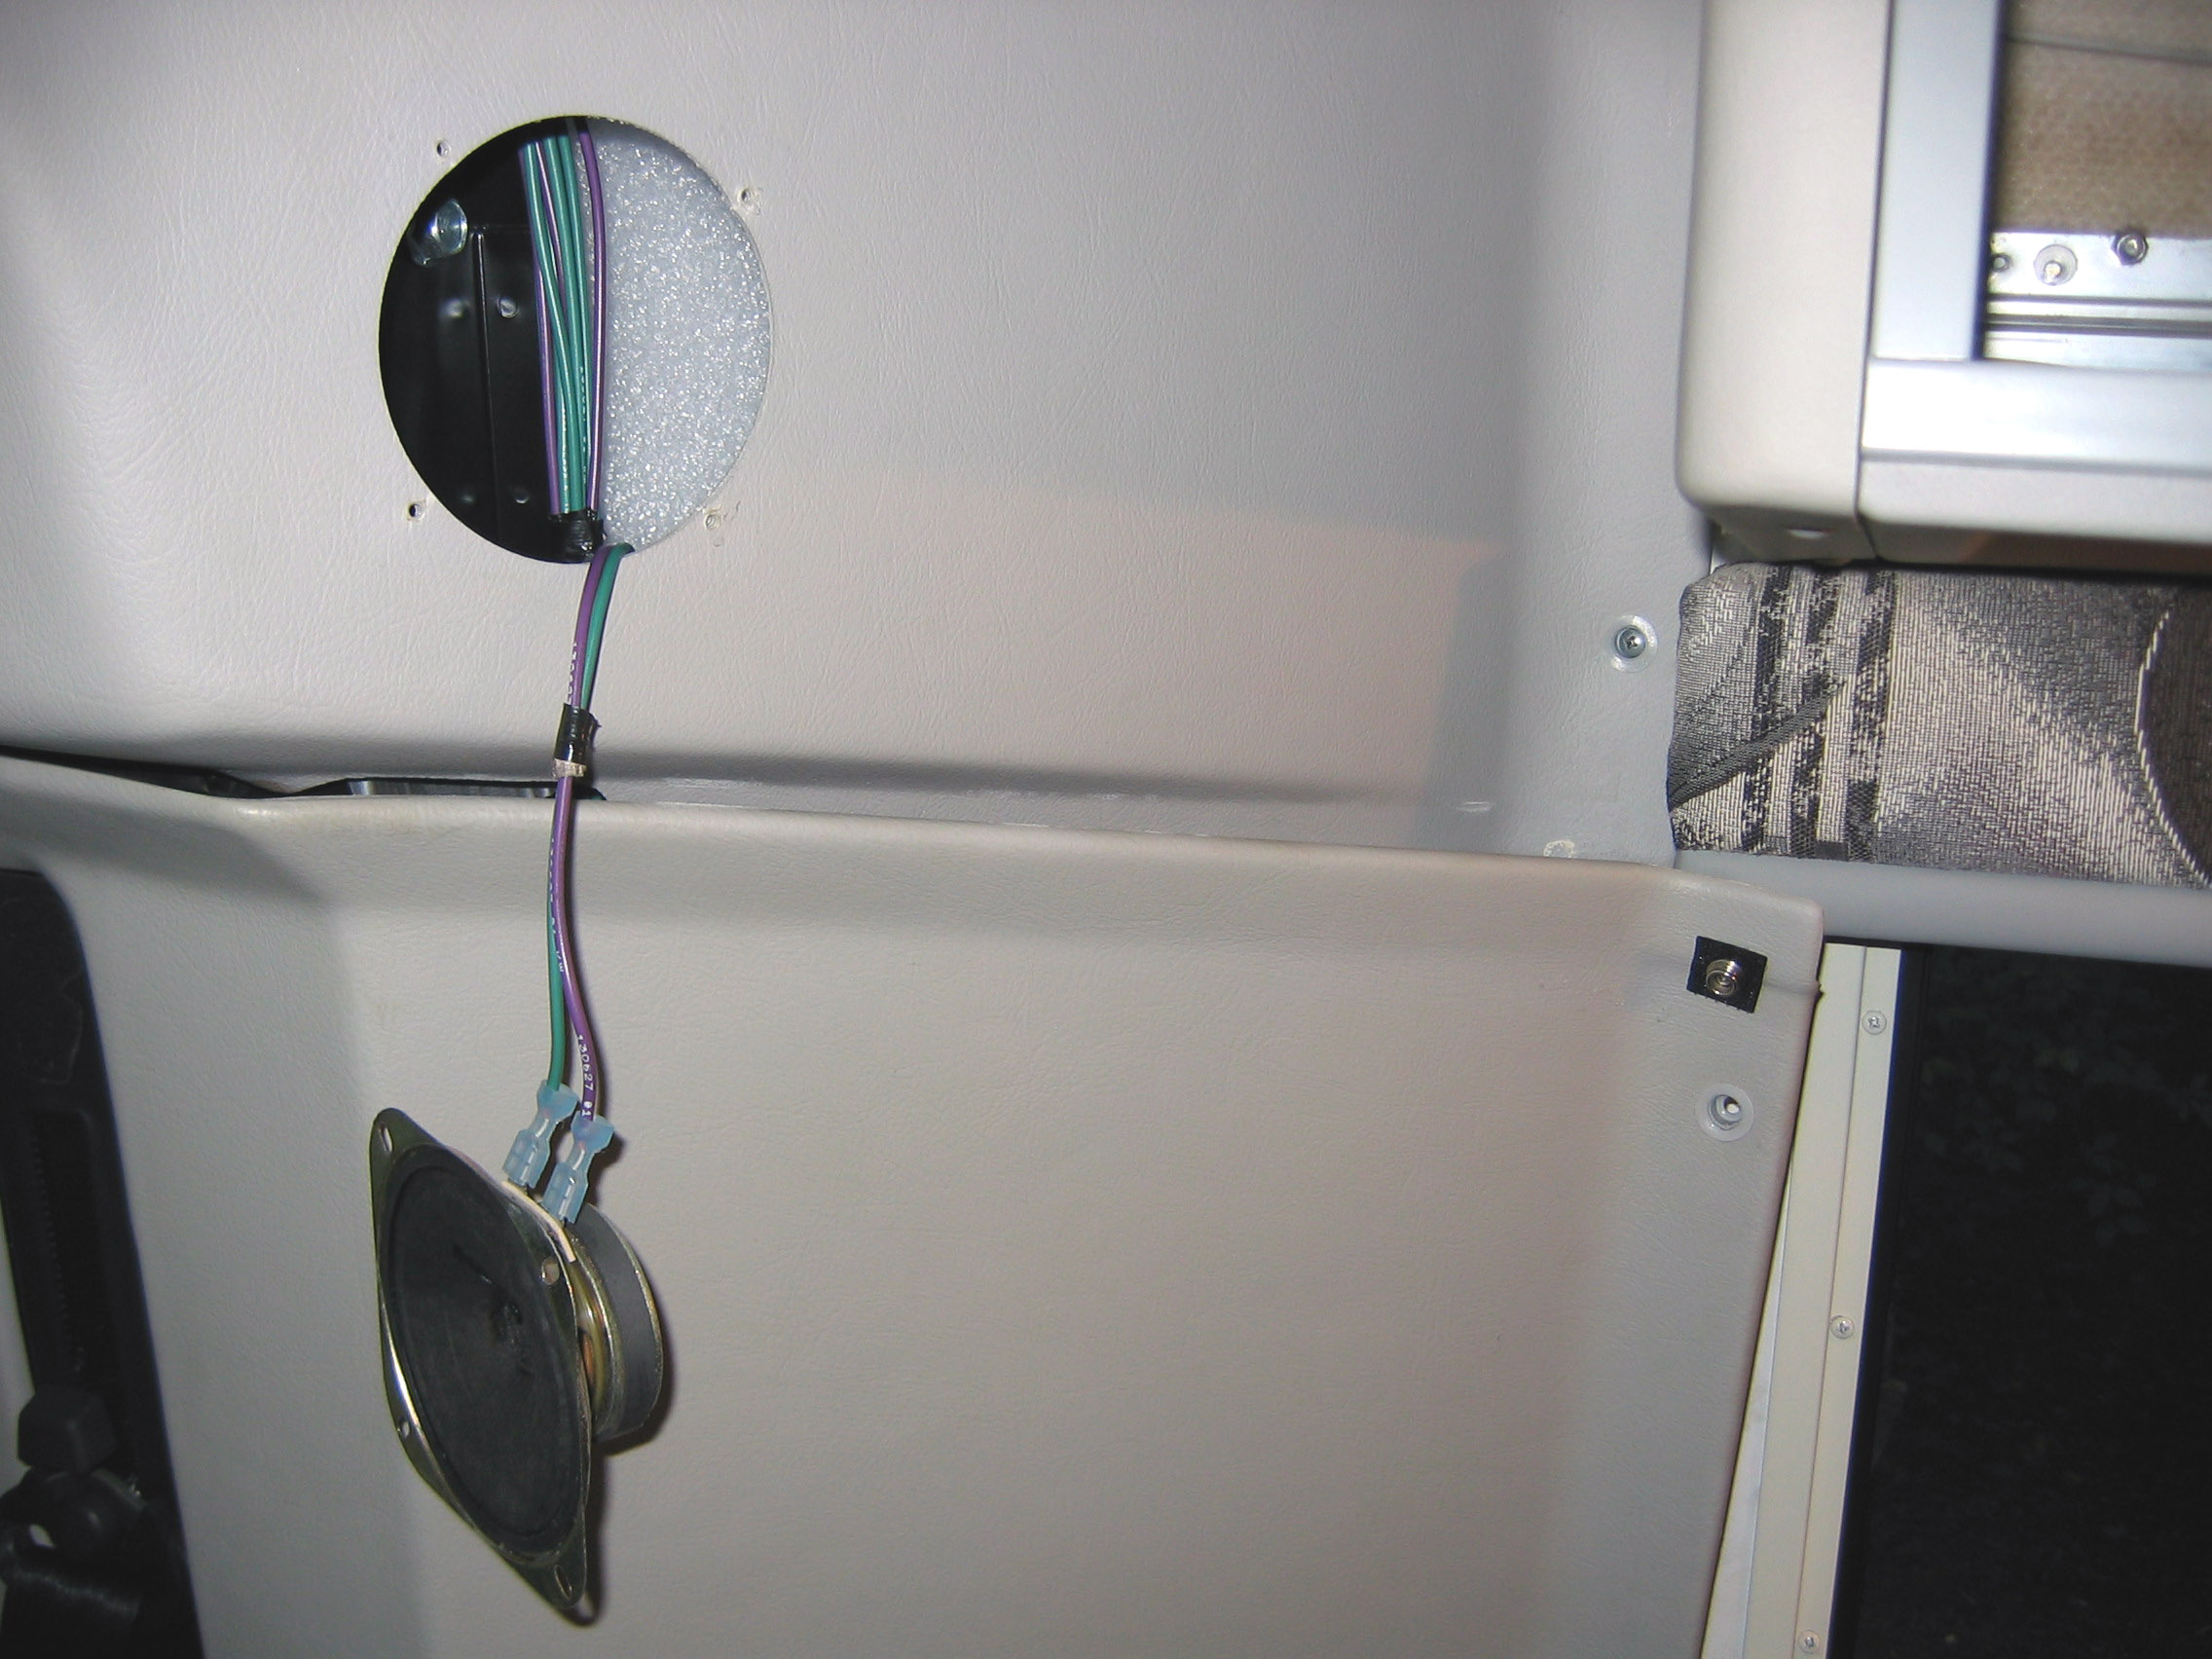
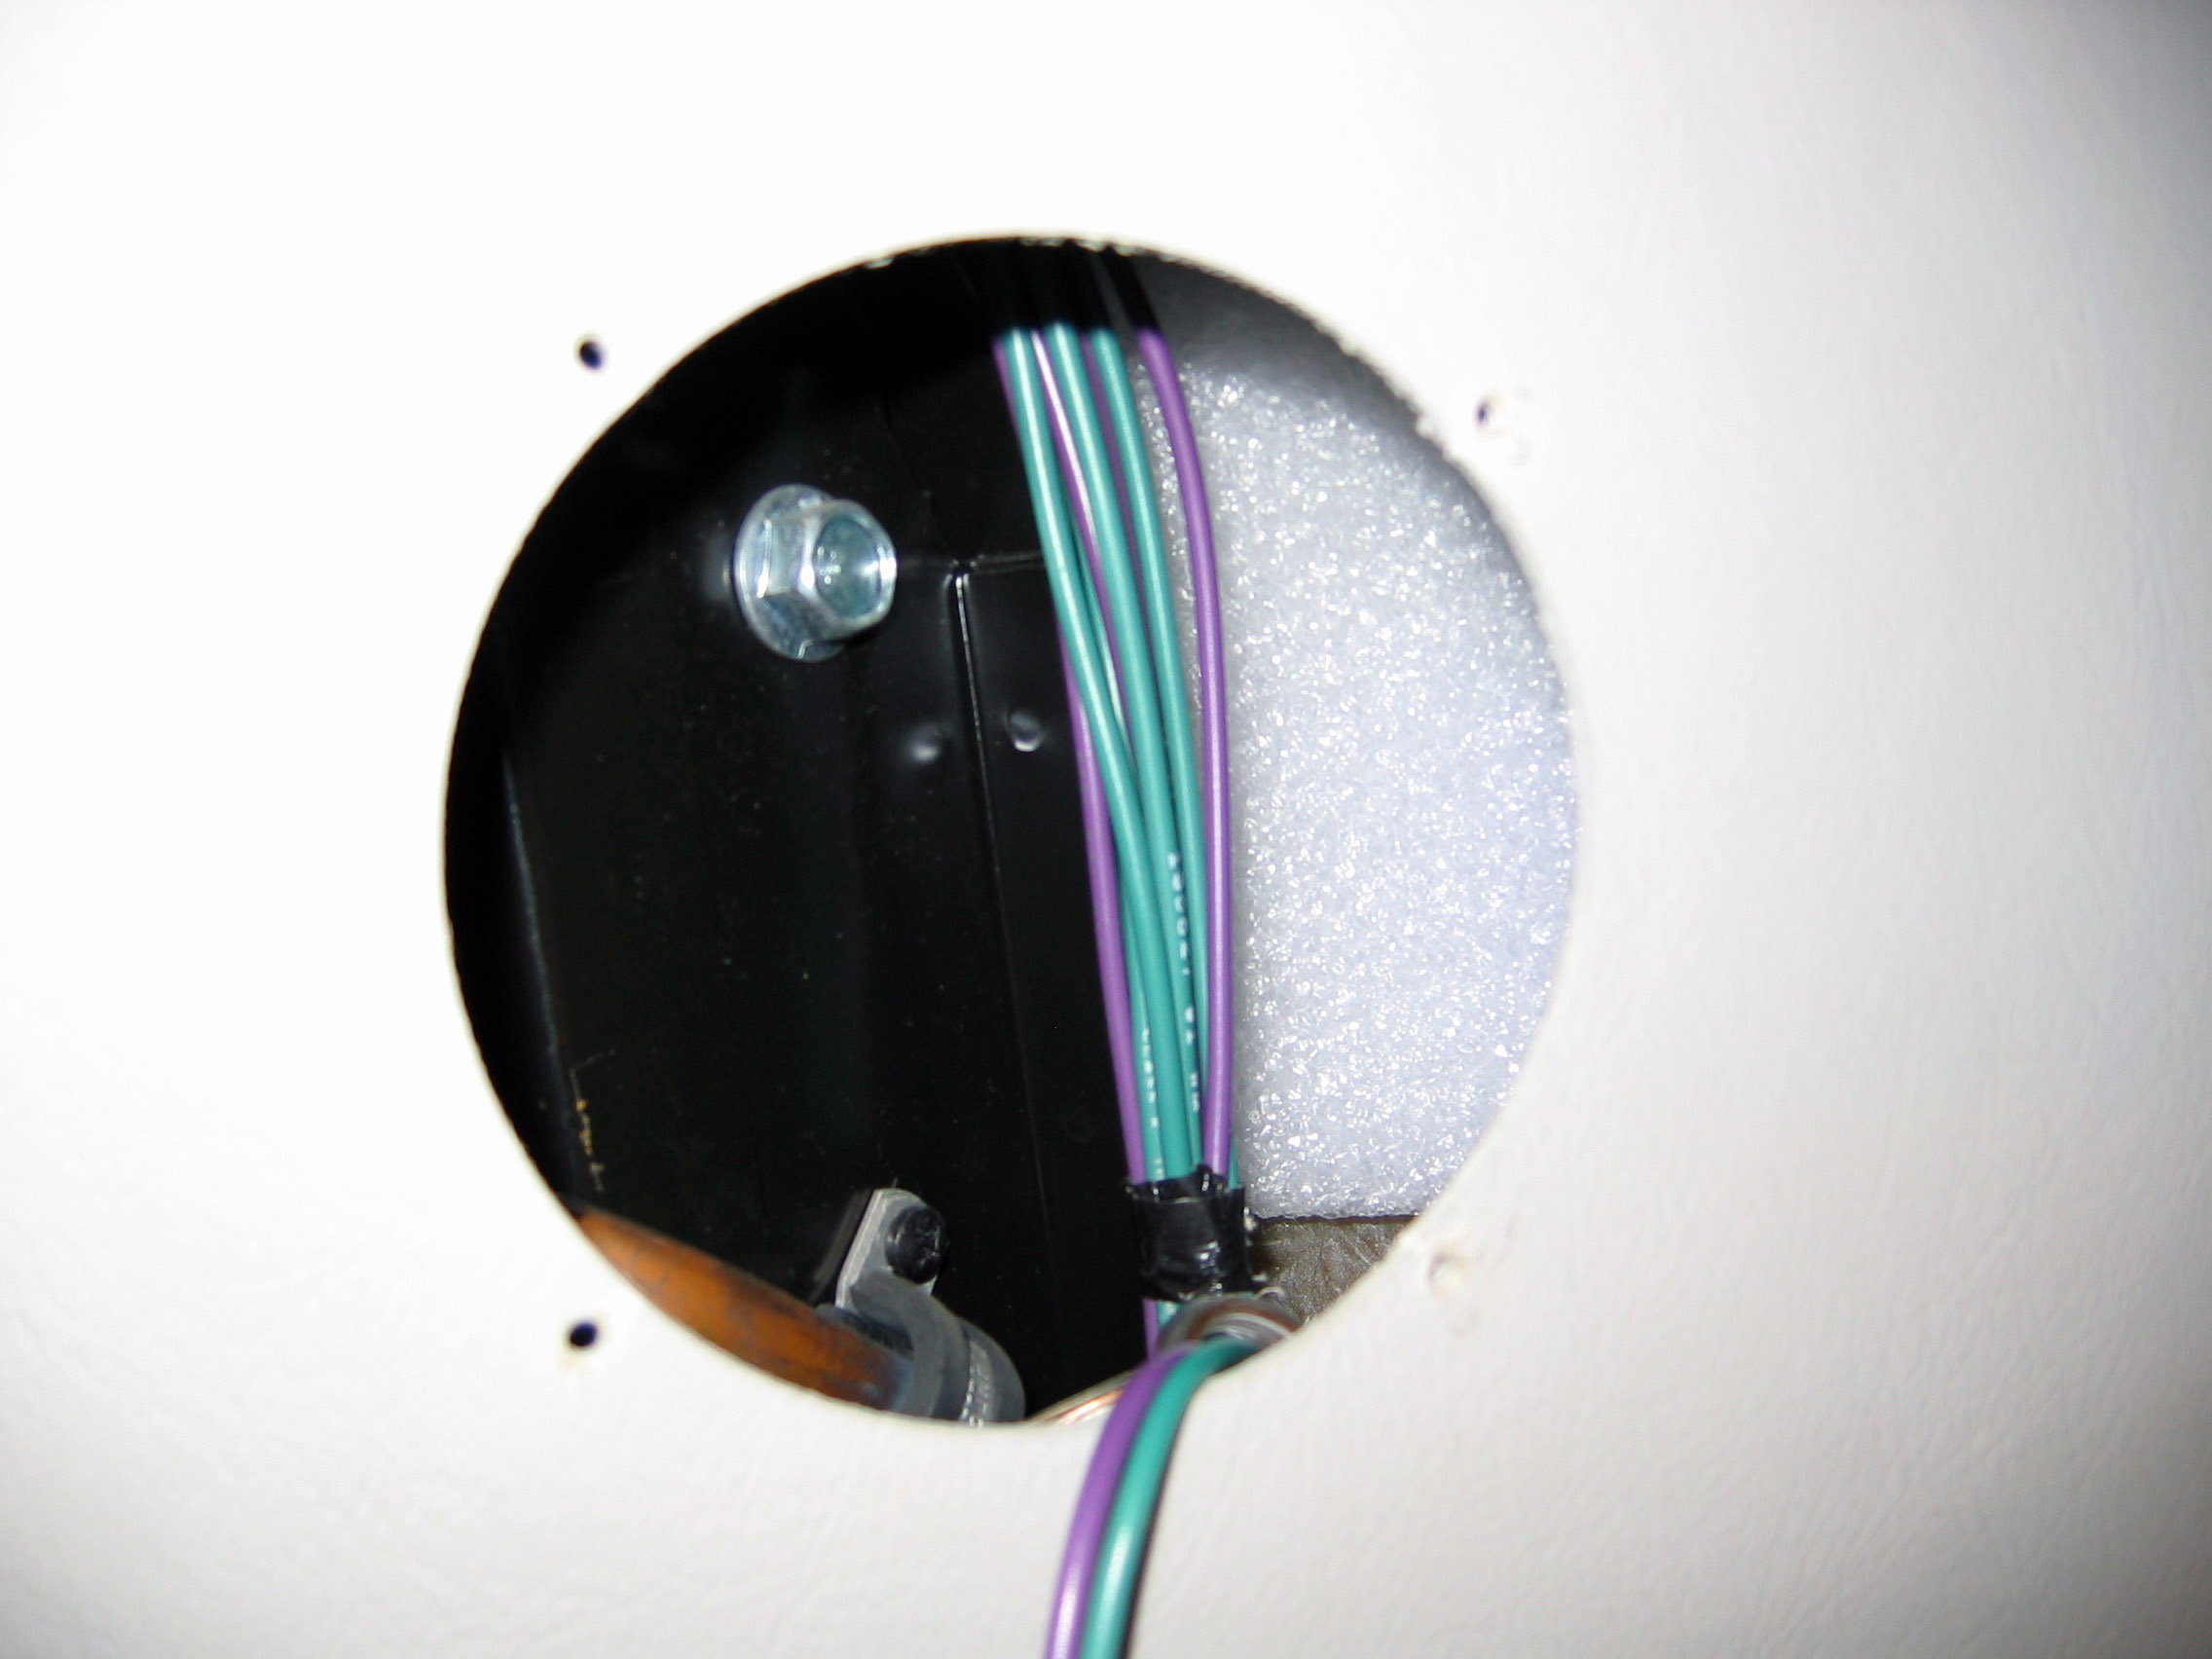
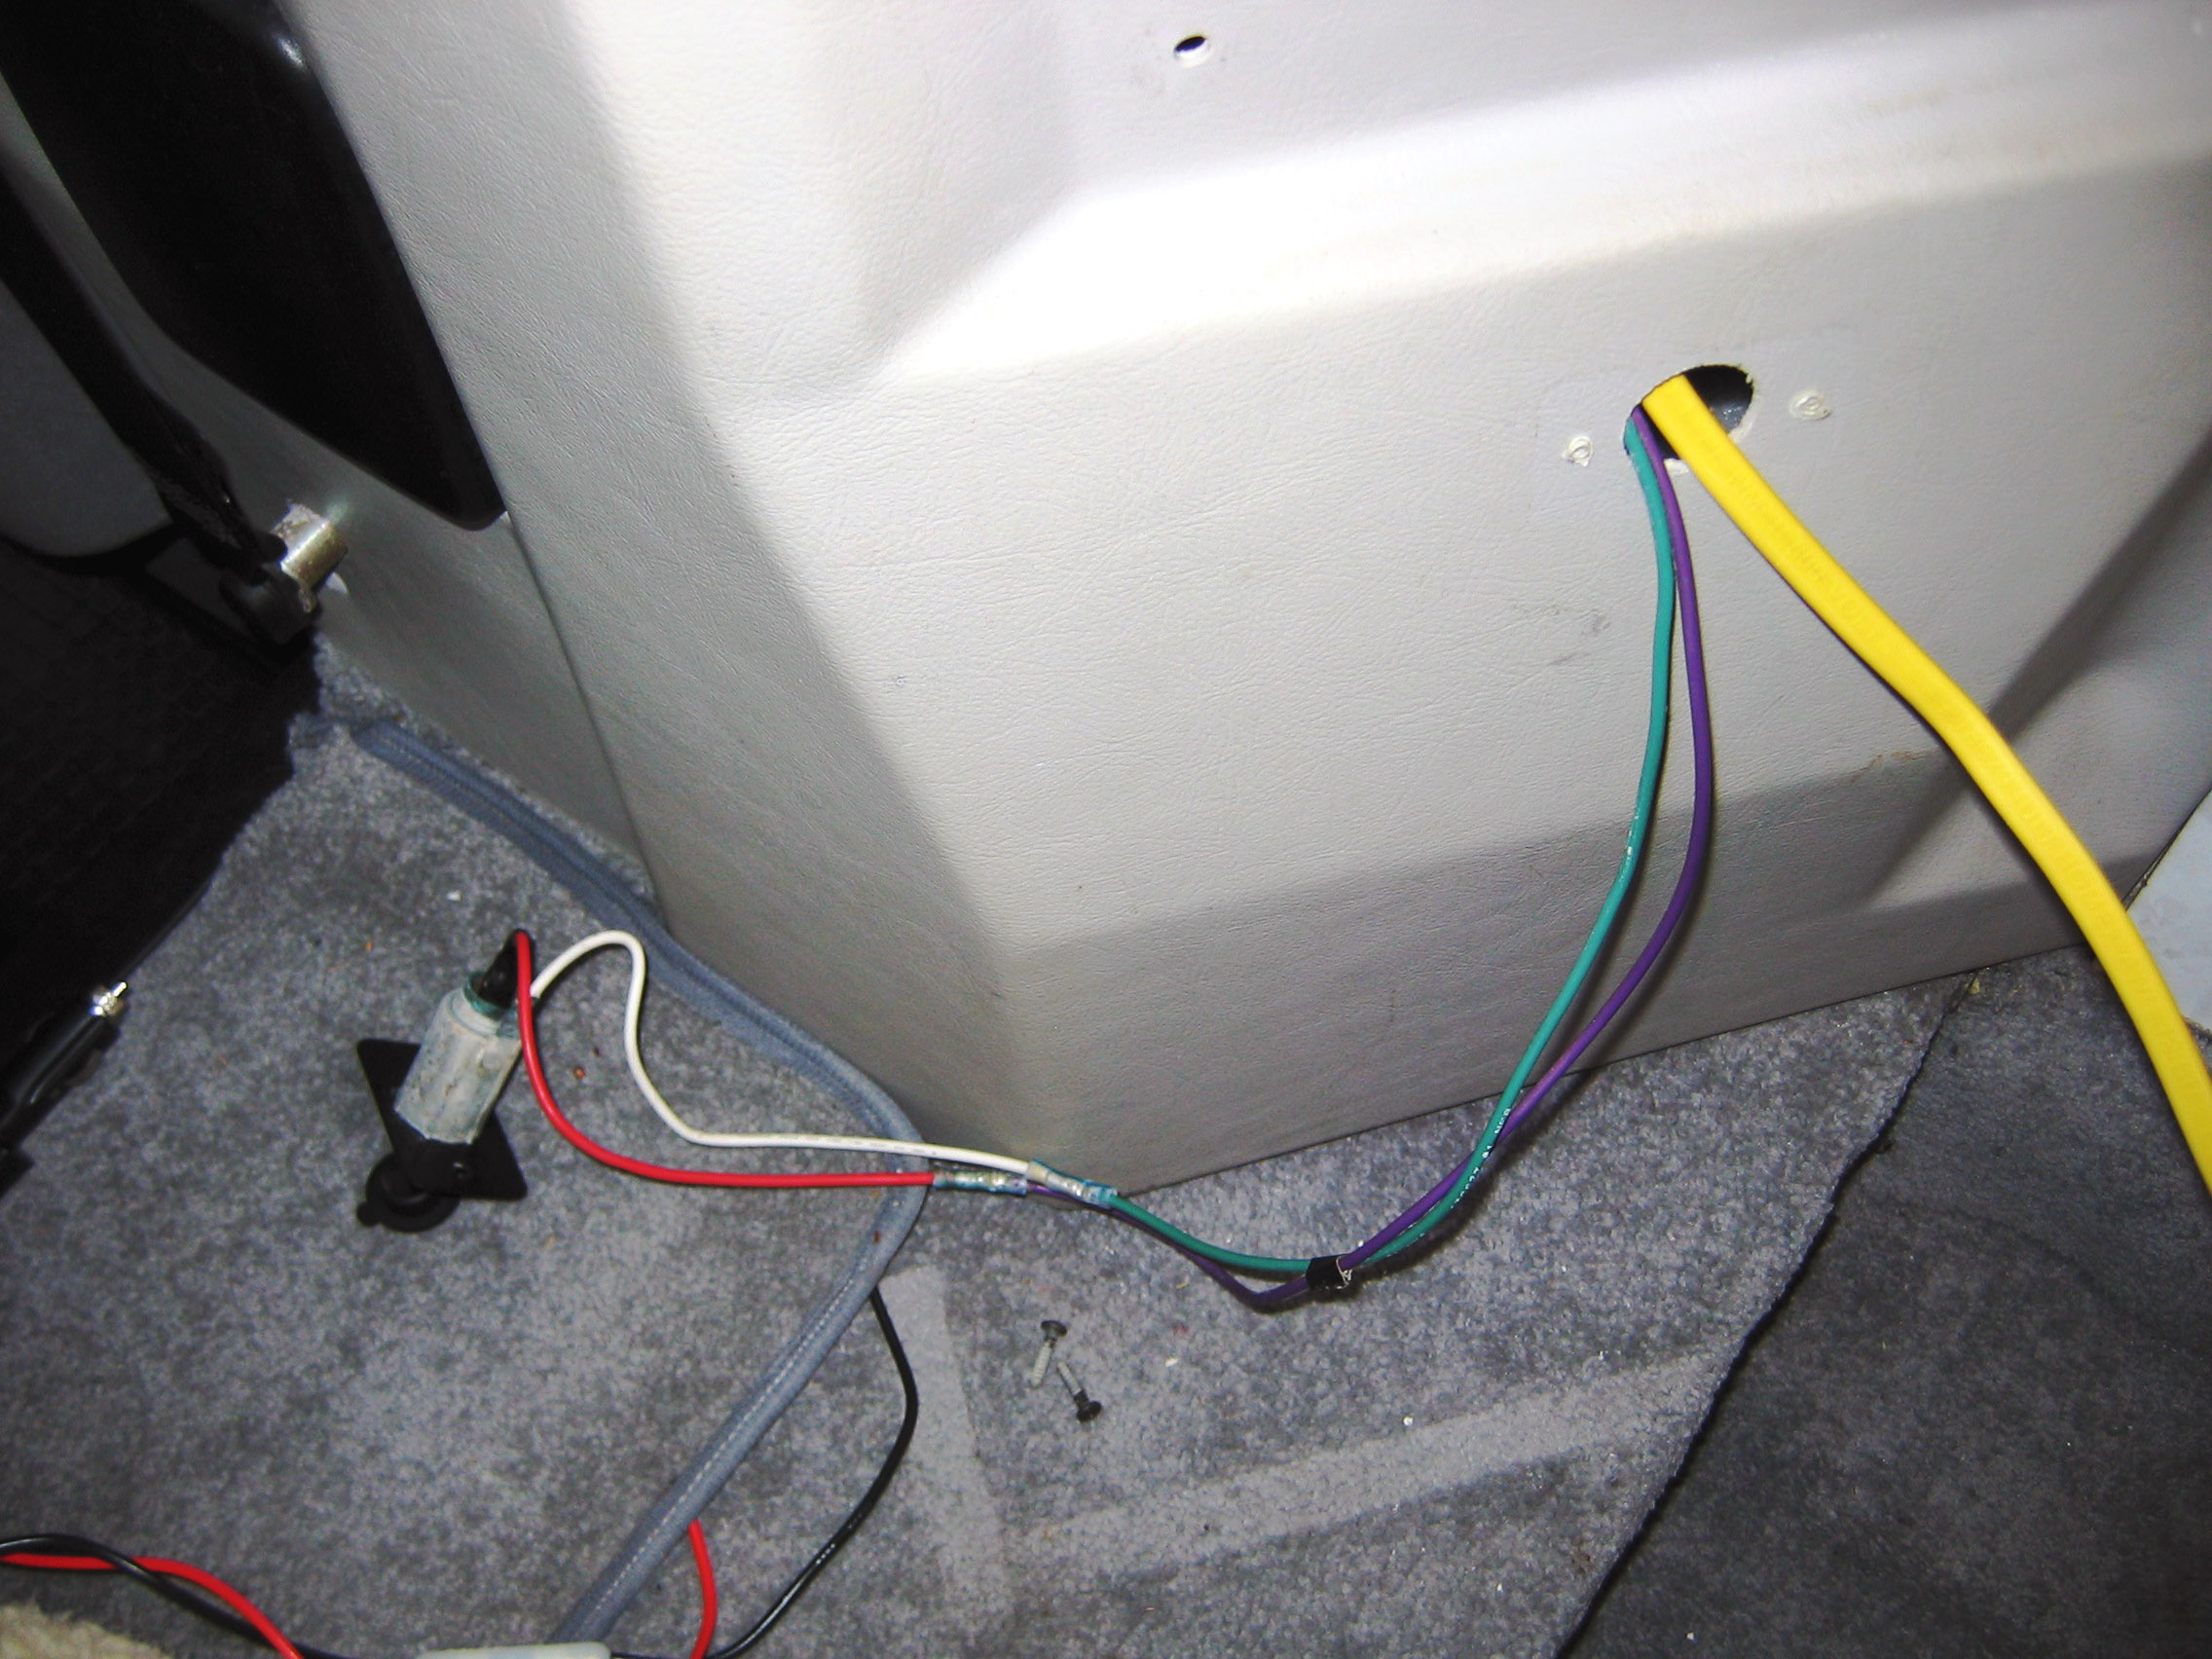
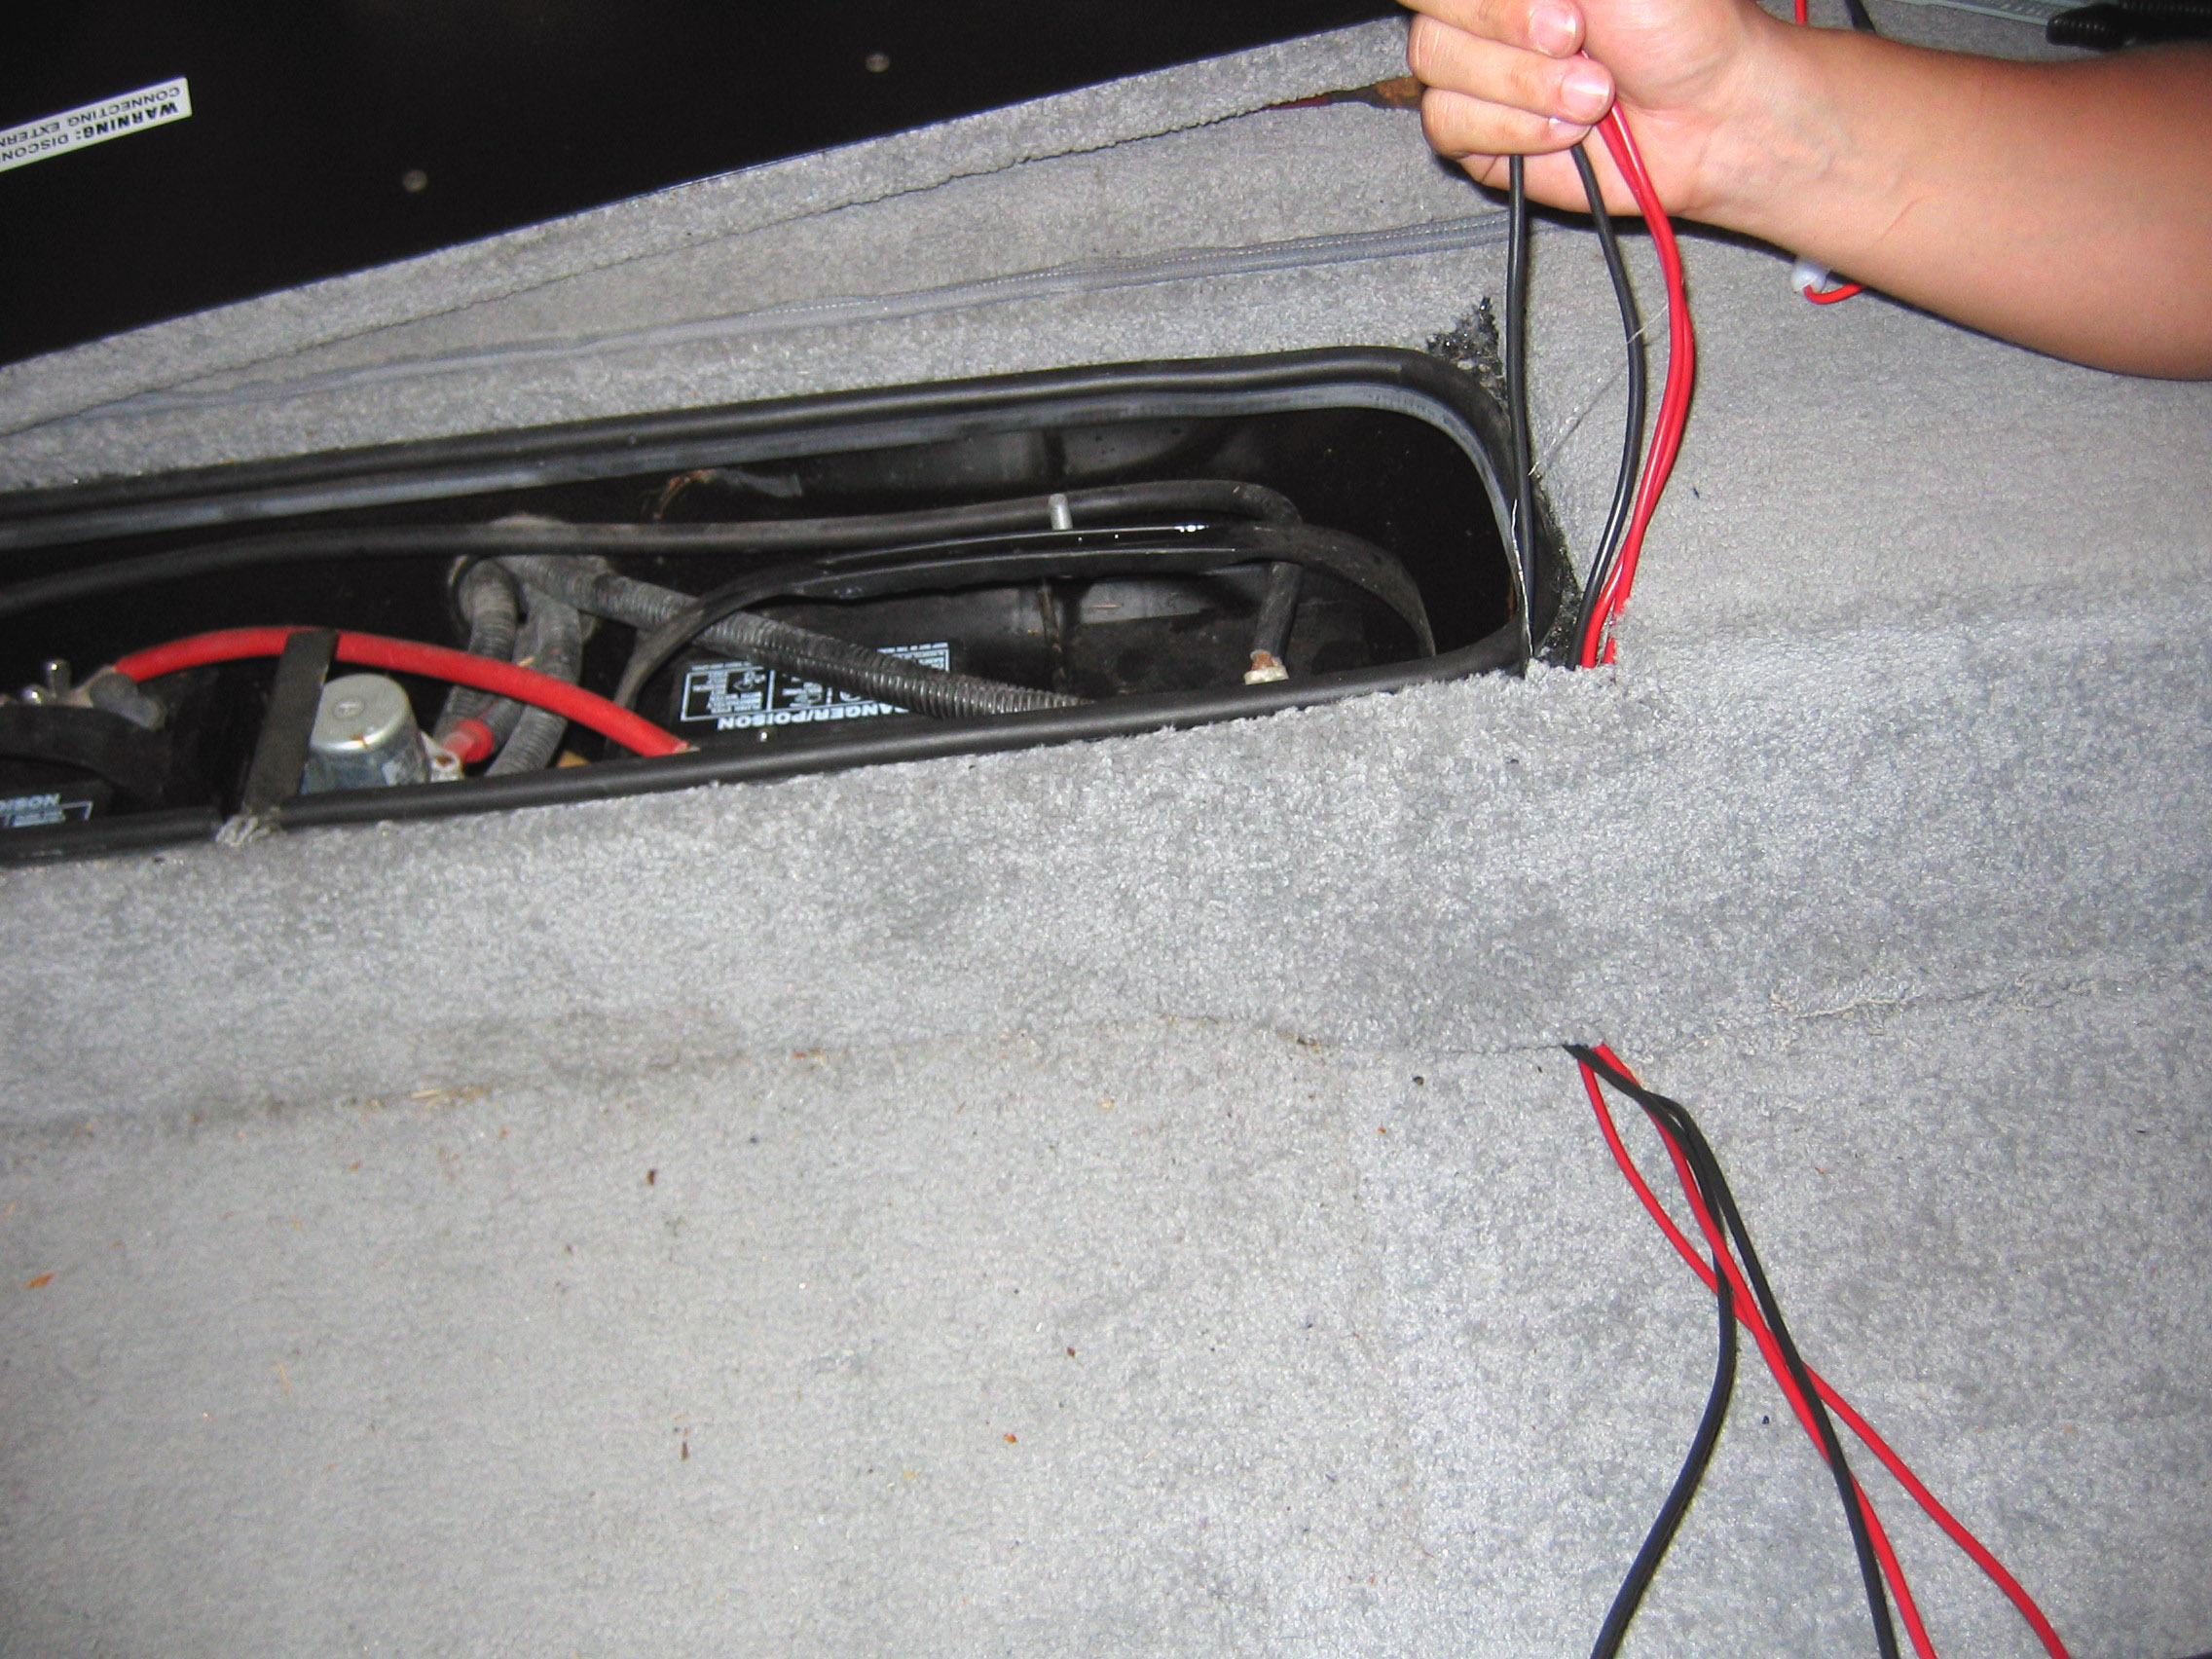
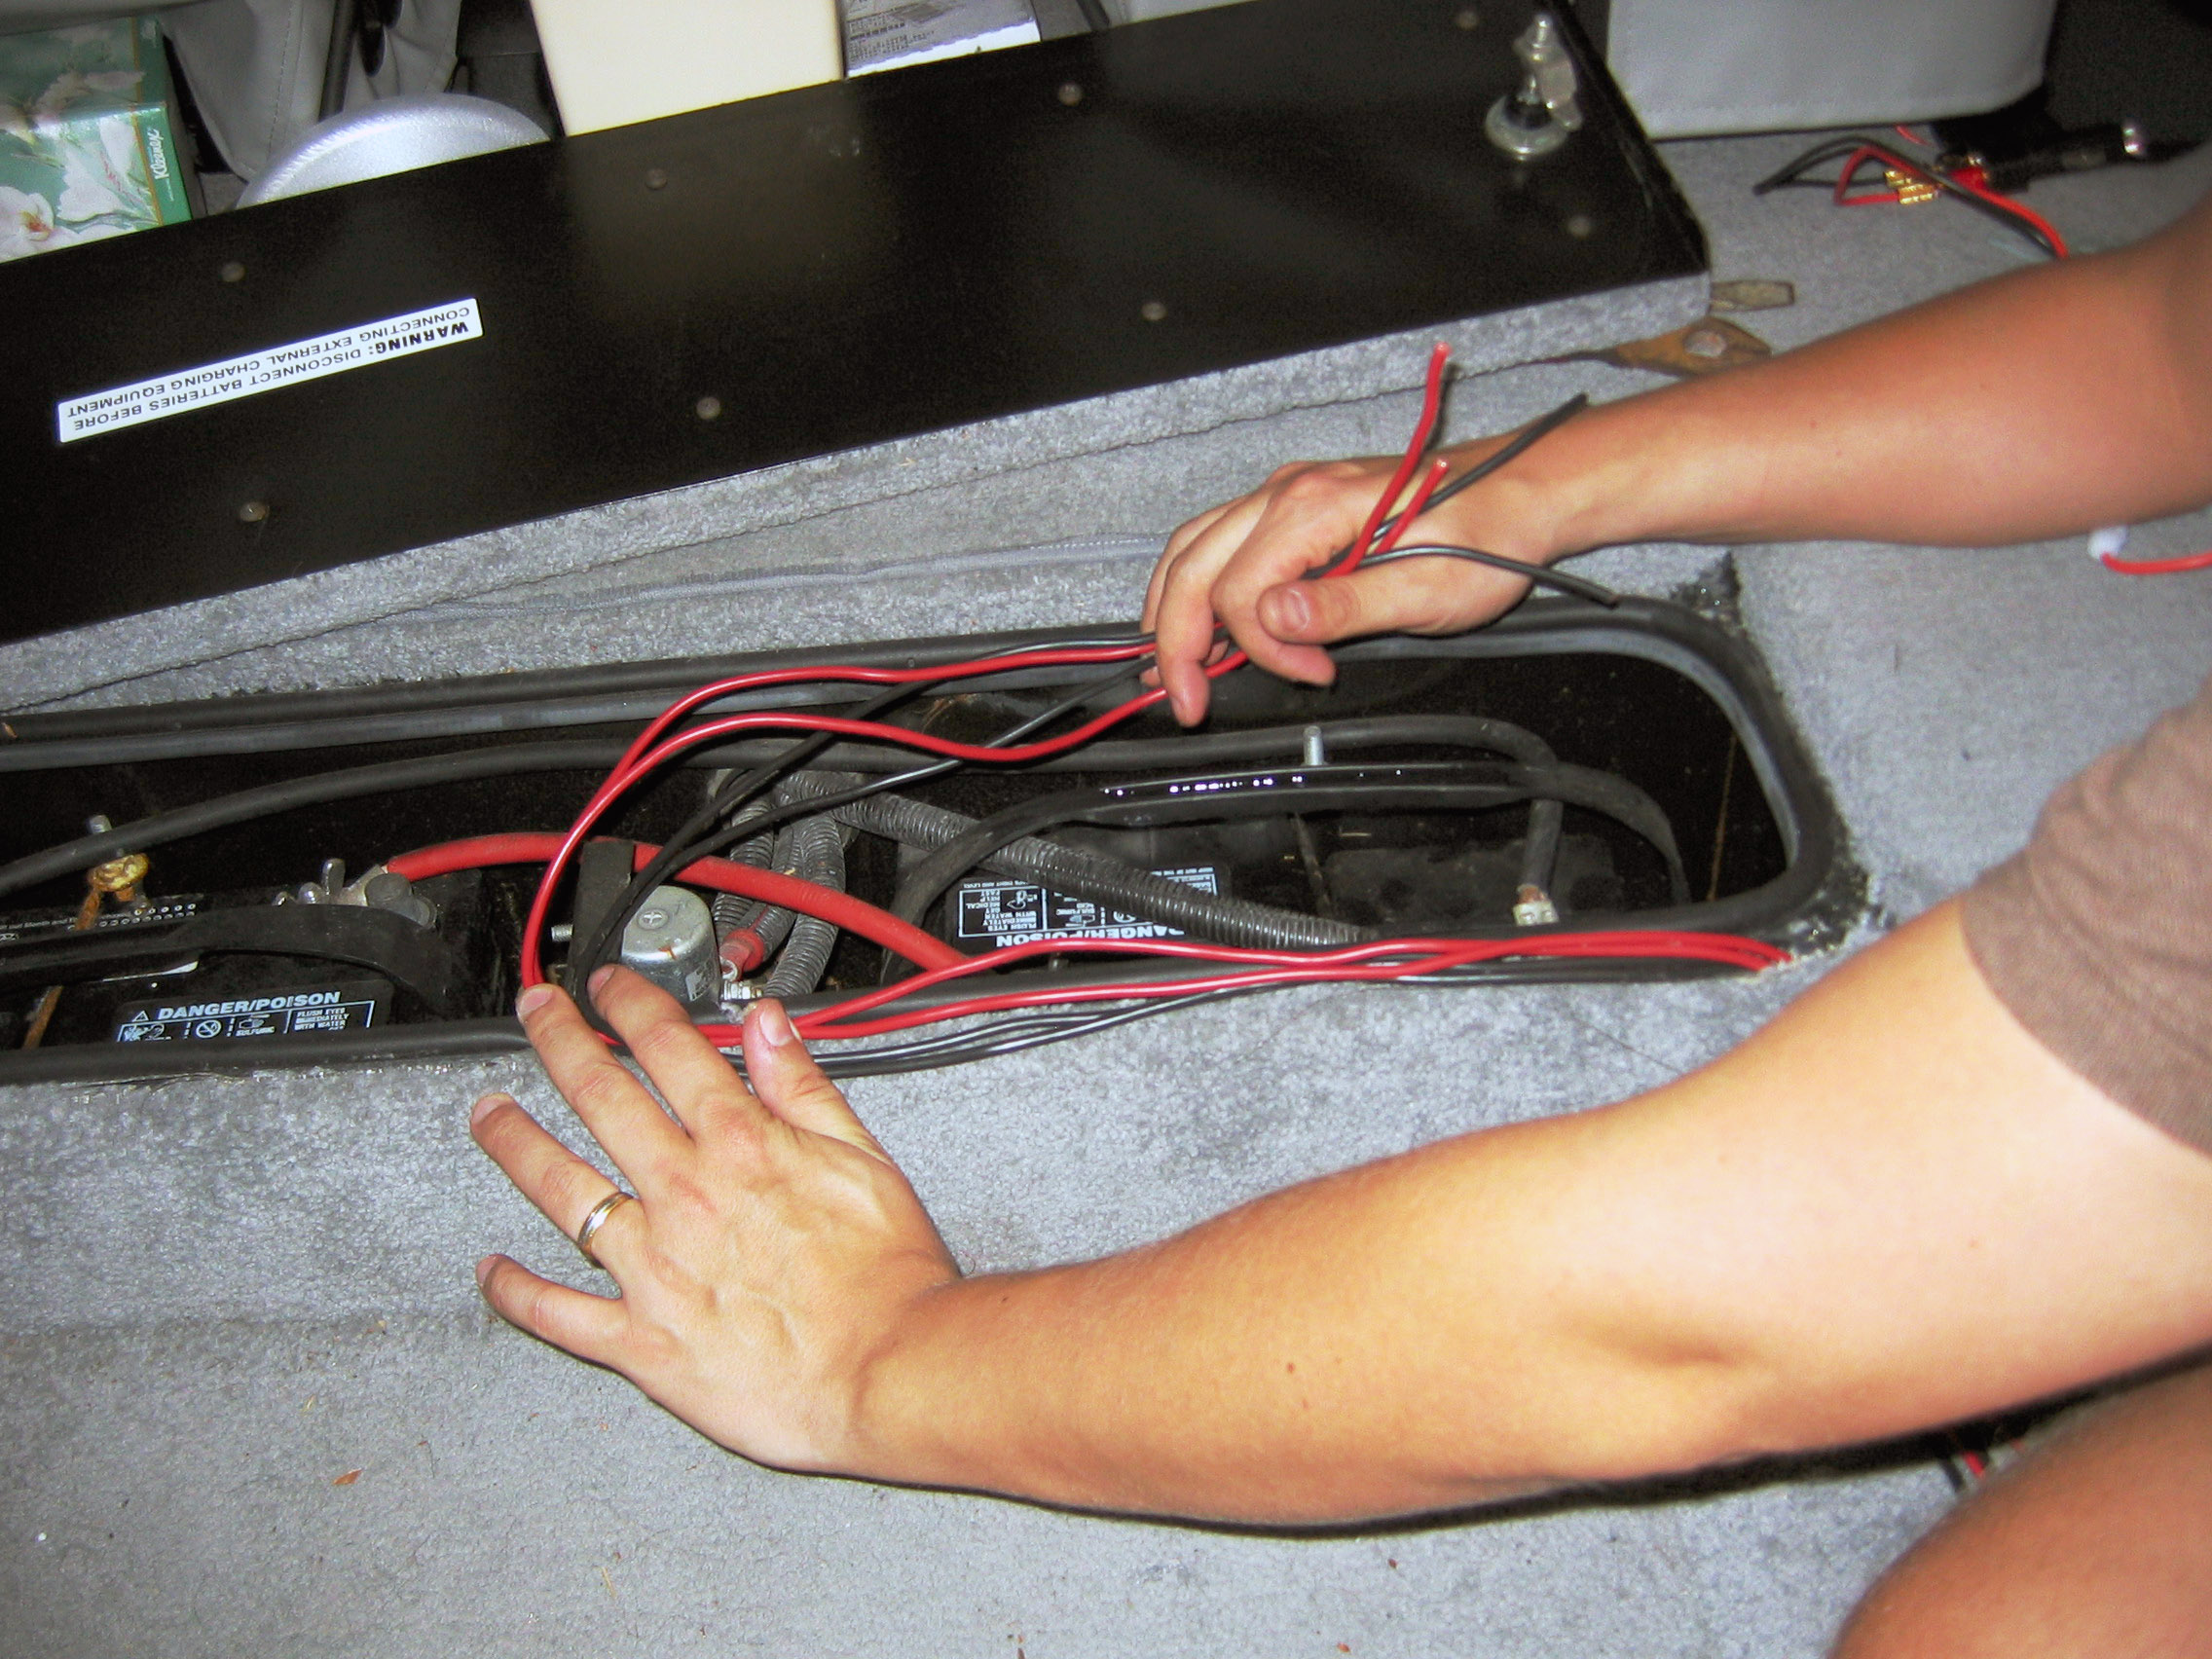
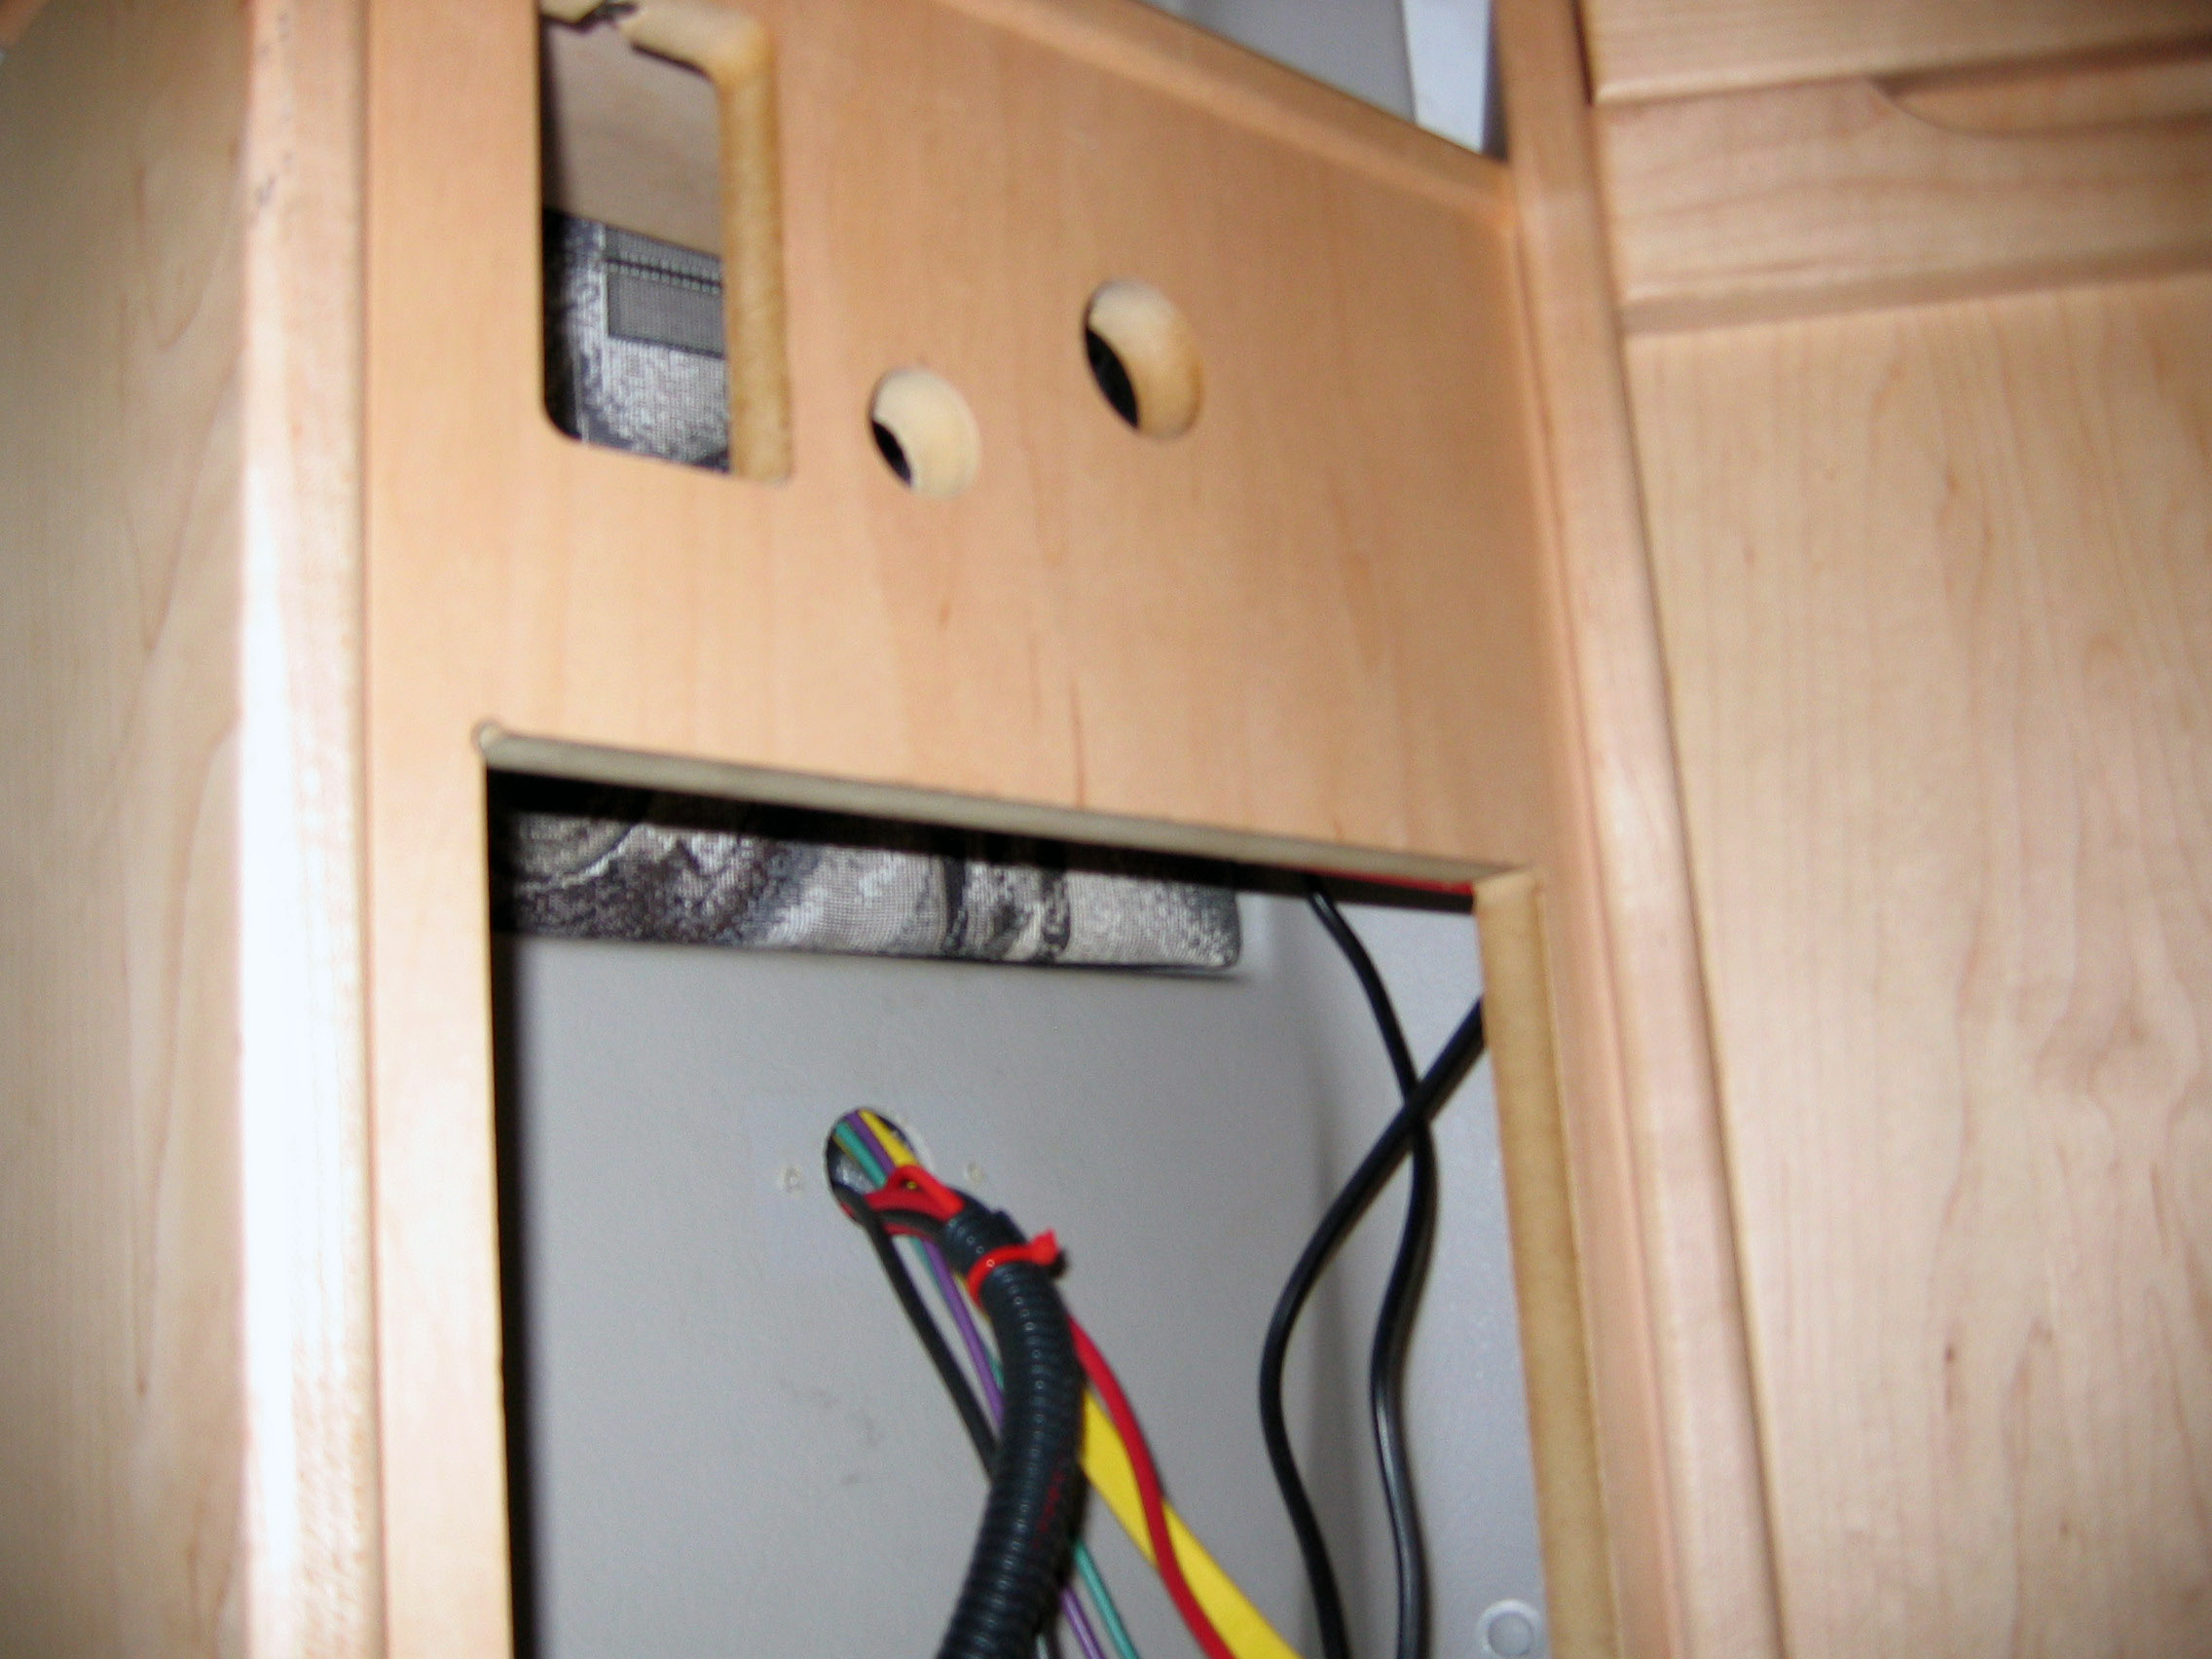
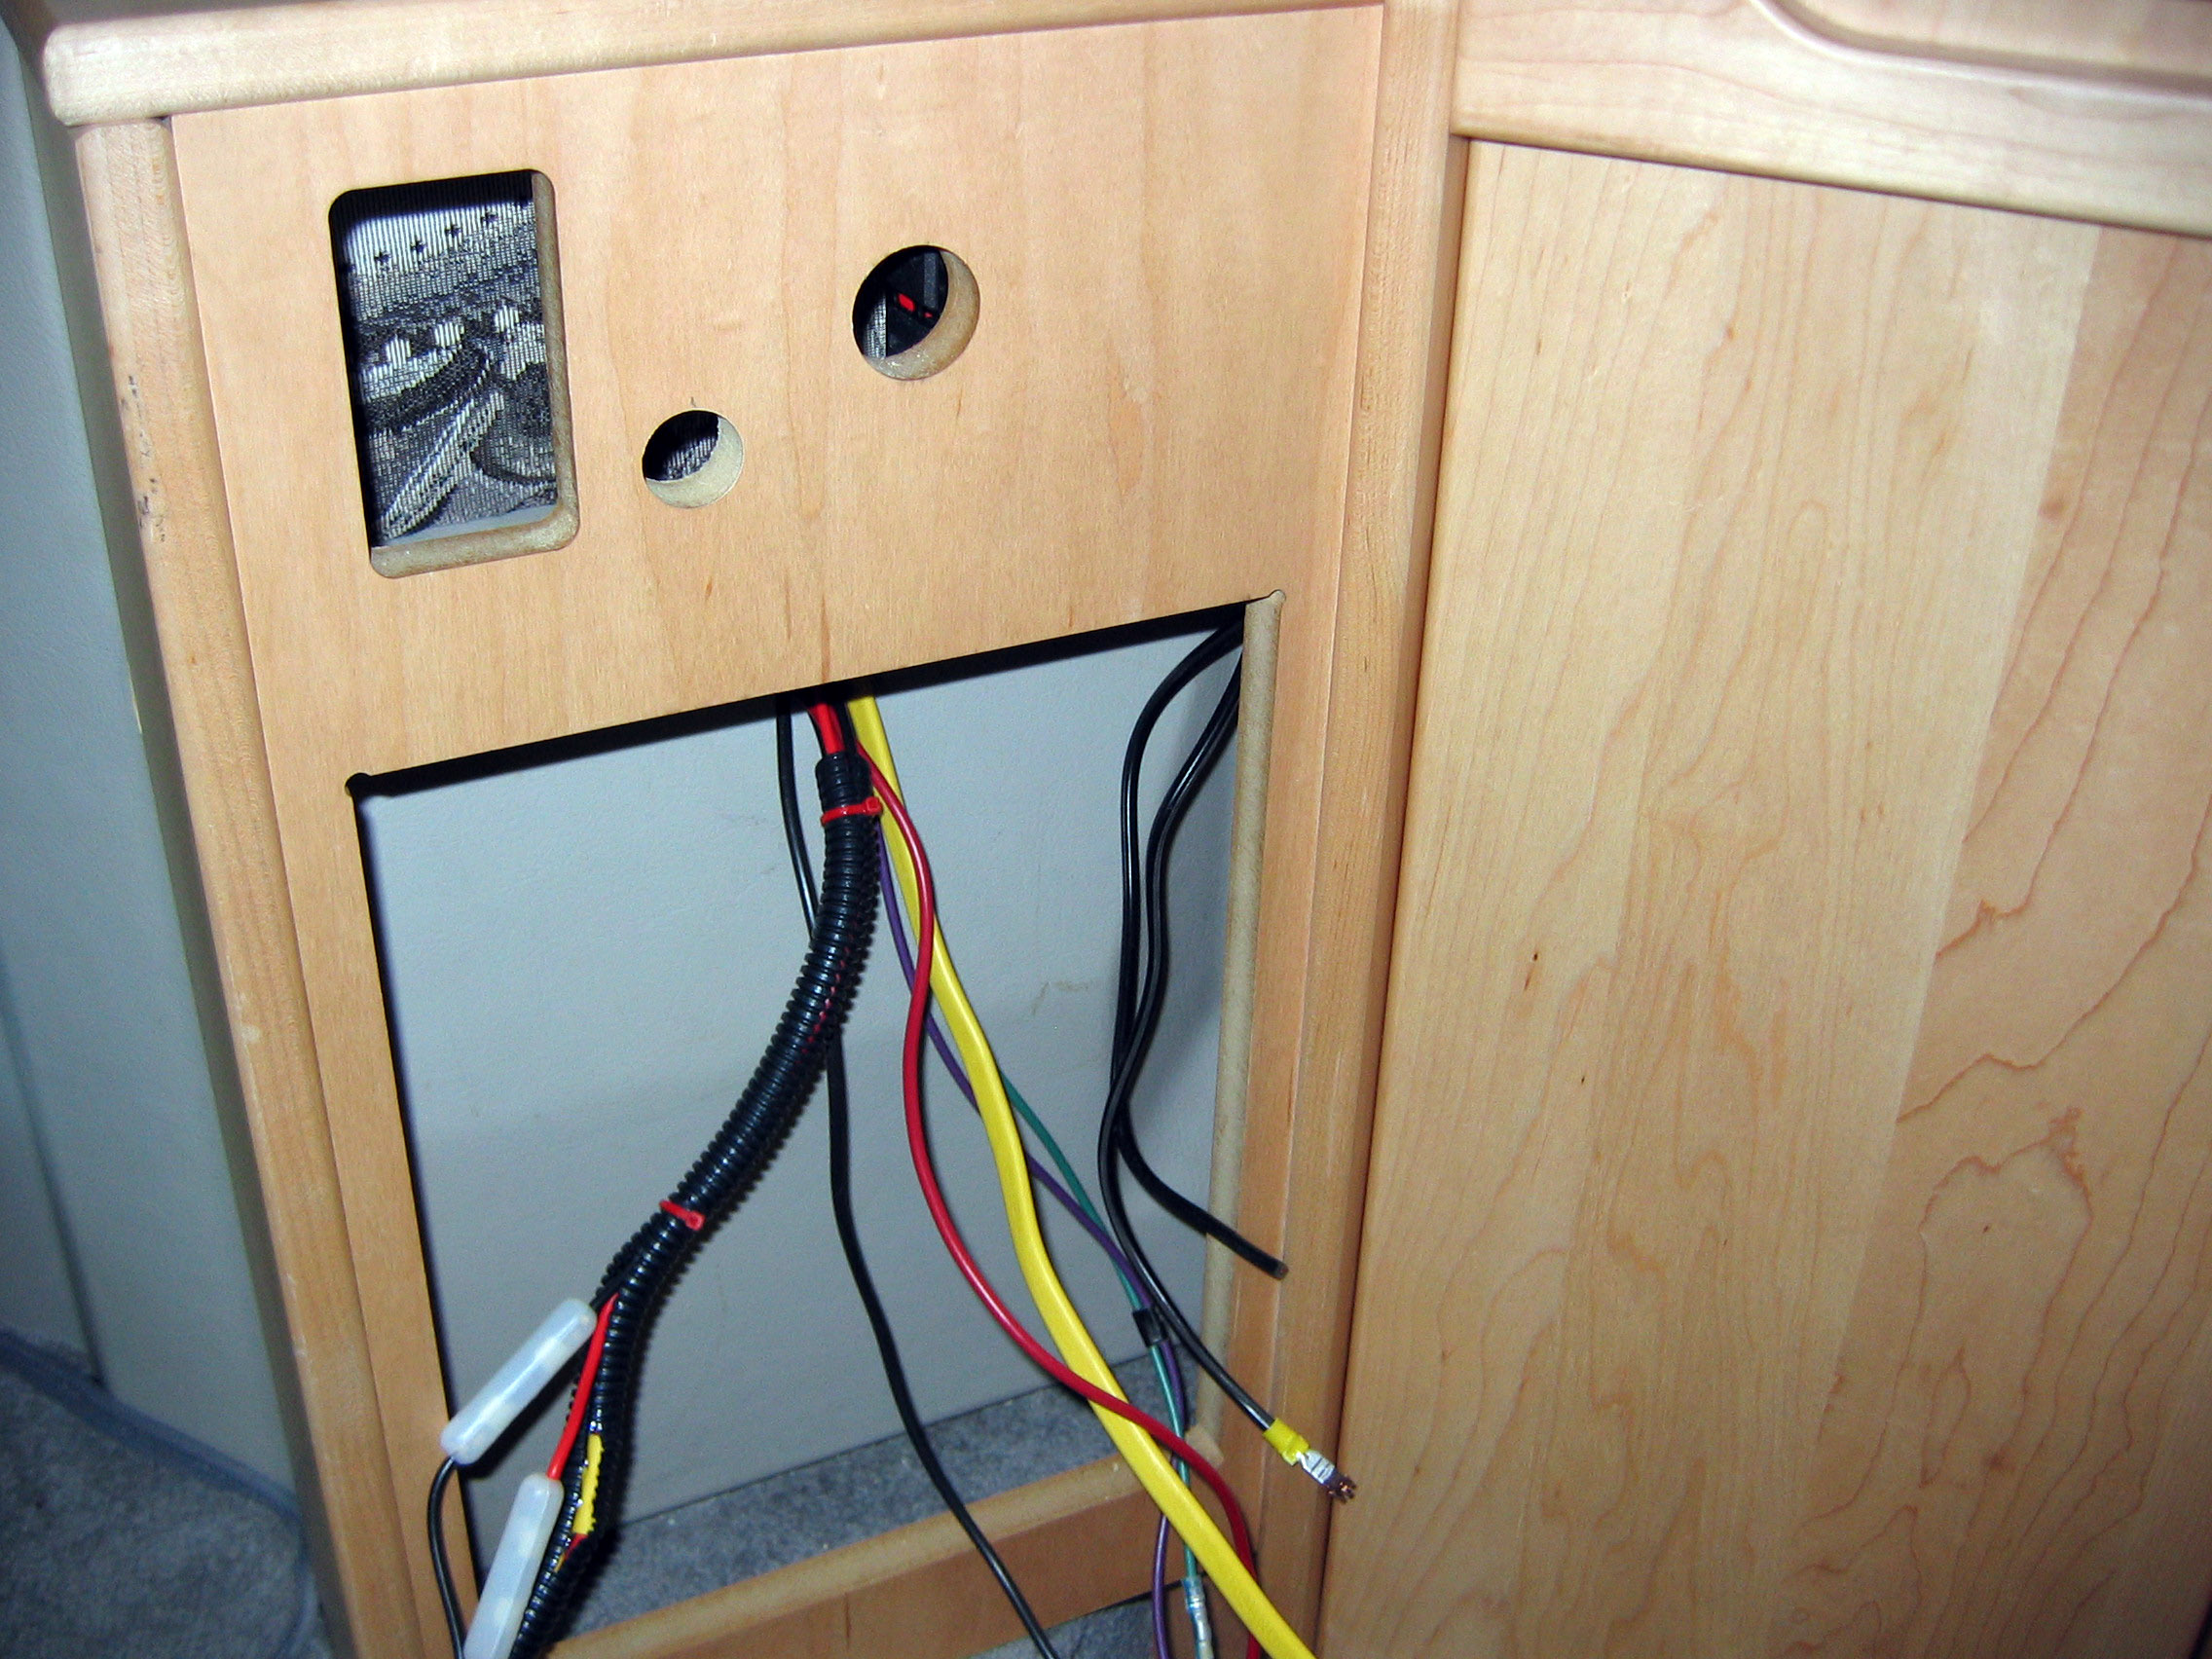
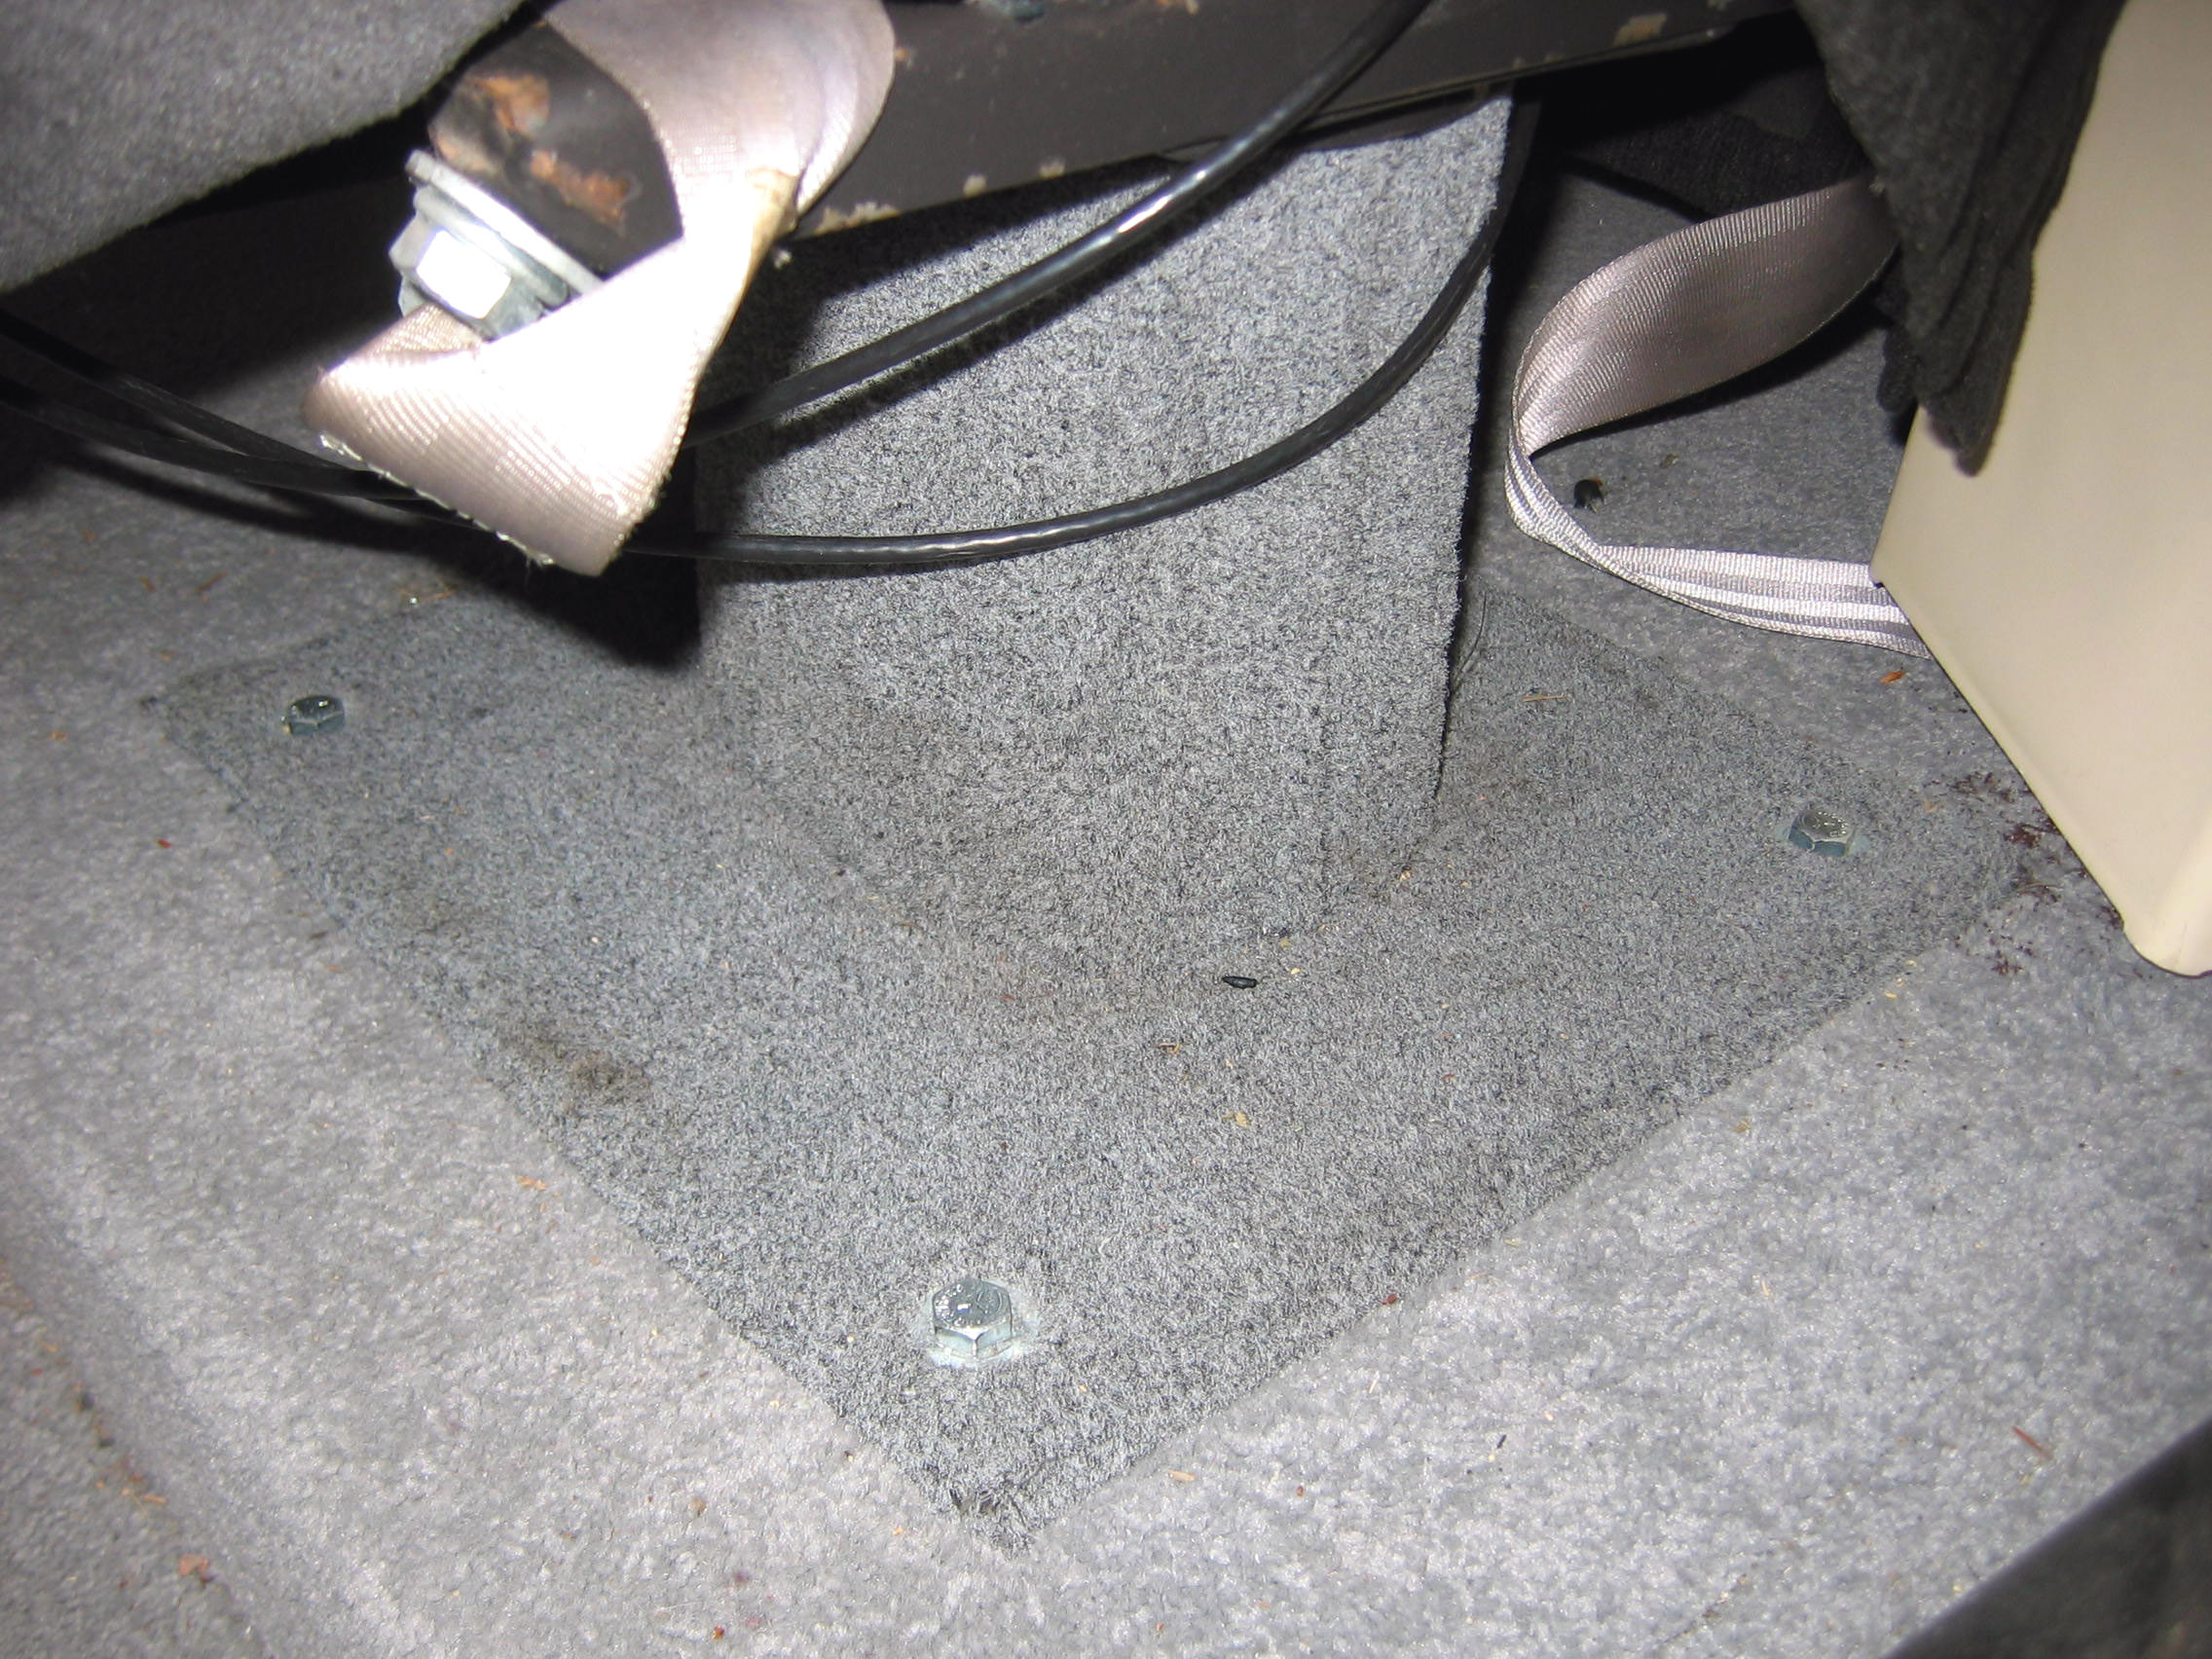
Some of the pictures show what's behind the microwave in a QD.  This one had been 'messed with' by the first owner who installed a huge heater literally into the rear of the 2nd row quad seat.  The thermostat was placed to the left in the picture.  We left the thermostat and capped the wires.  We ran power to the table from the existing microwave connection.

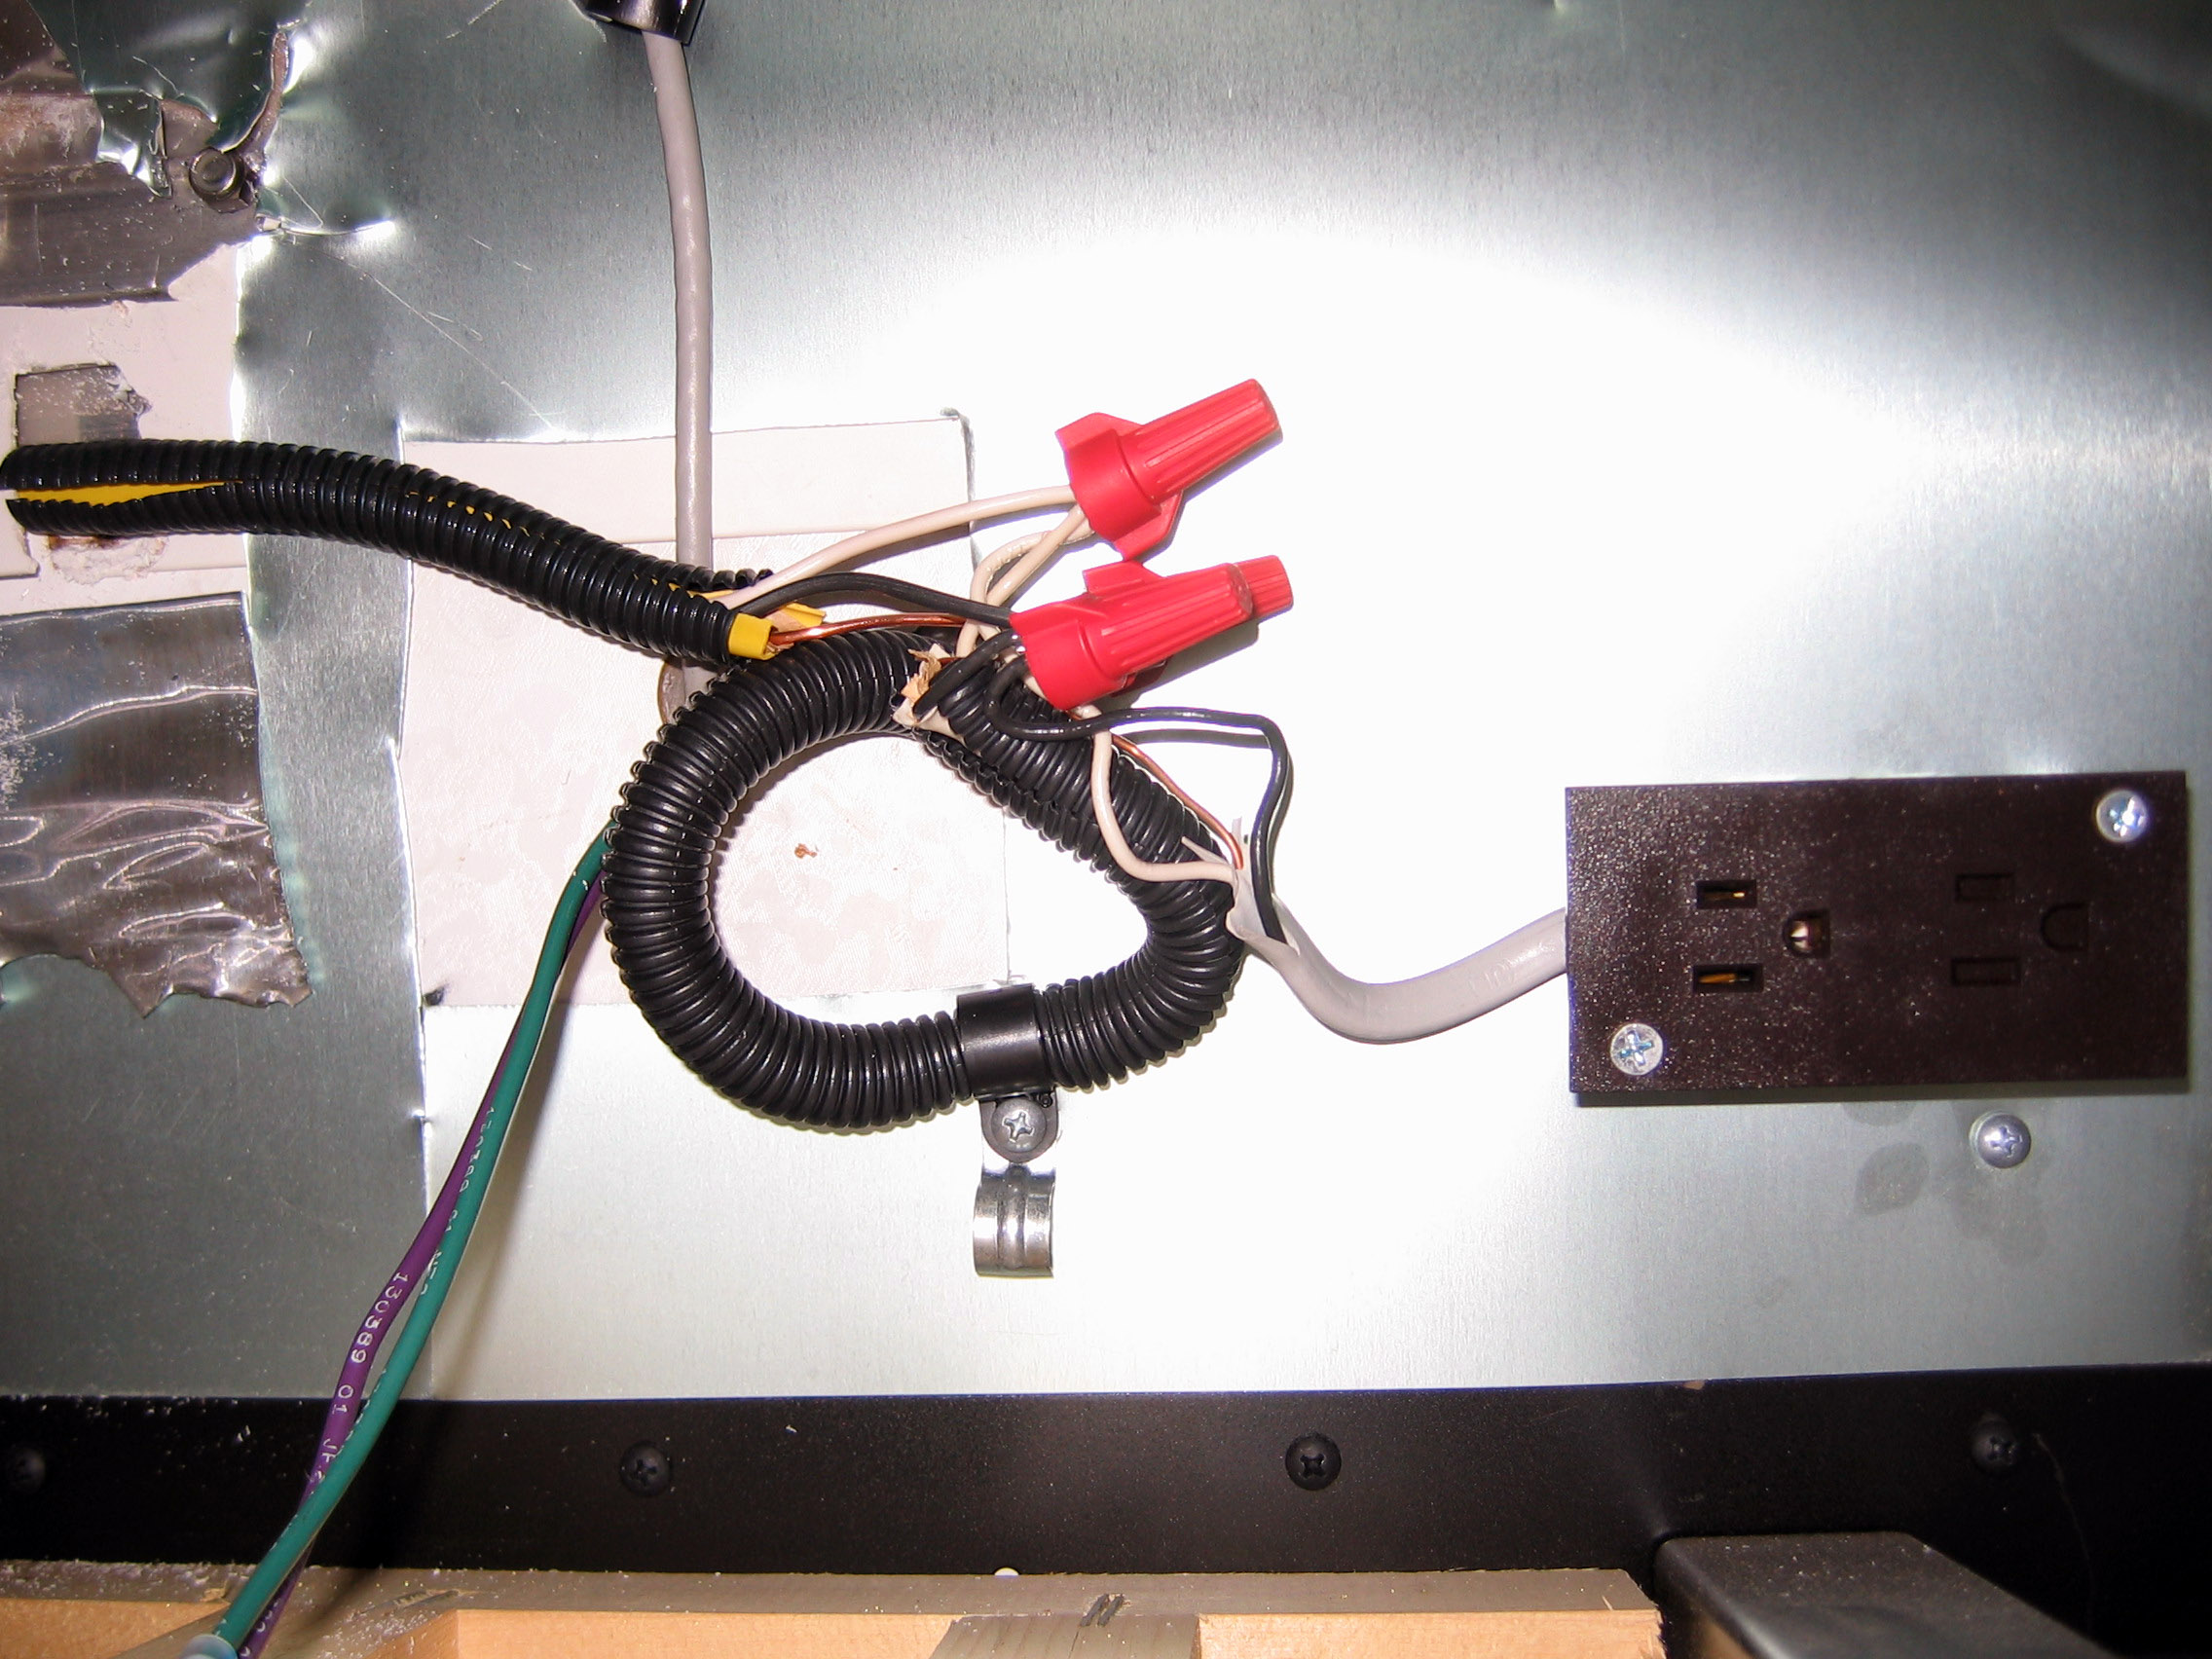
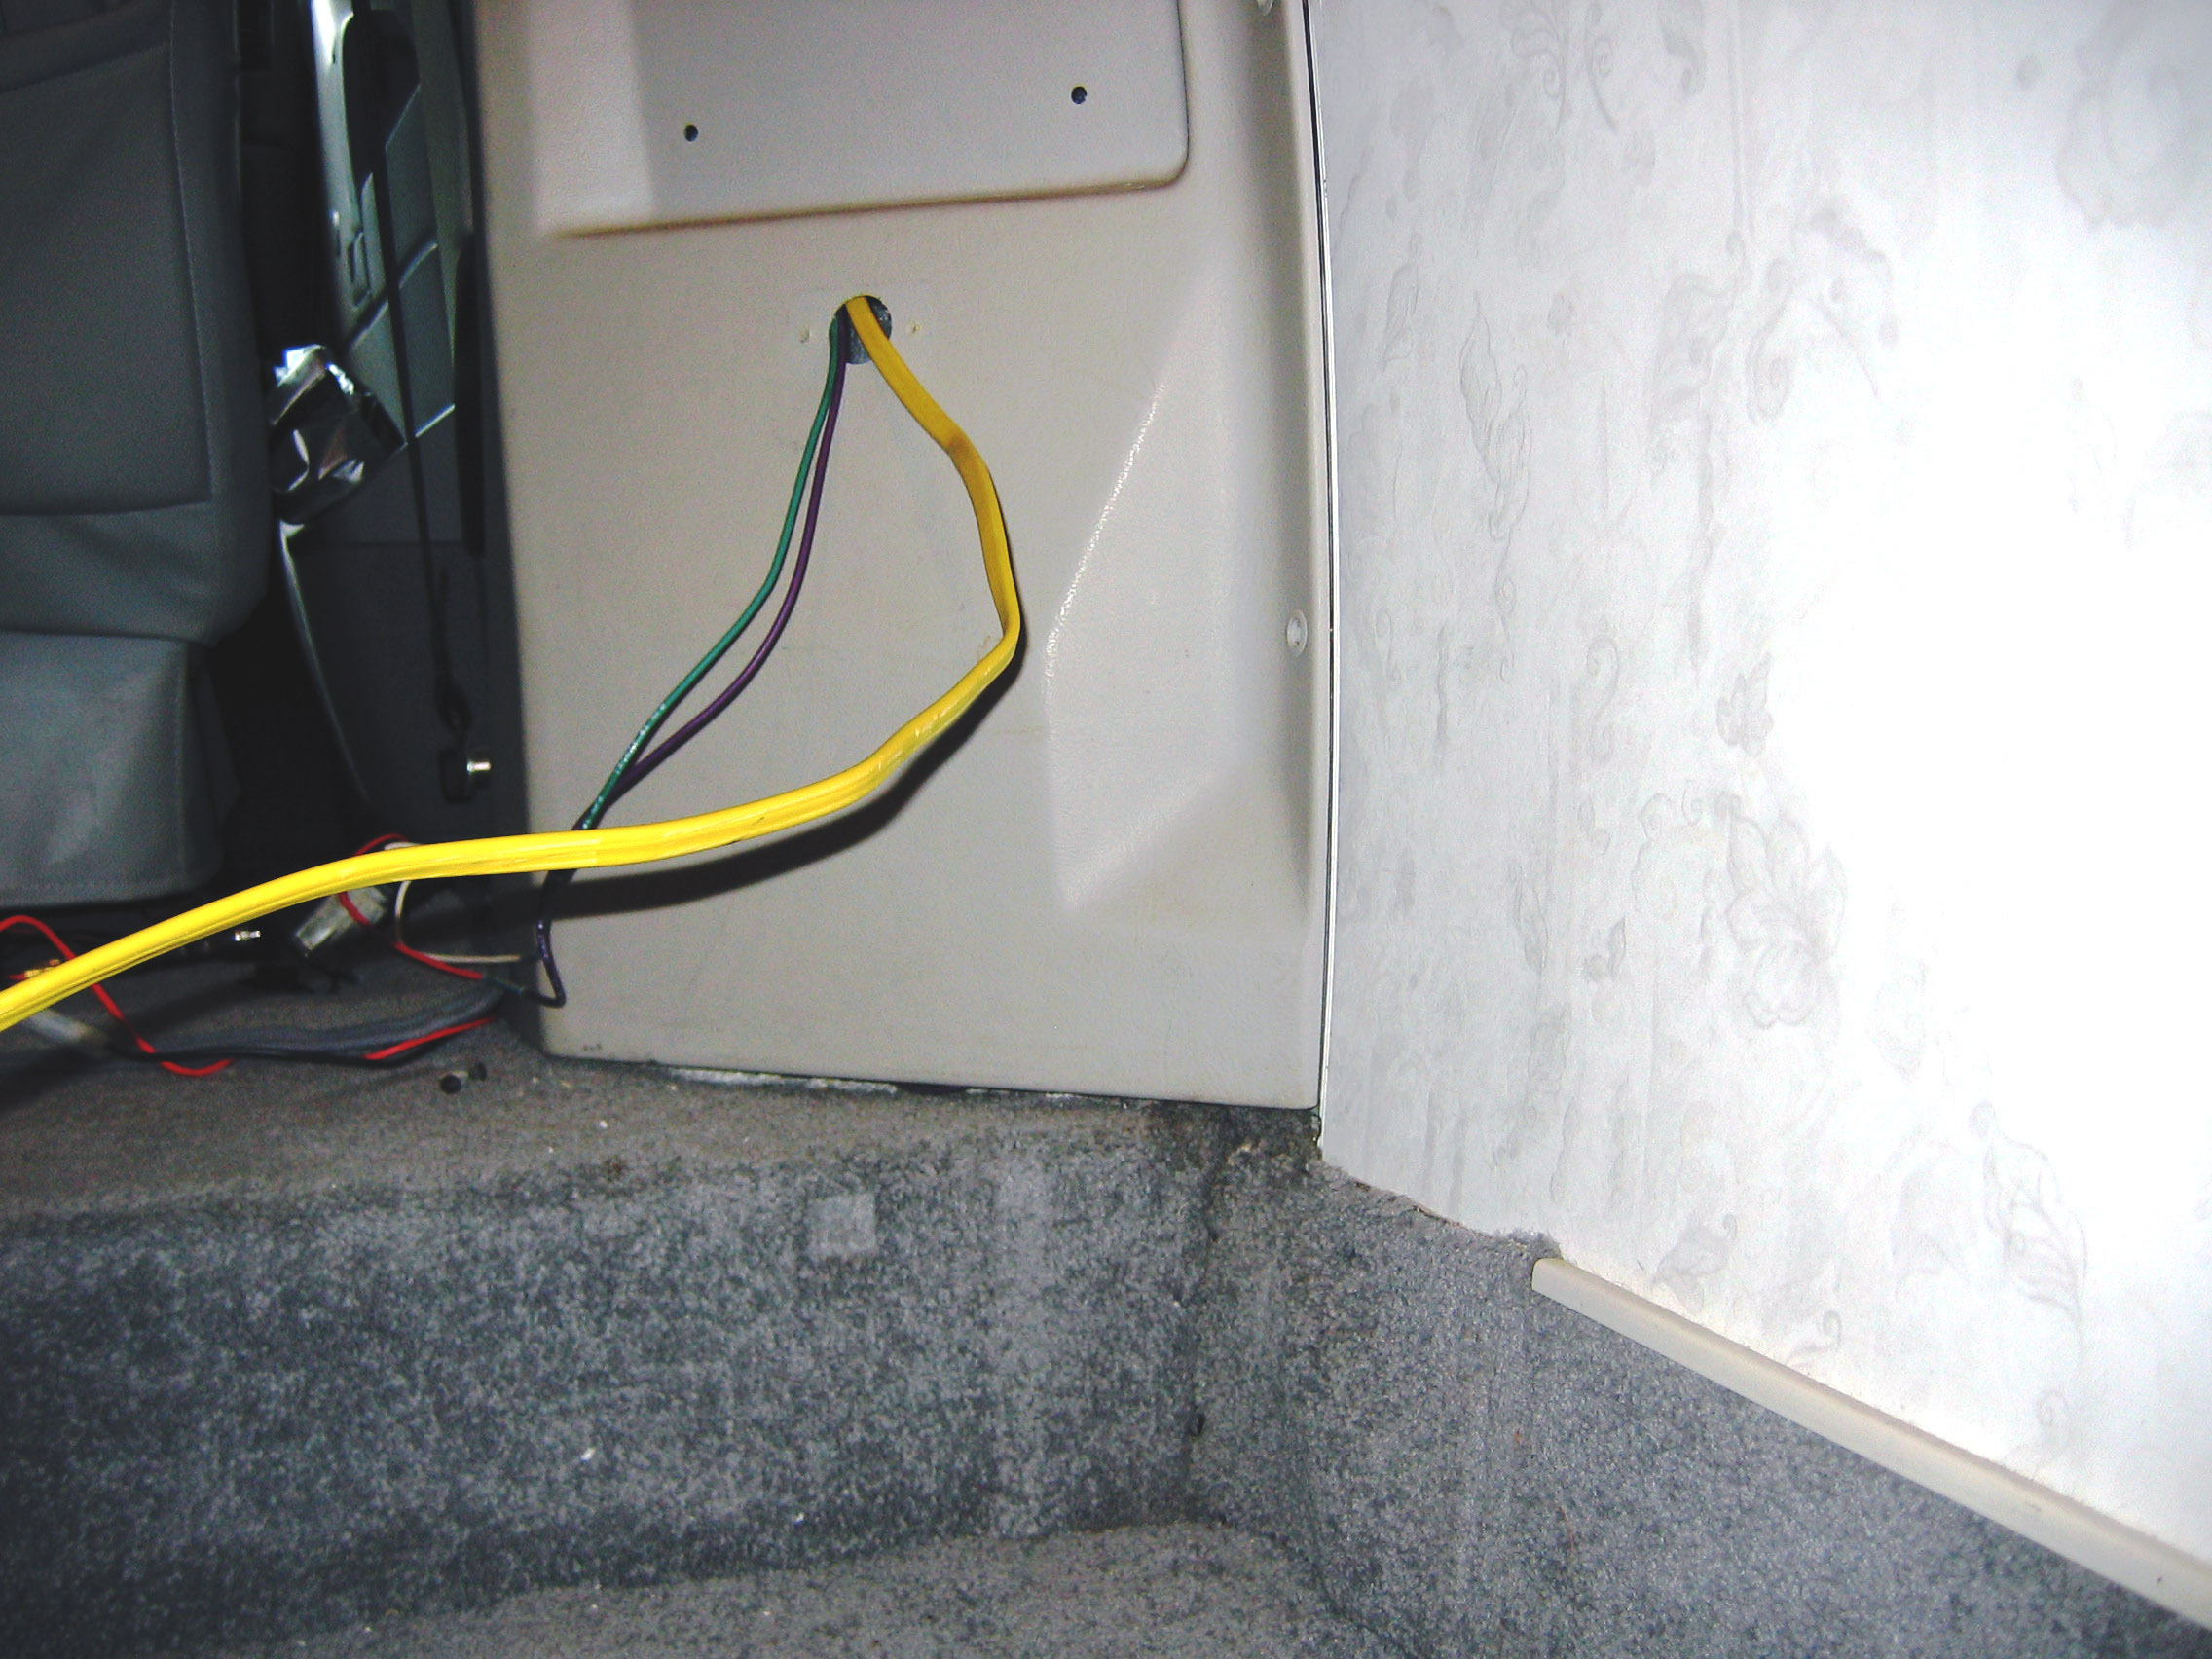
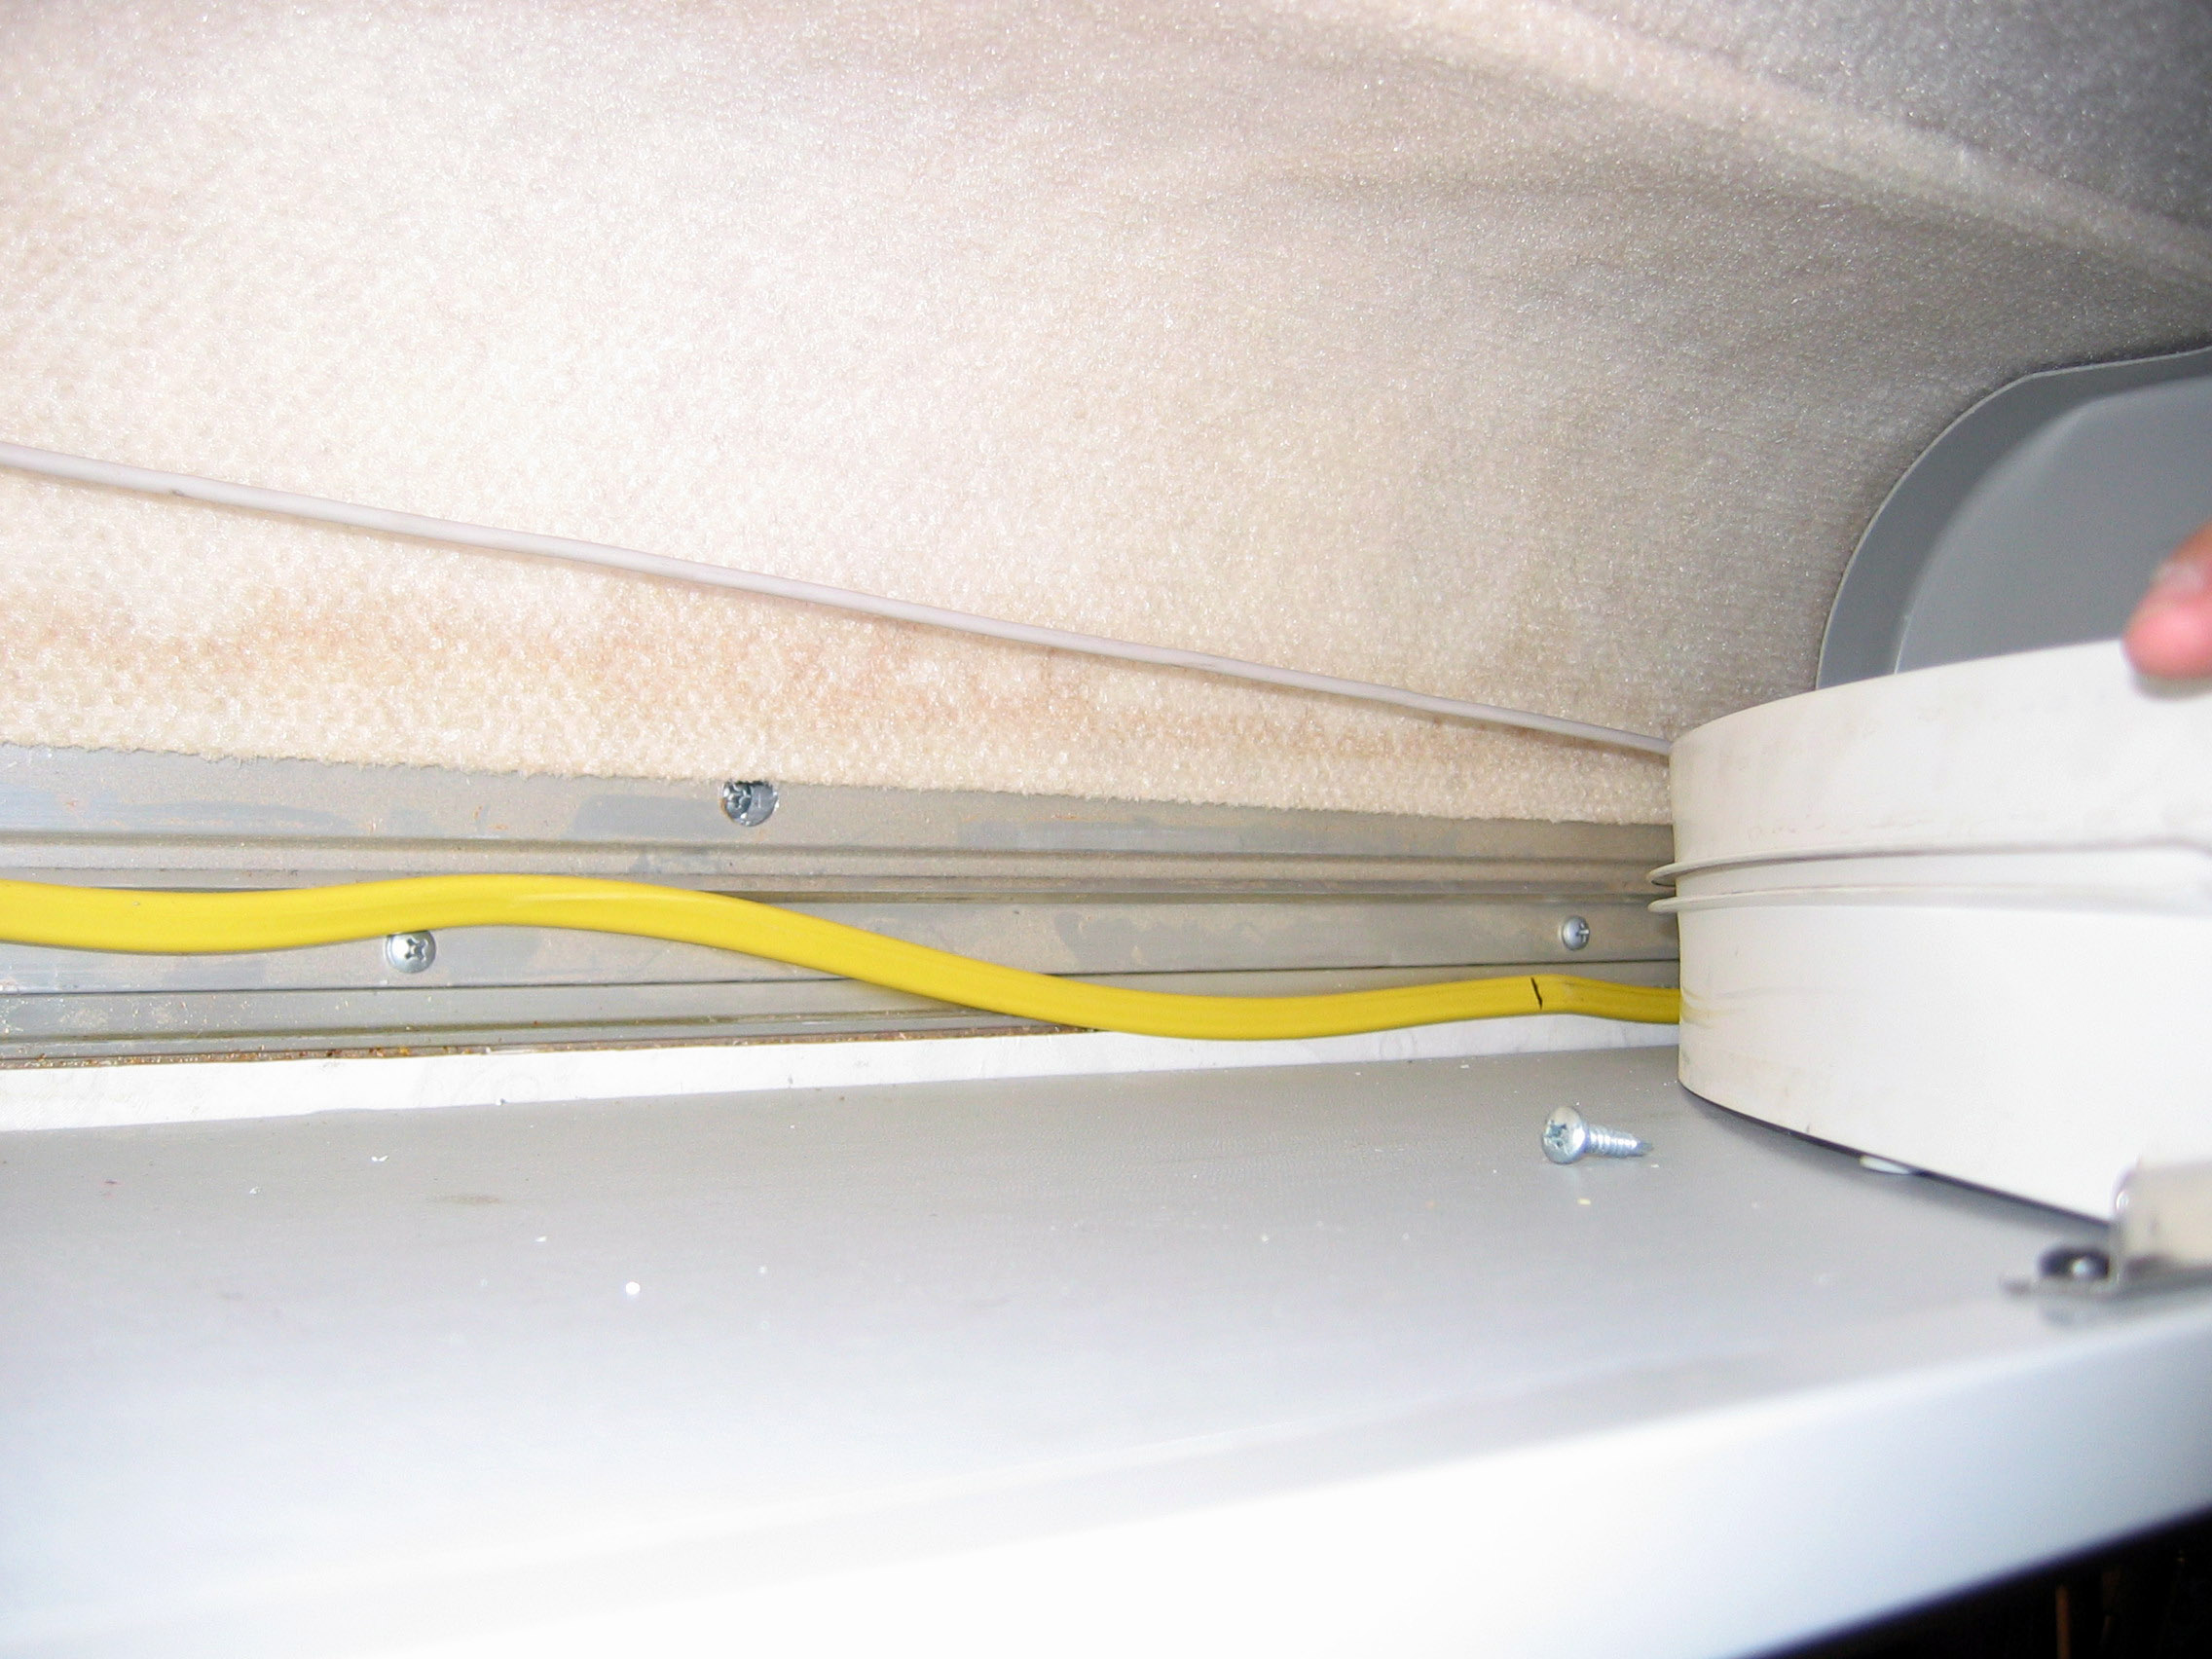
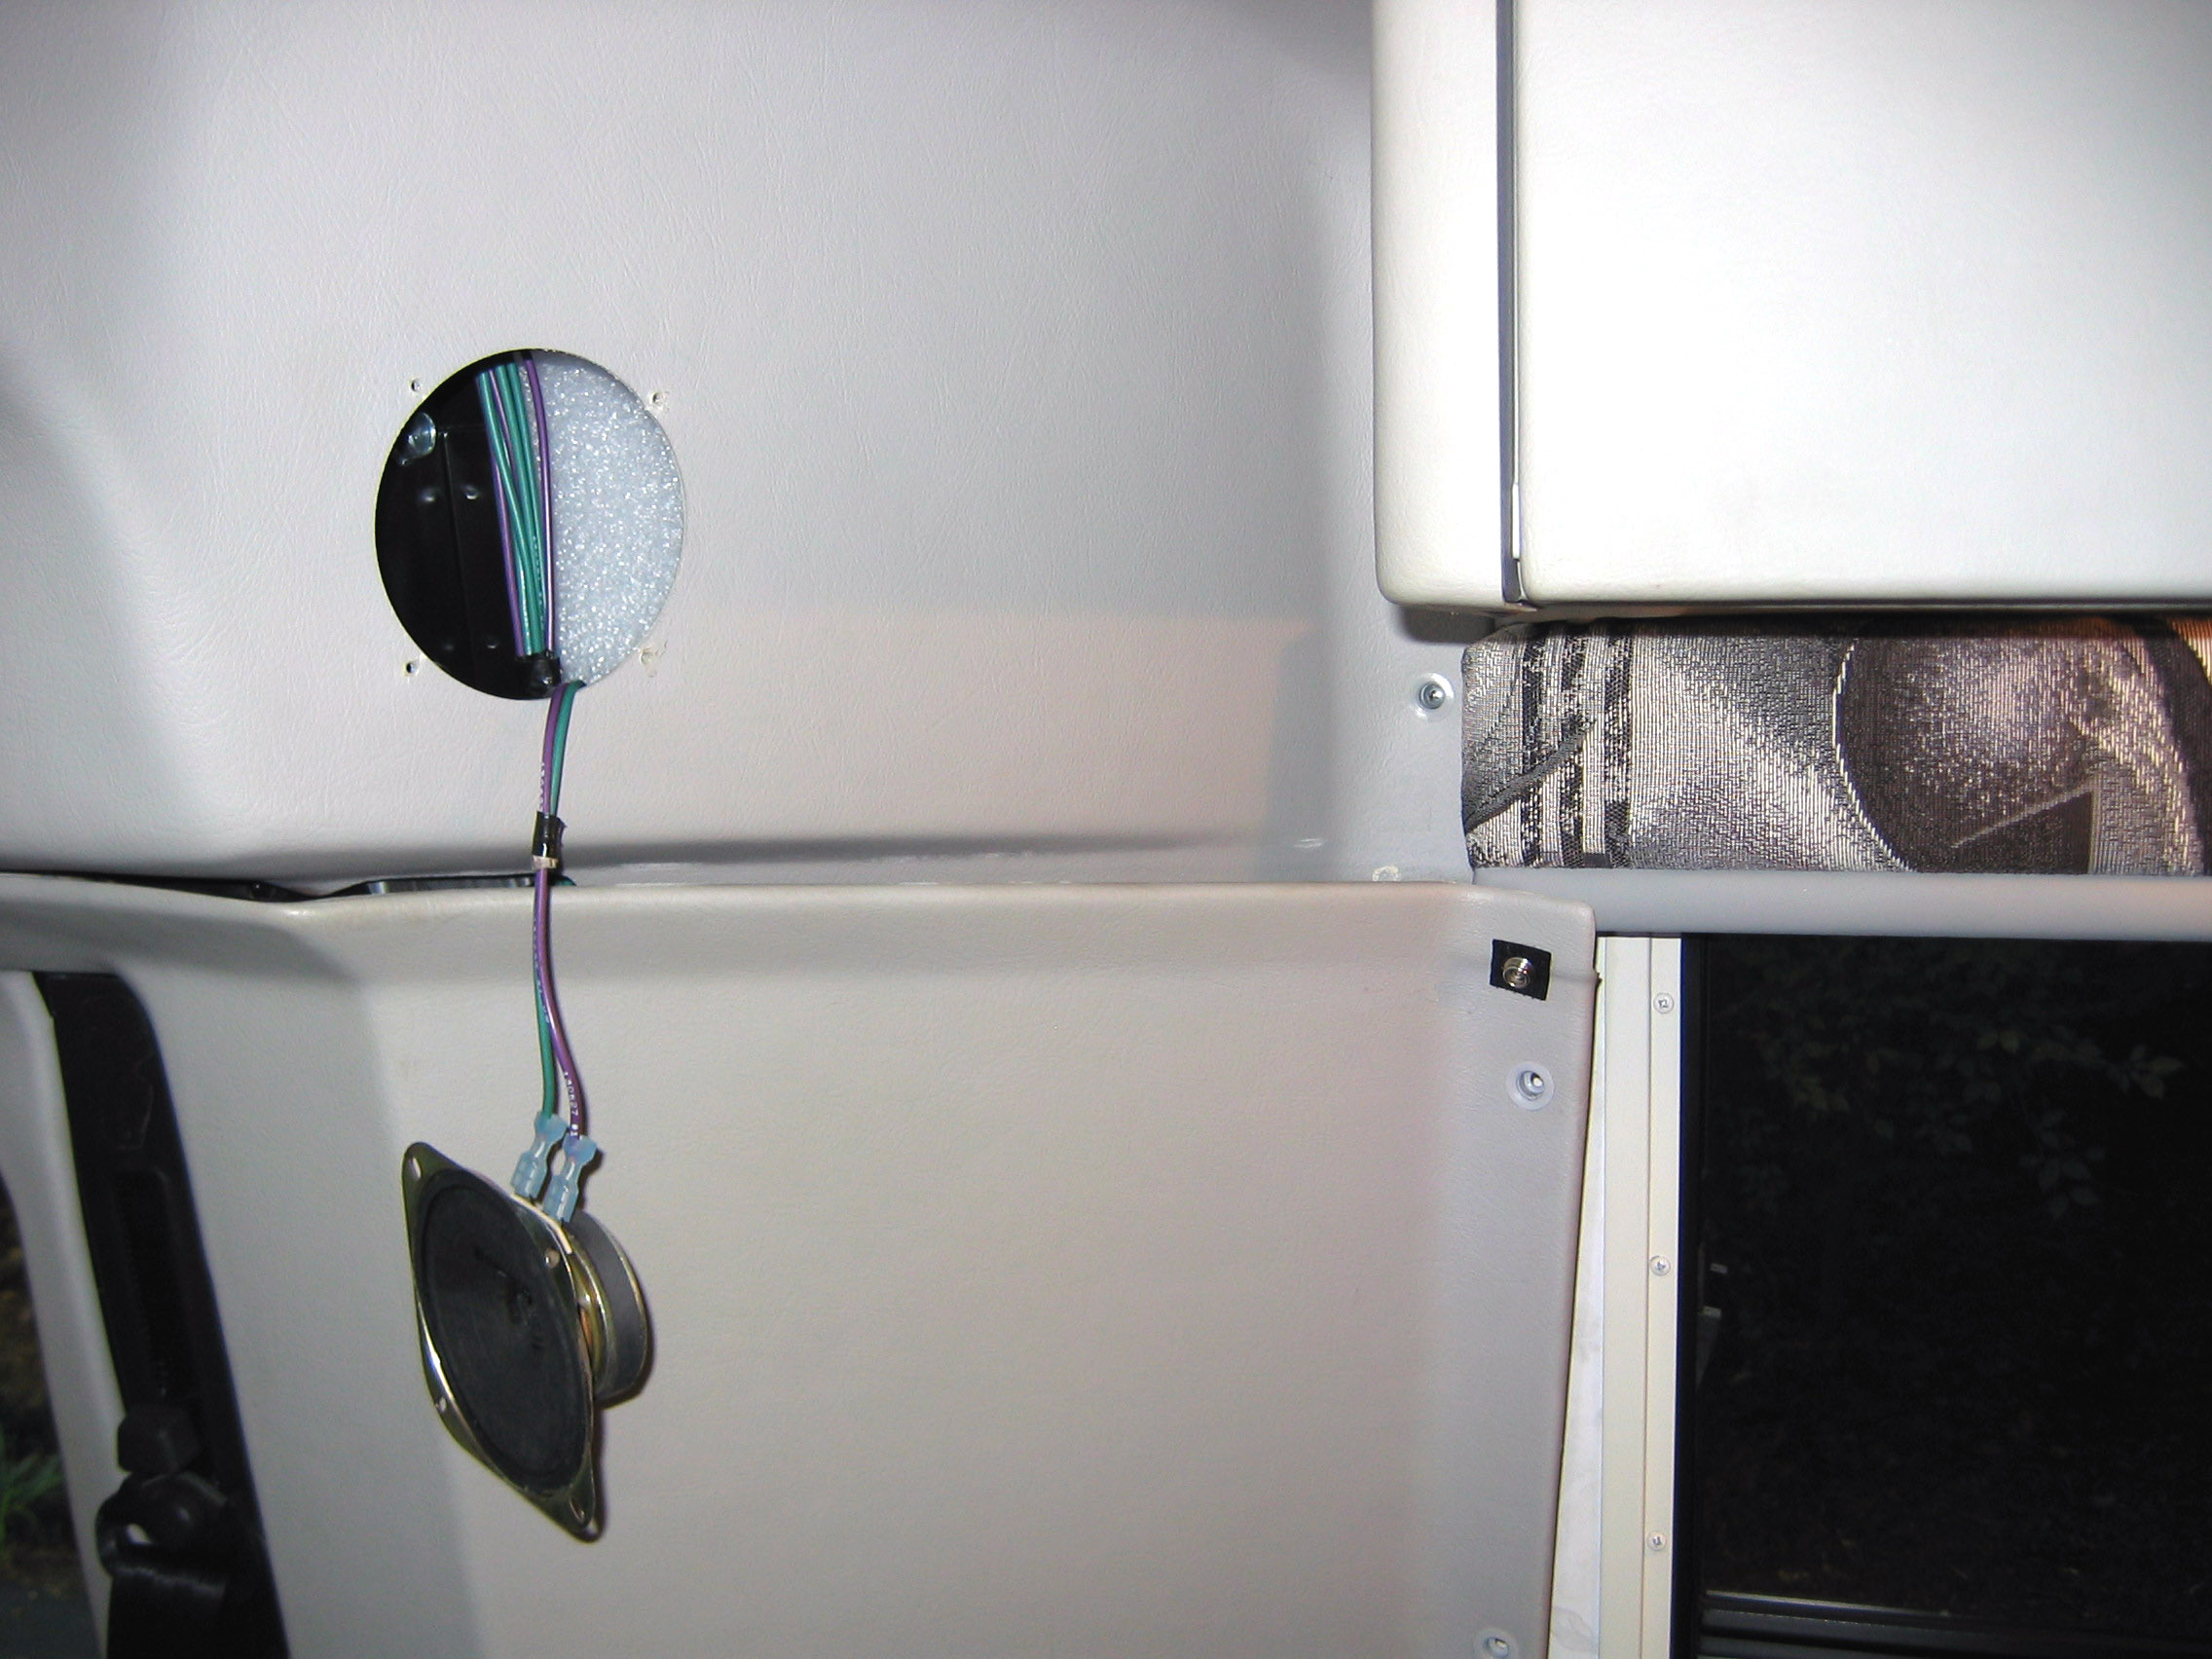
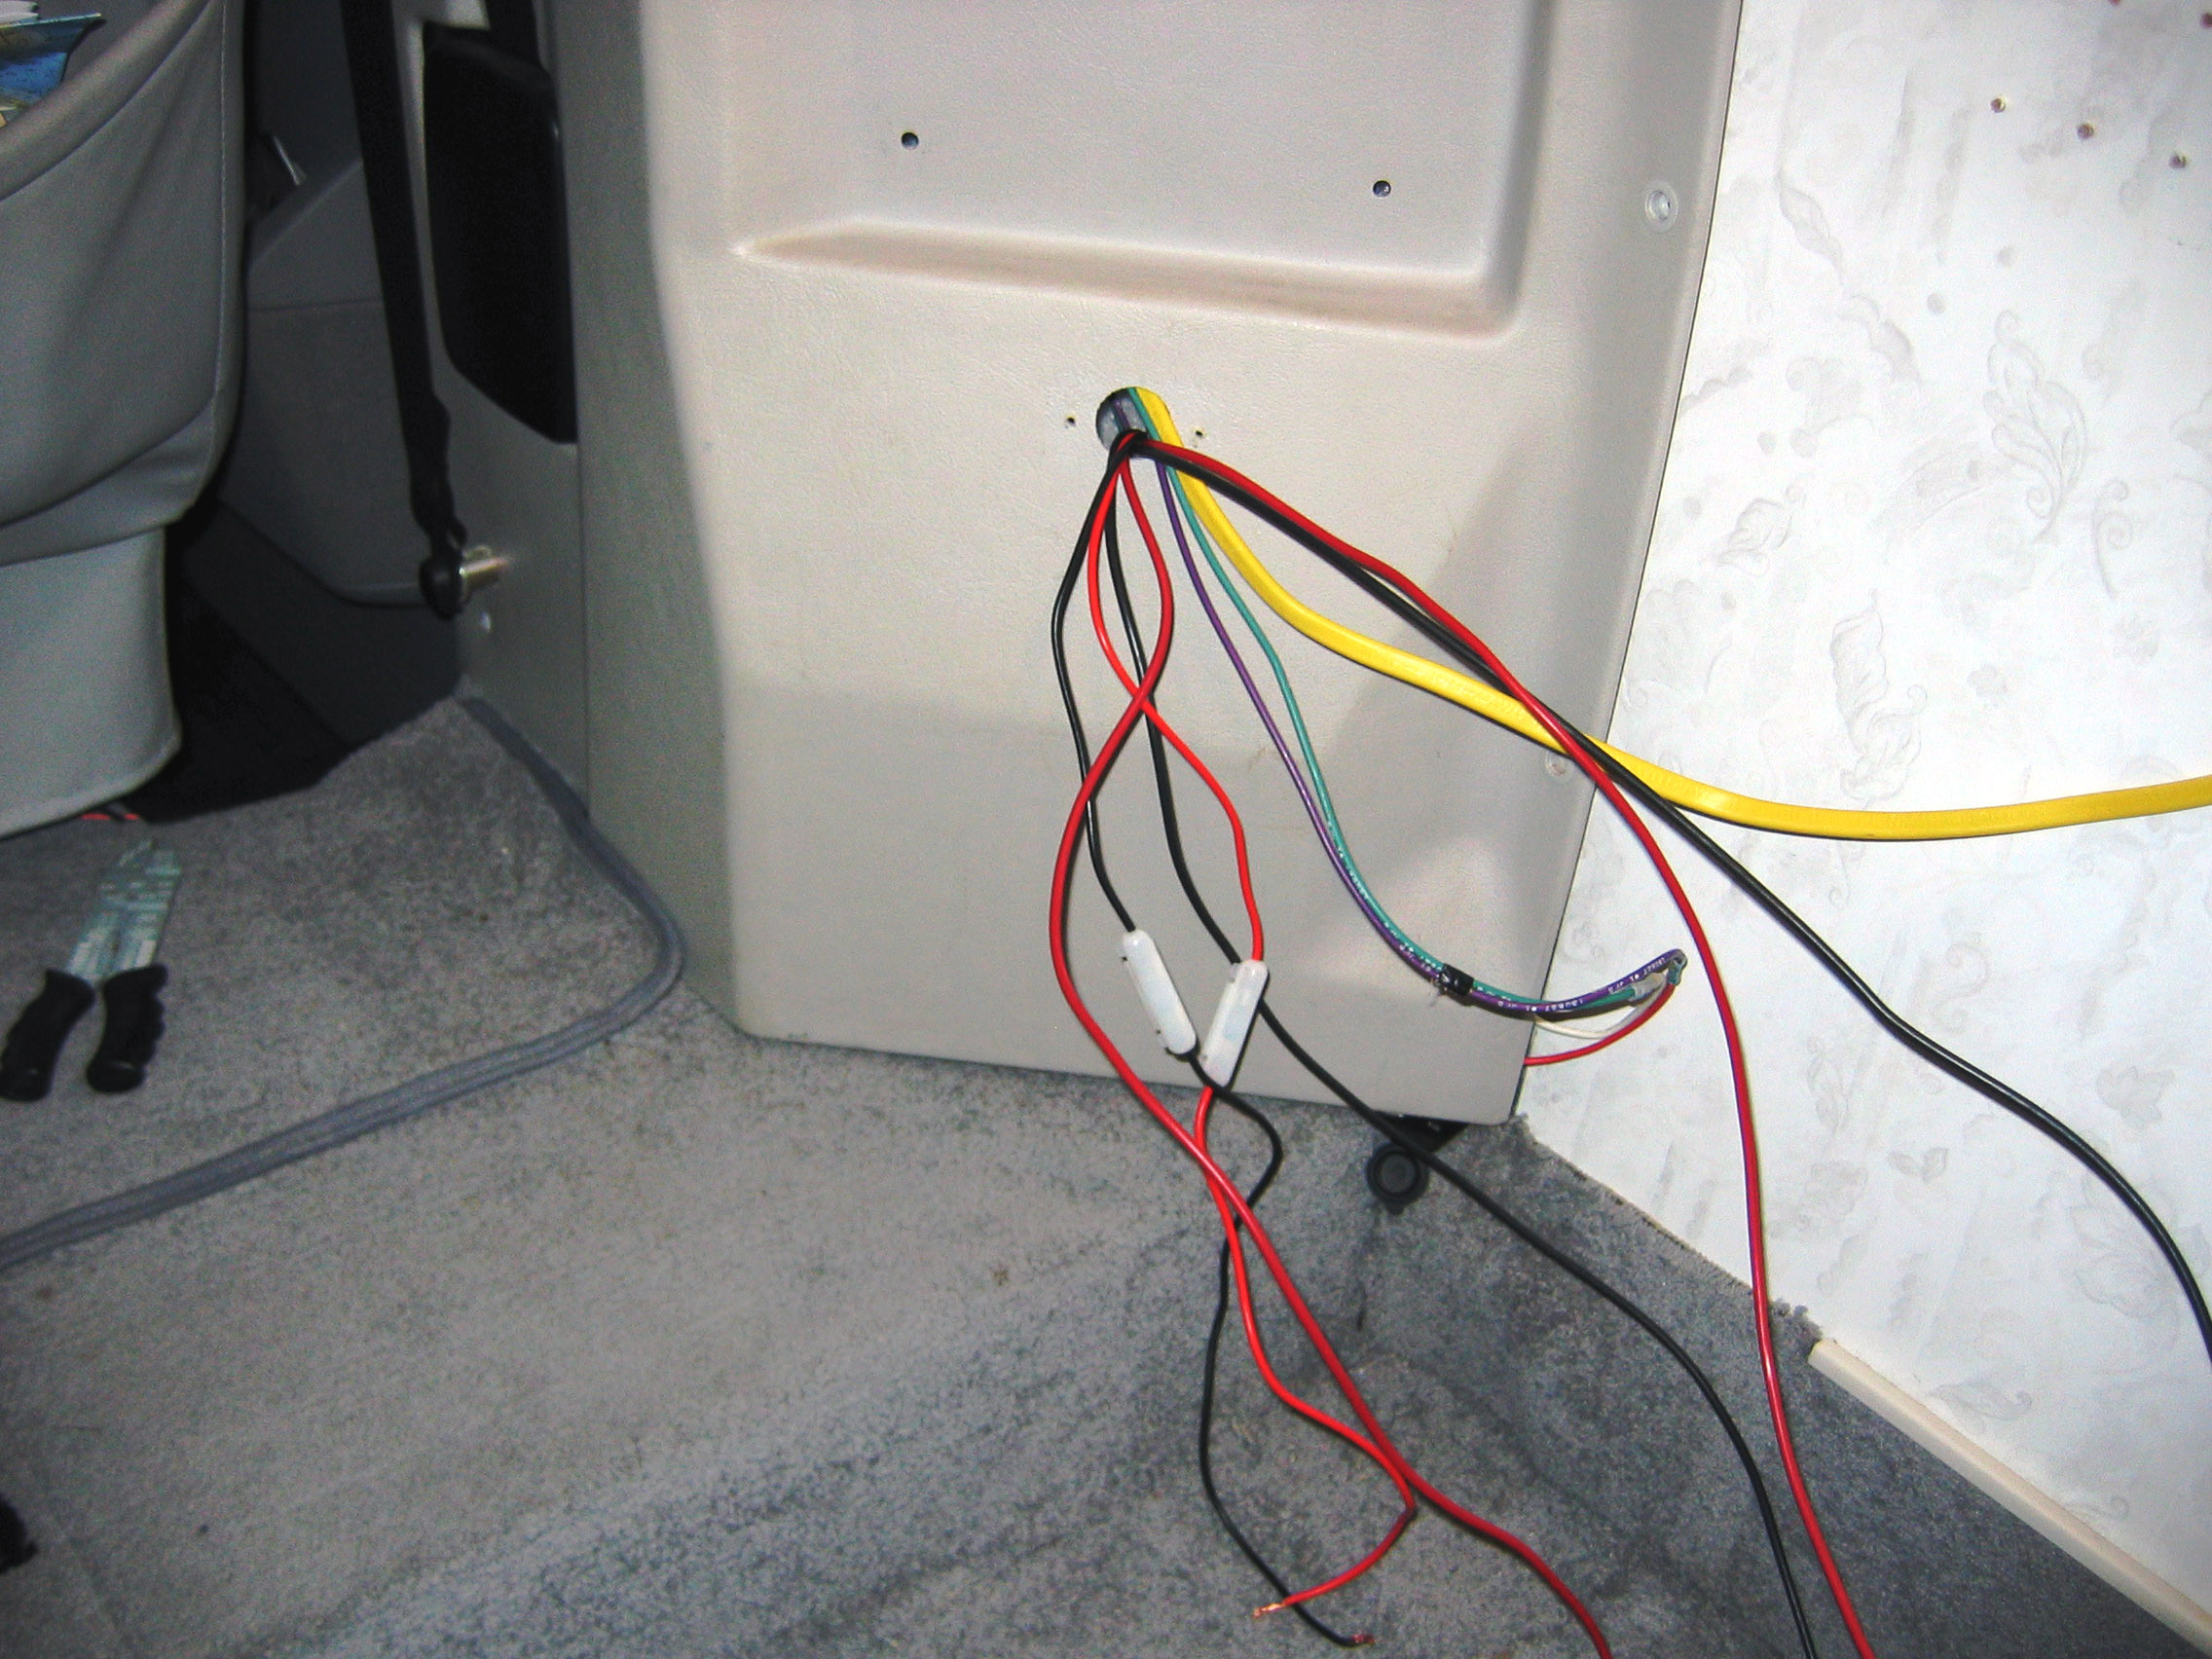
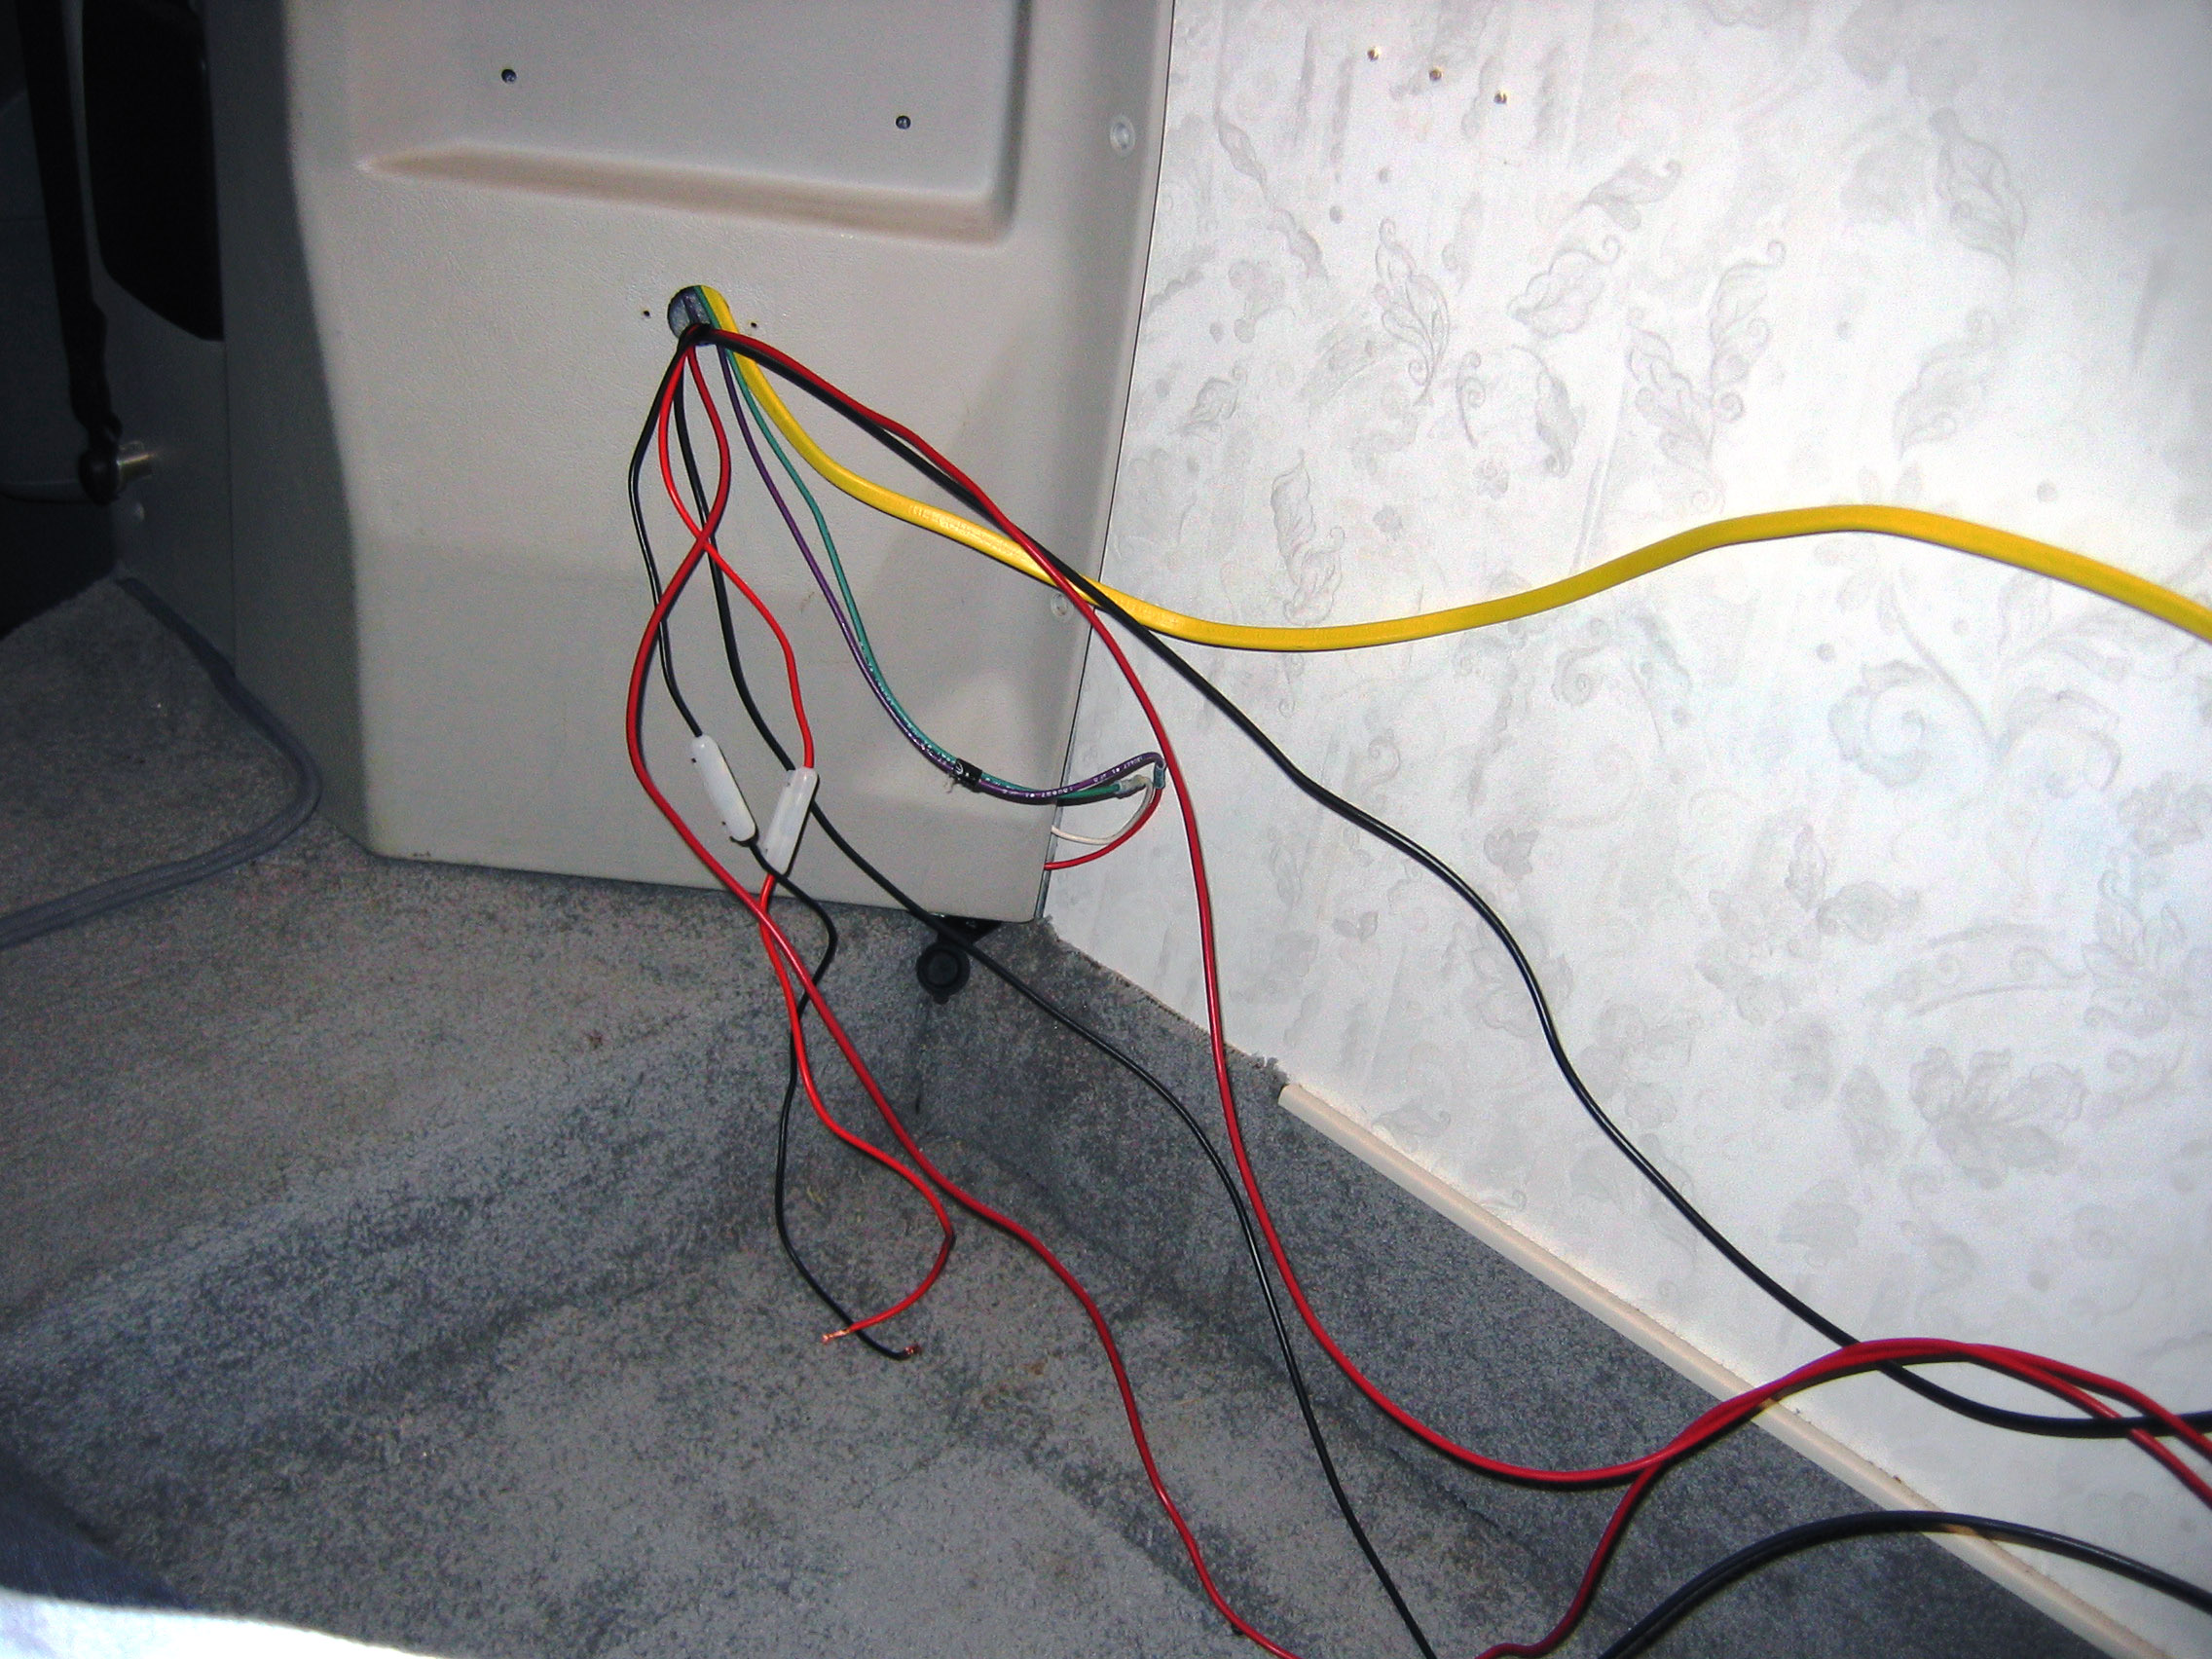
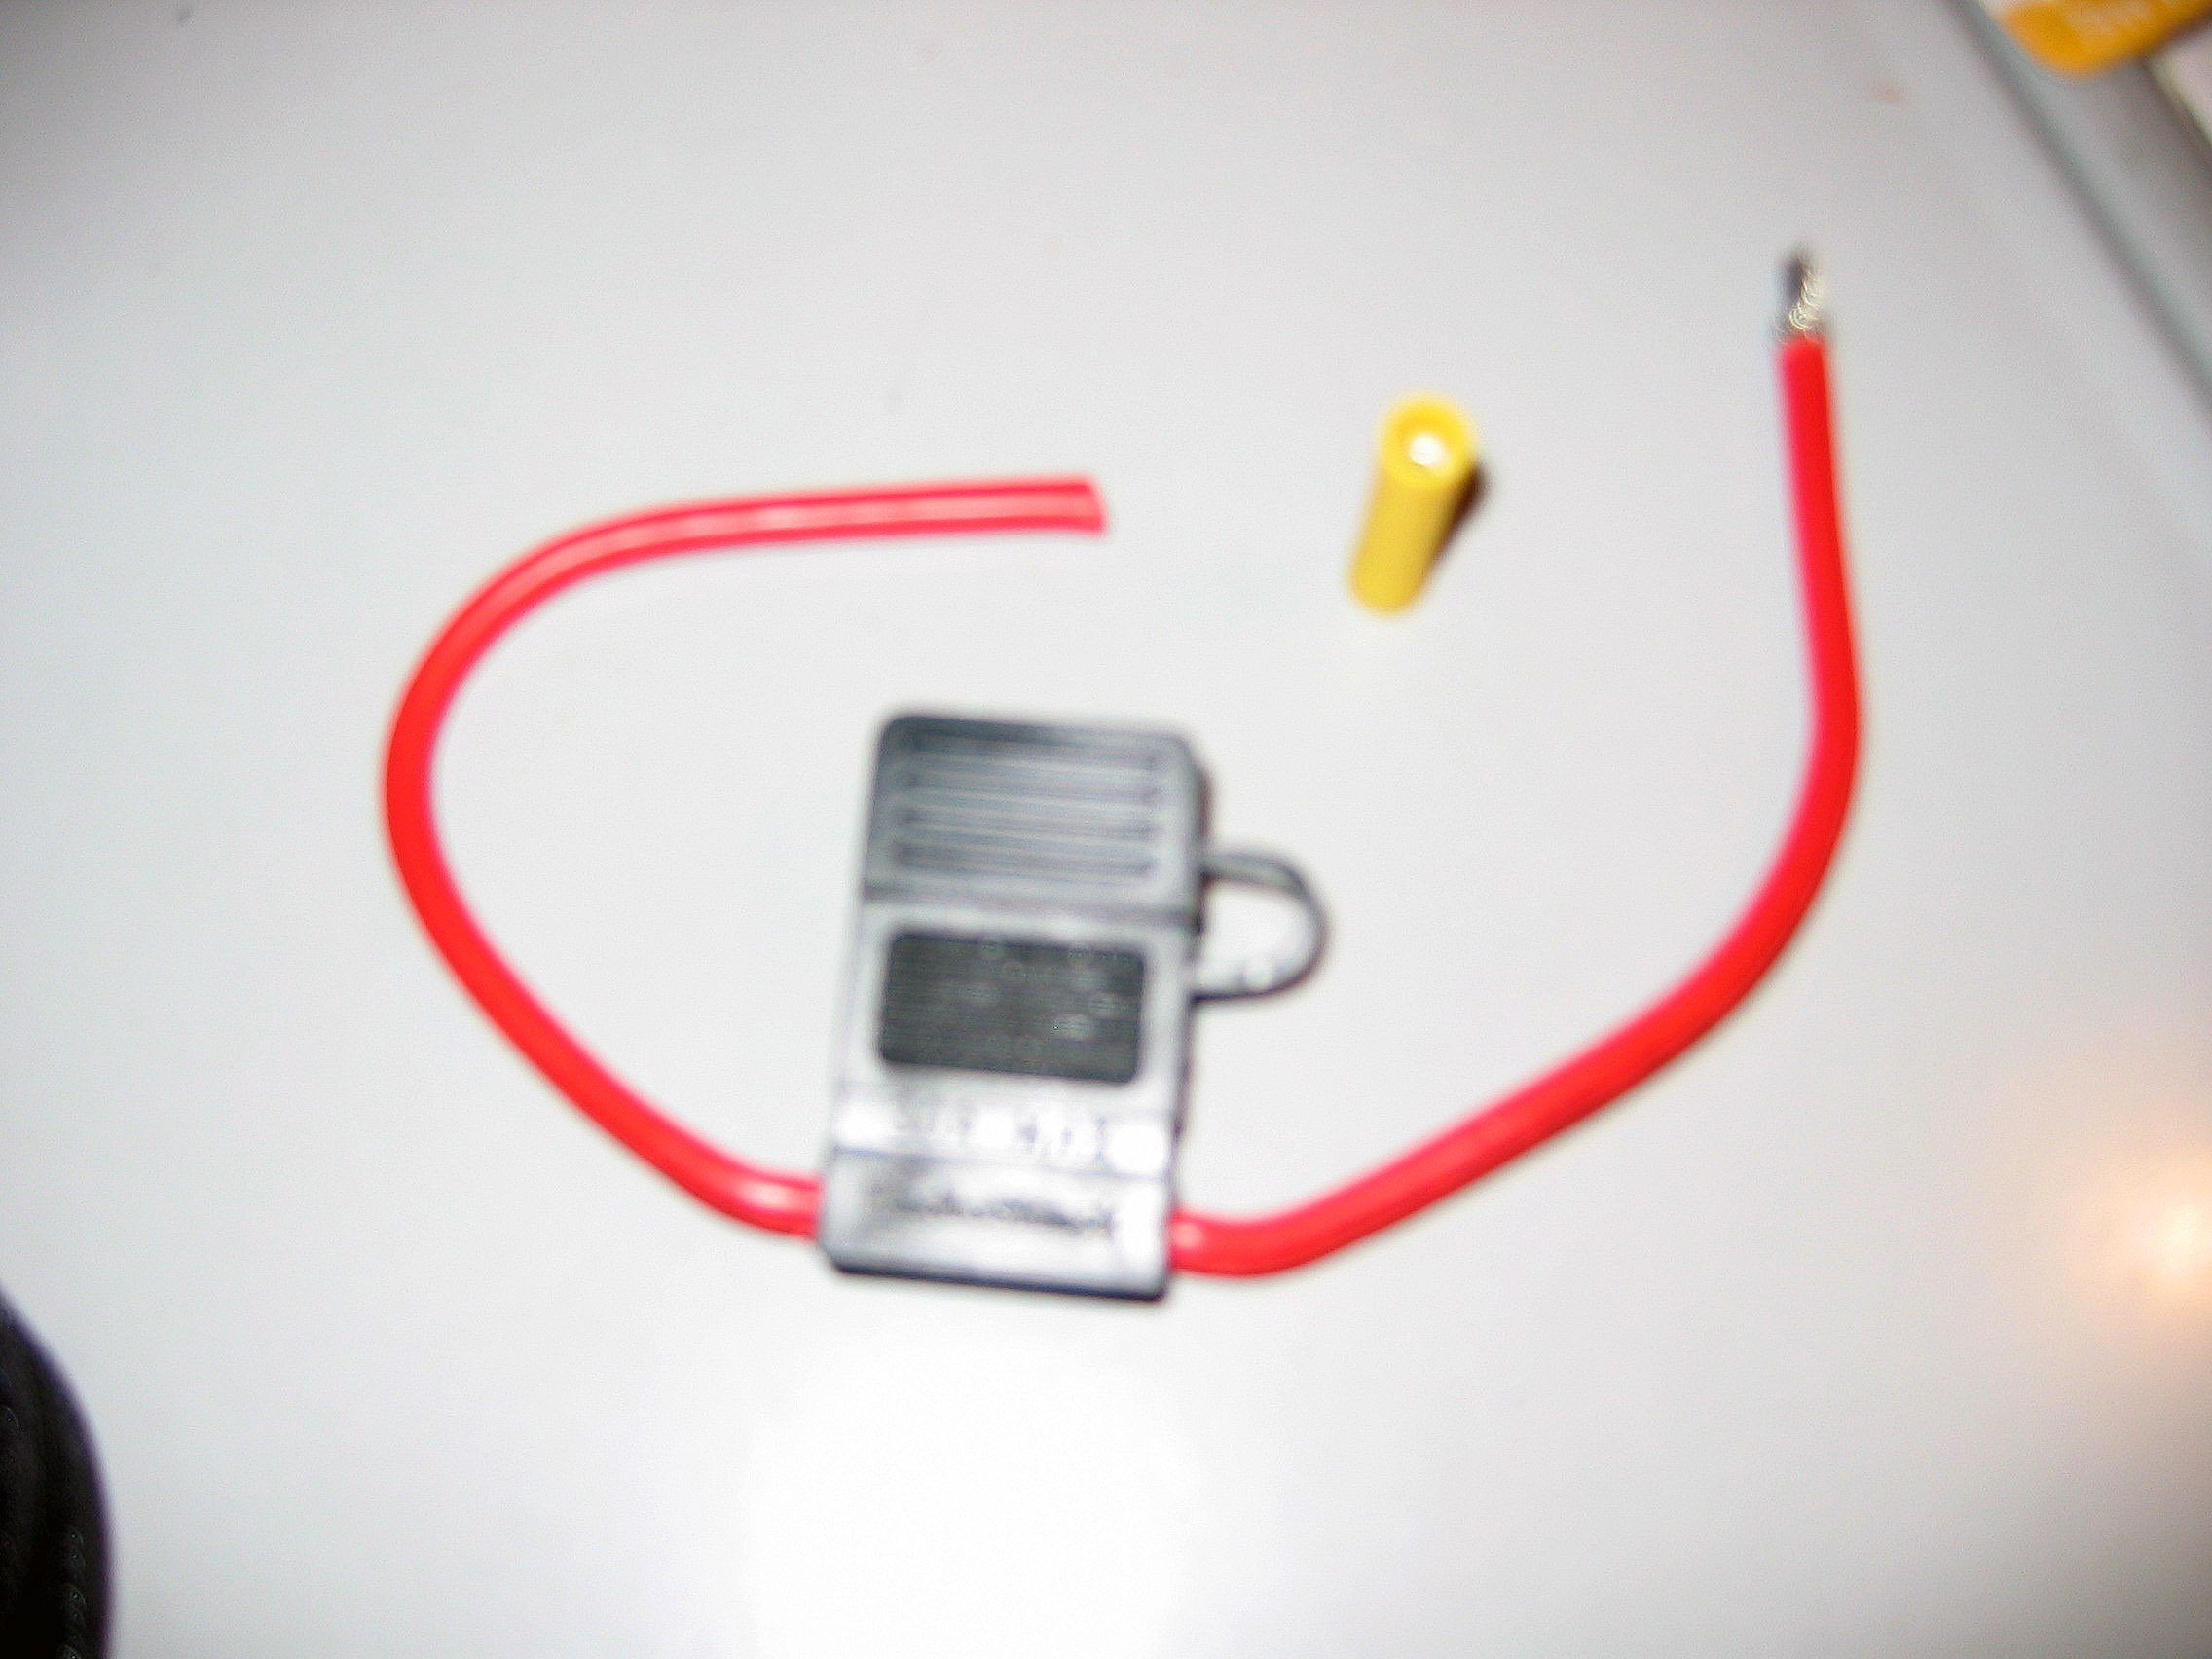
These pictures offer peeks into what's behind some of the walls, and the inside of the shoulder to tail conduit behind the microwave and the cabinets.

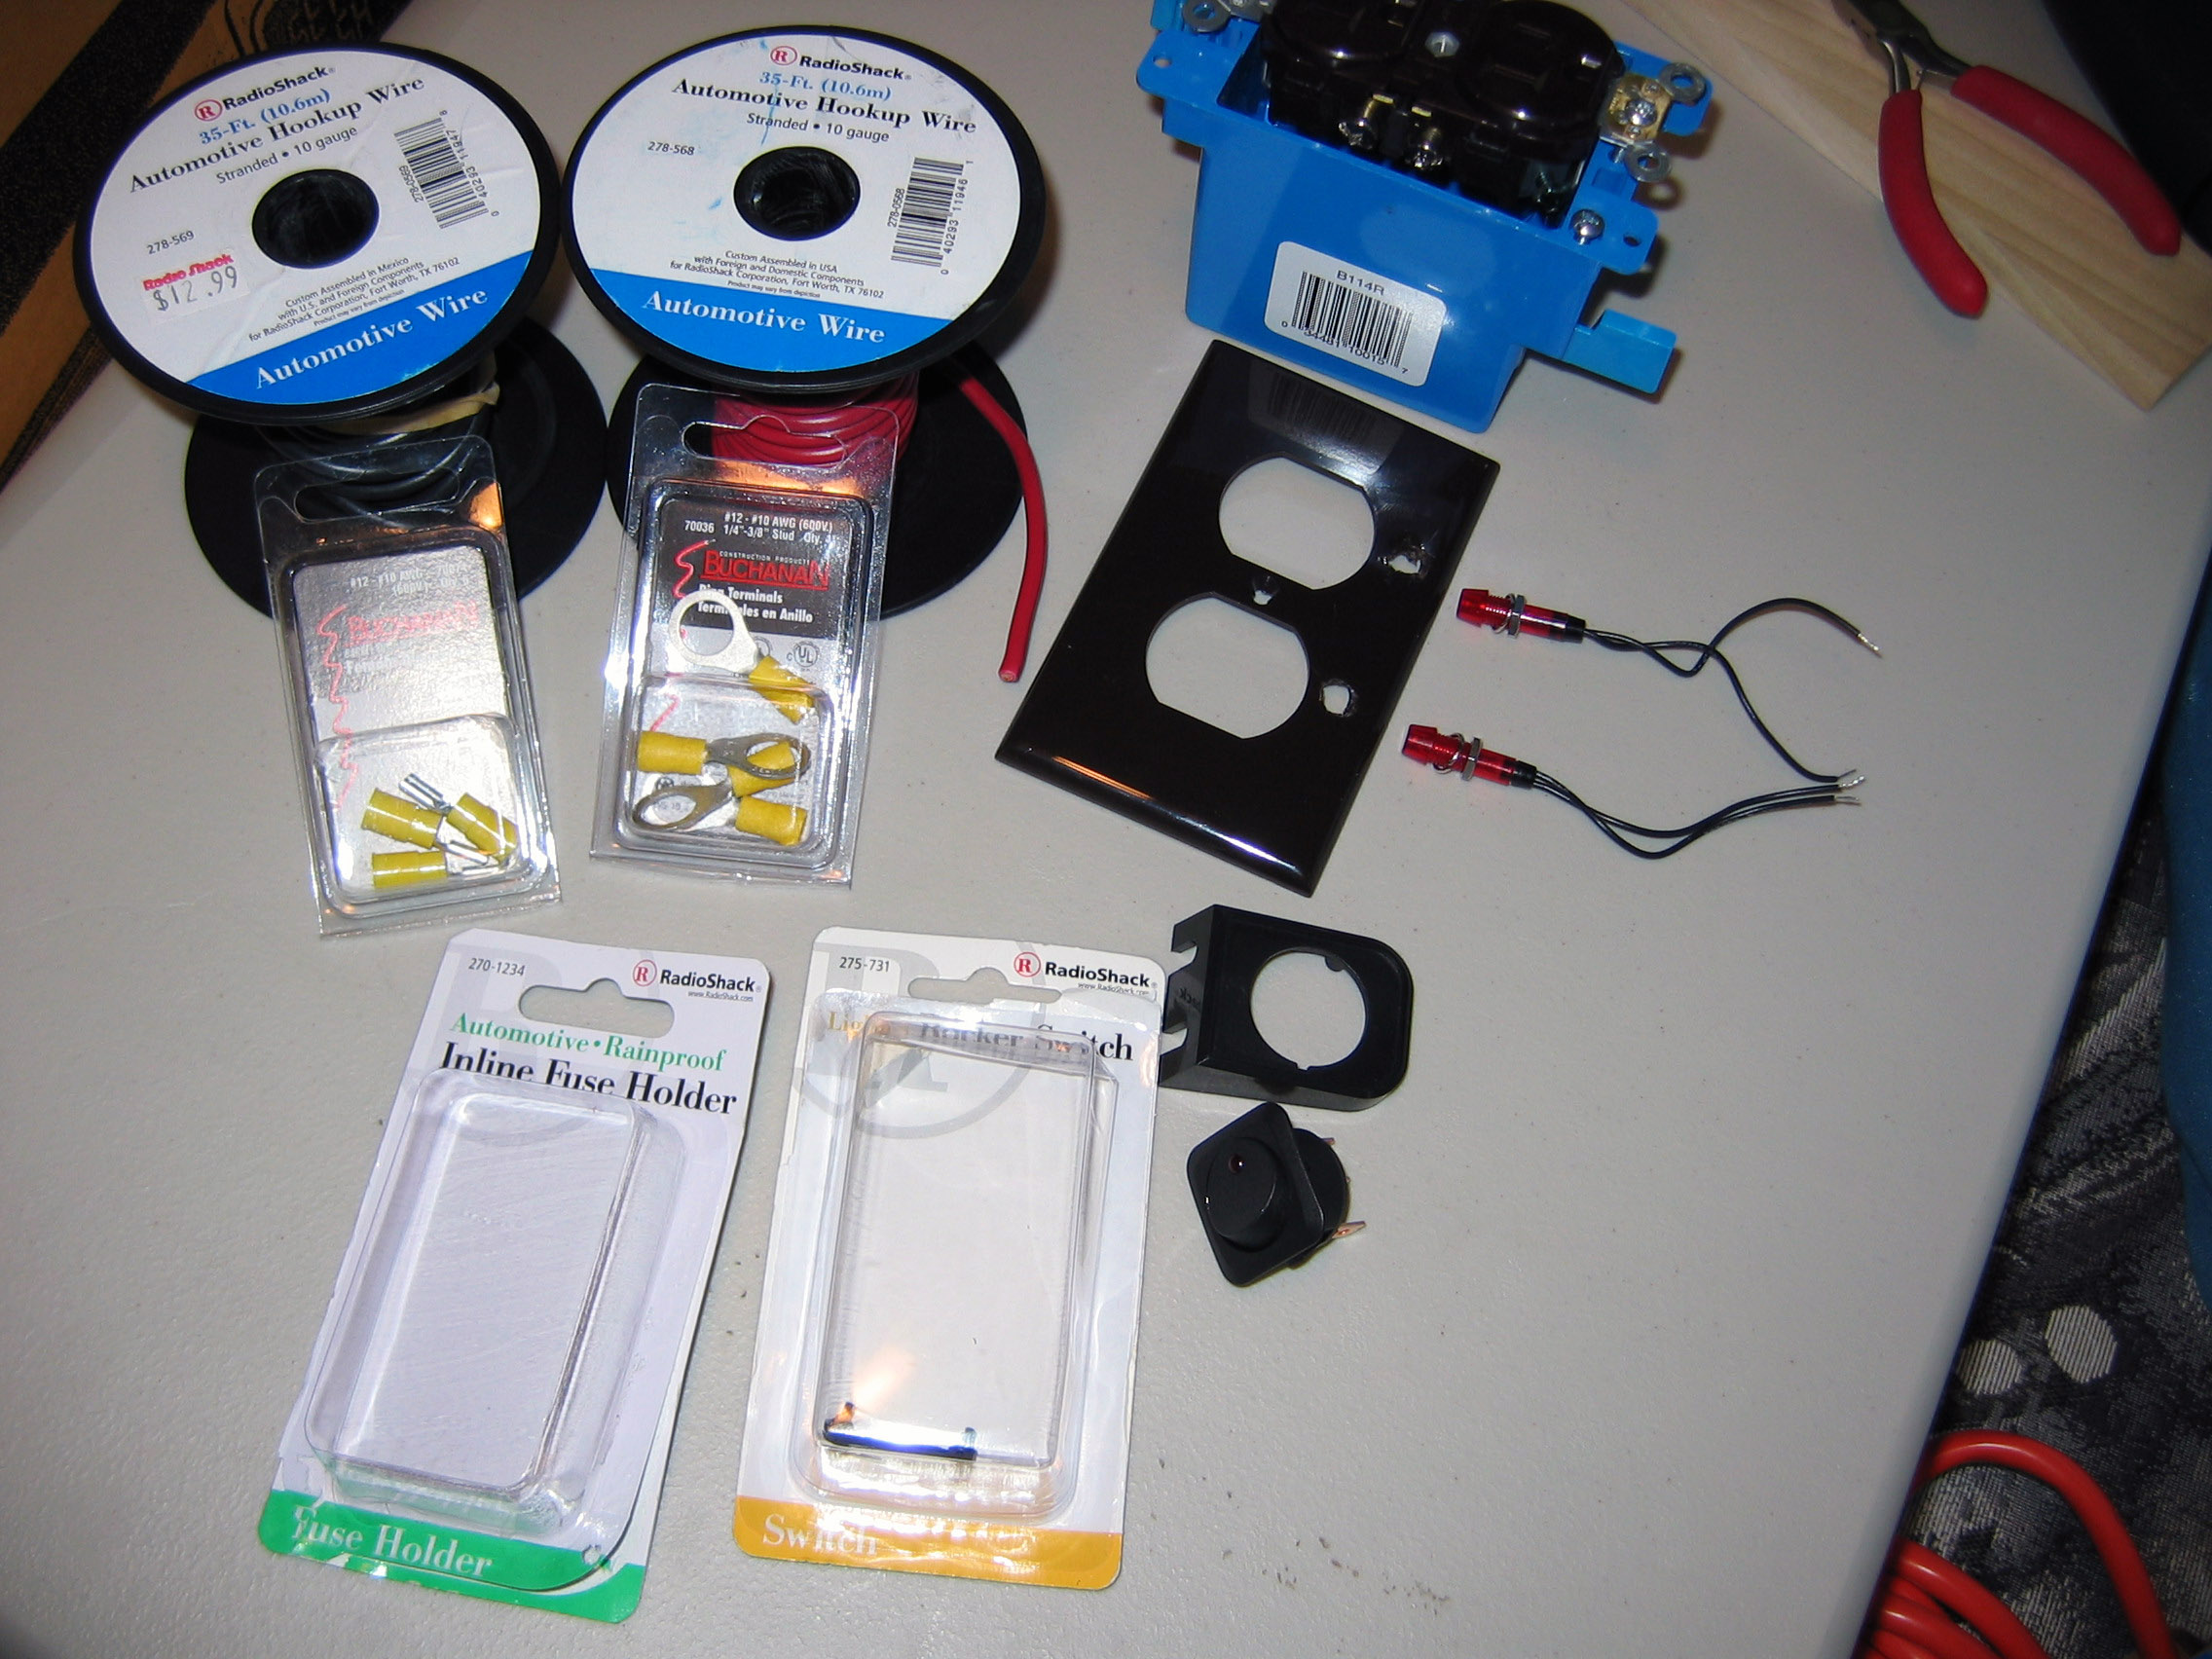
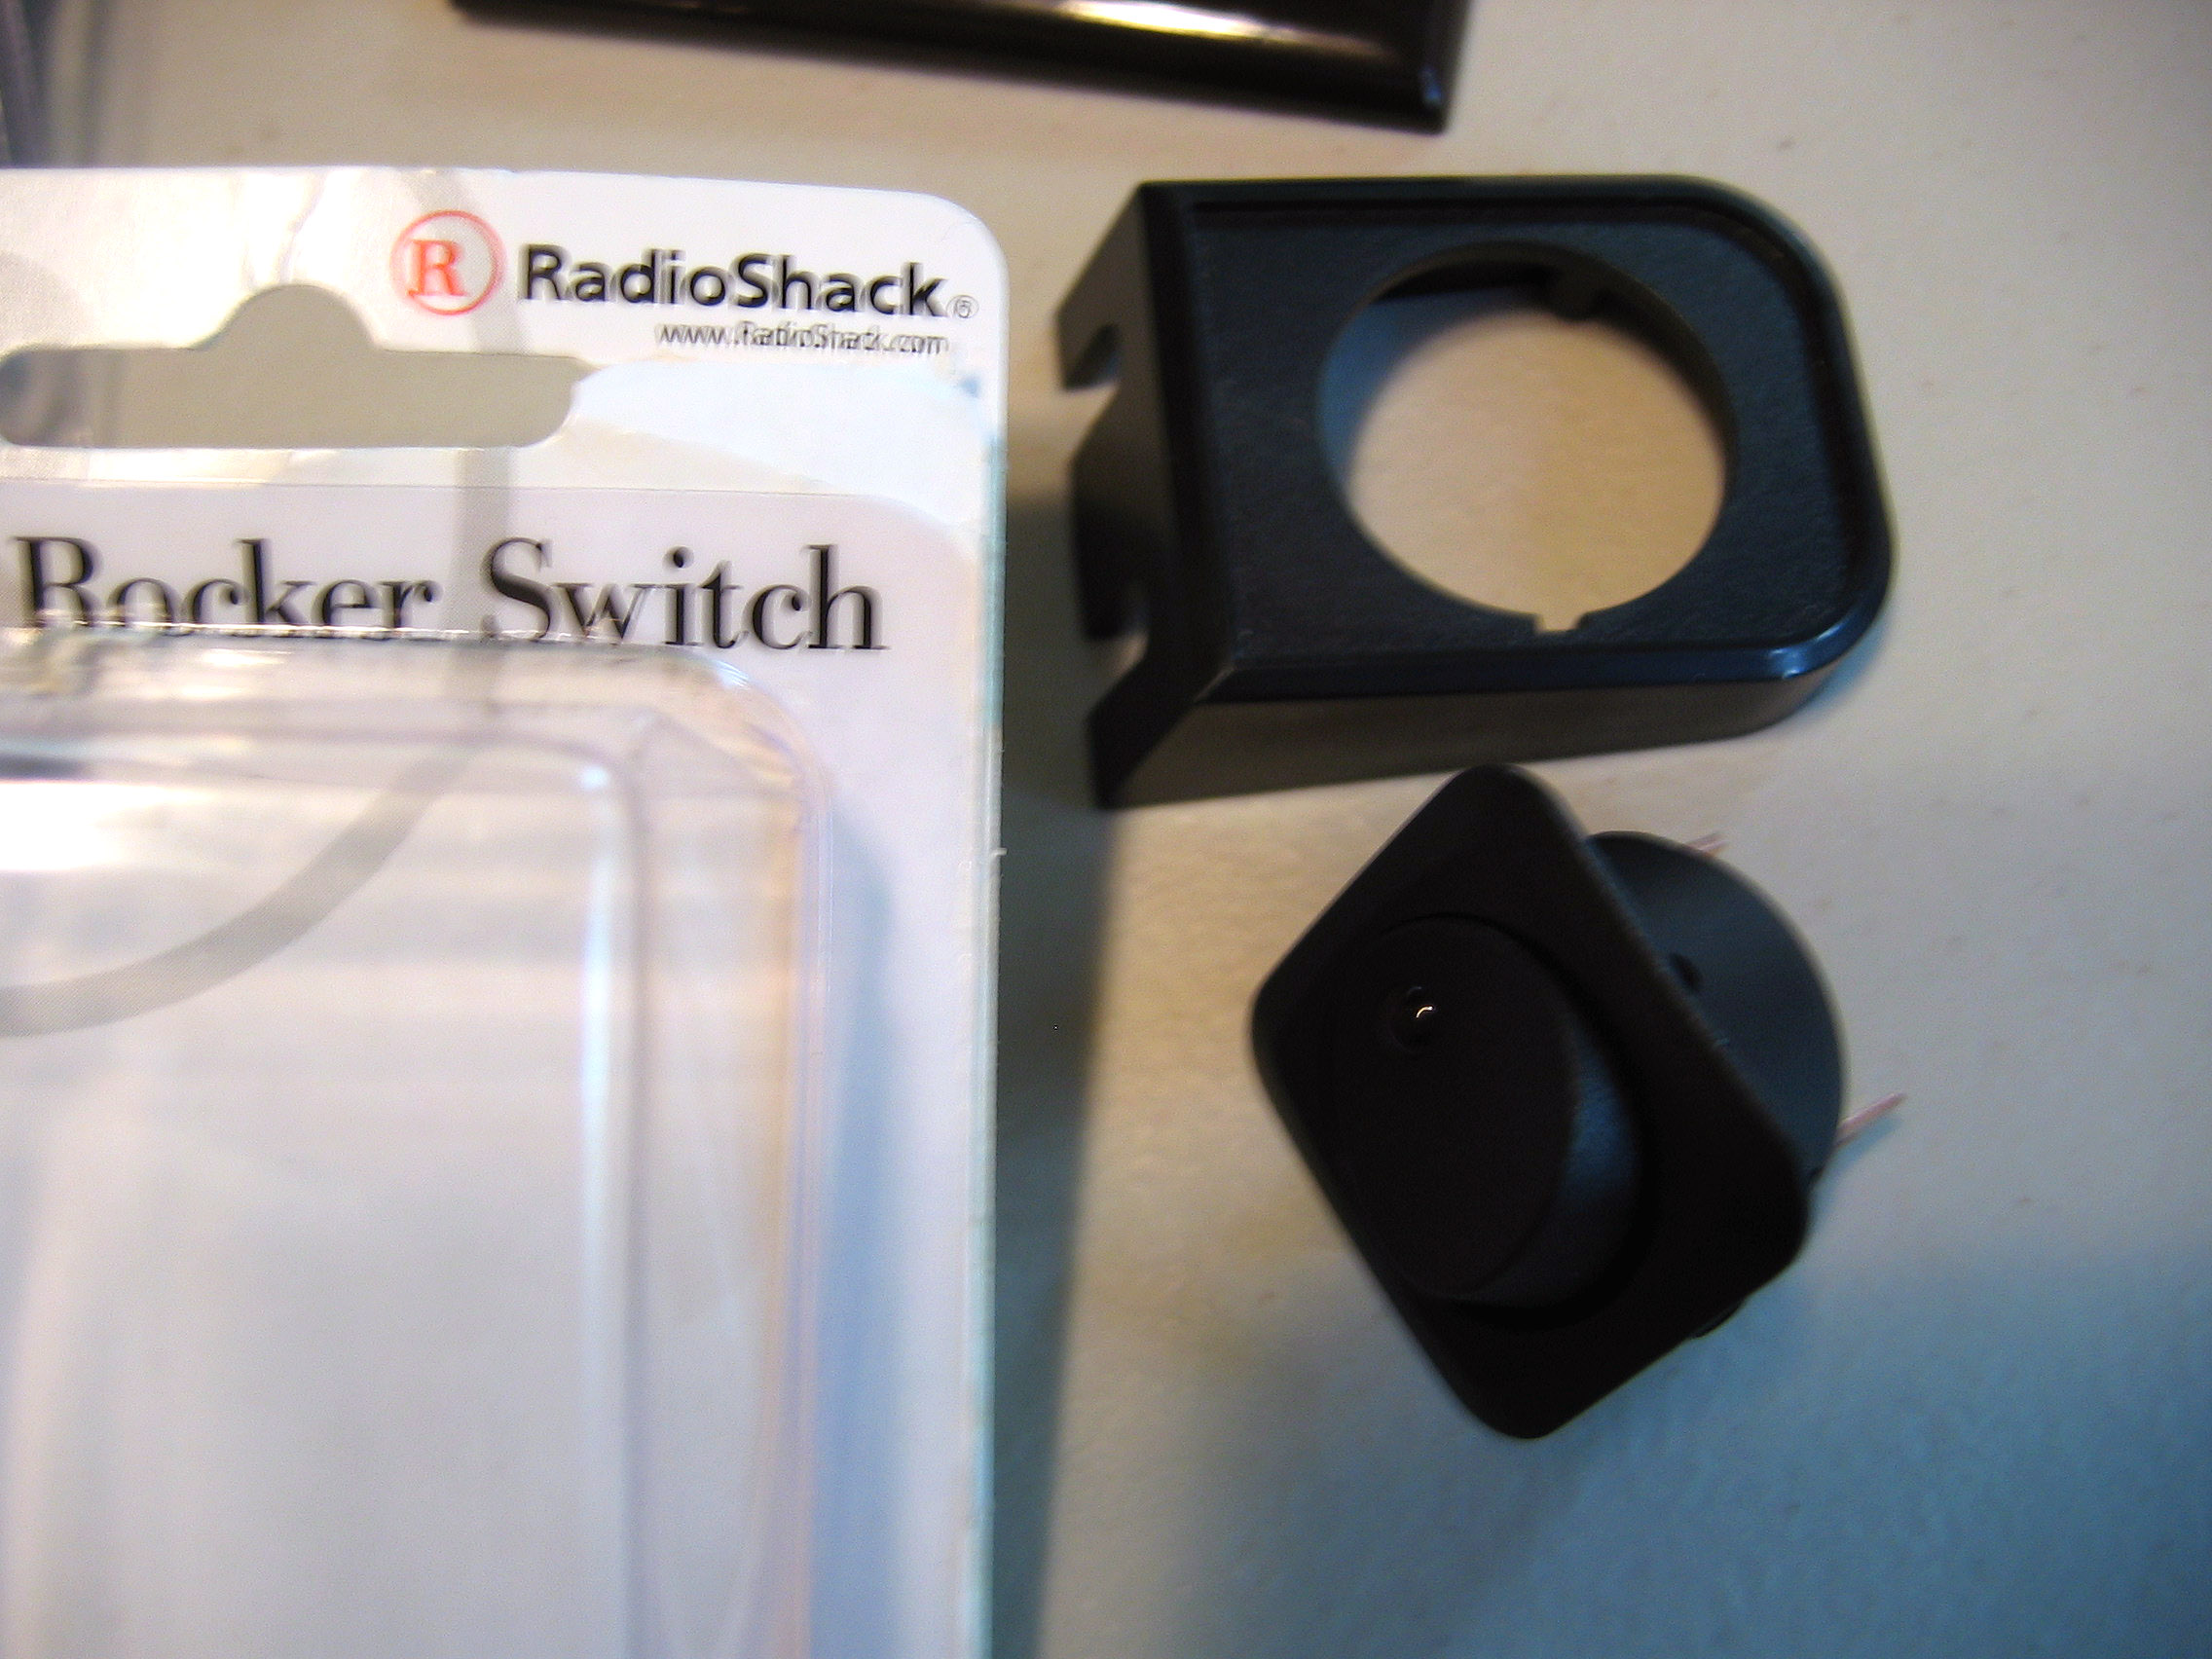
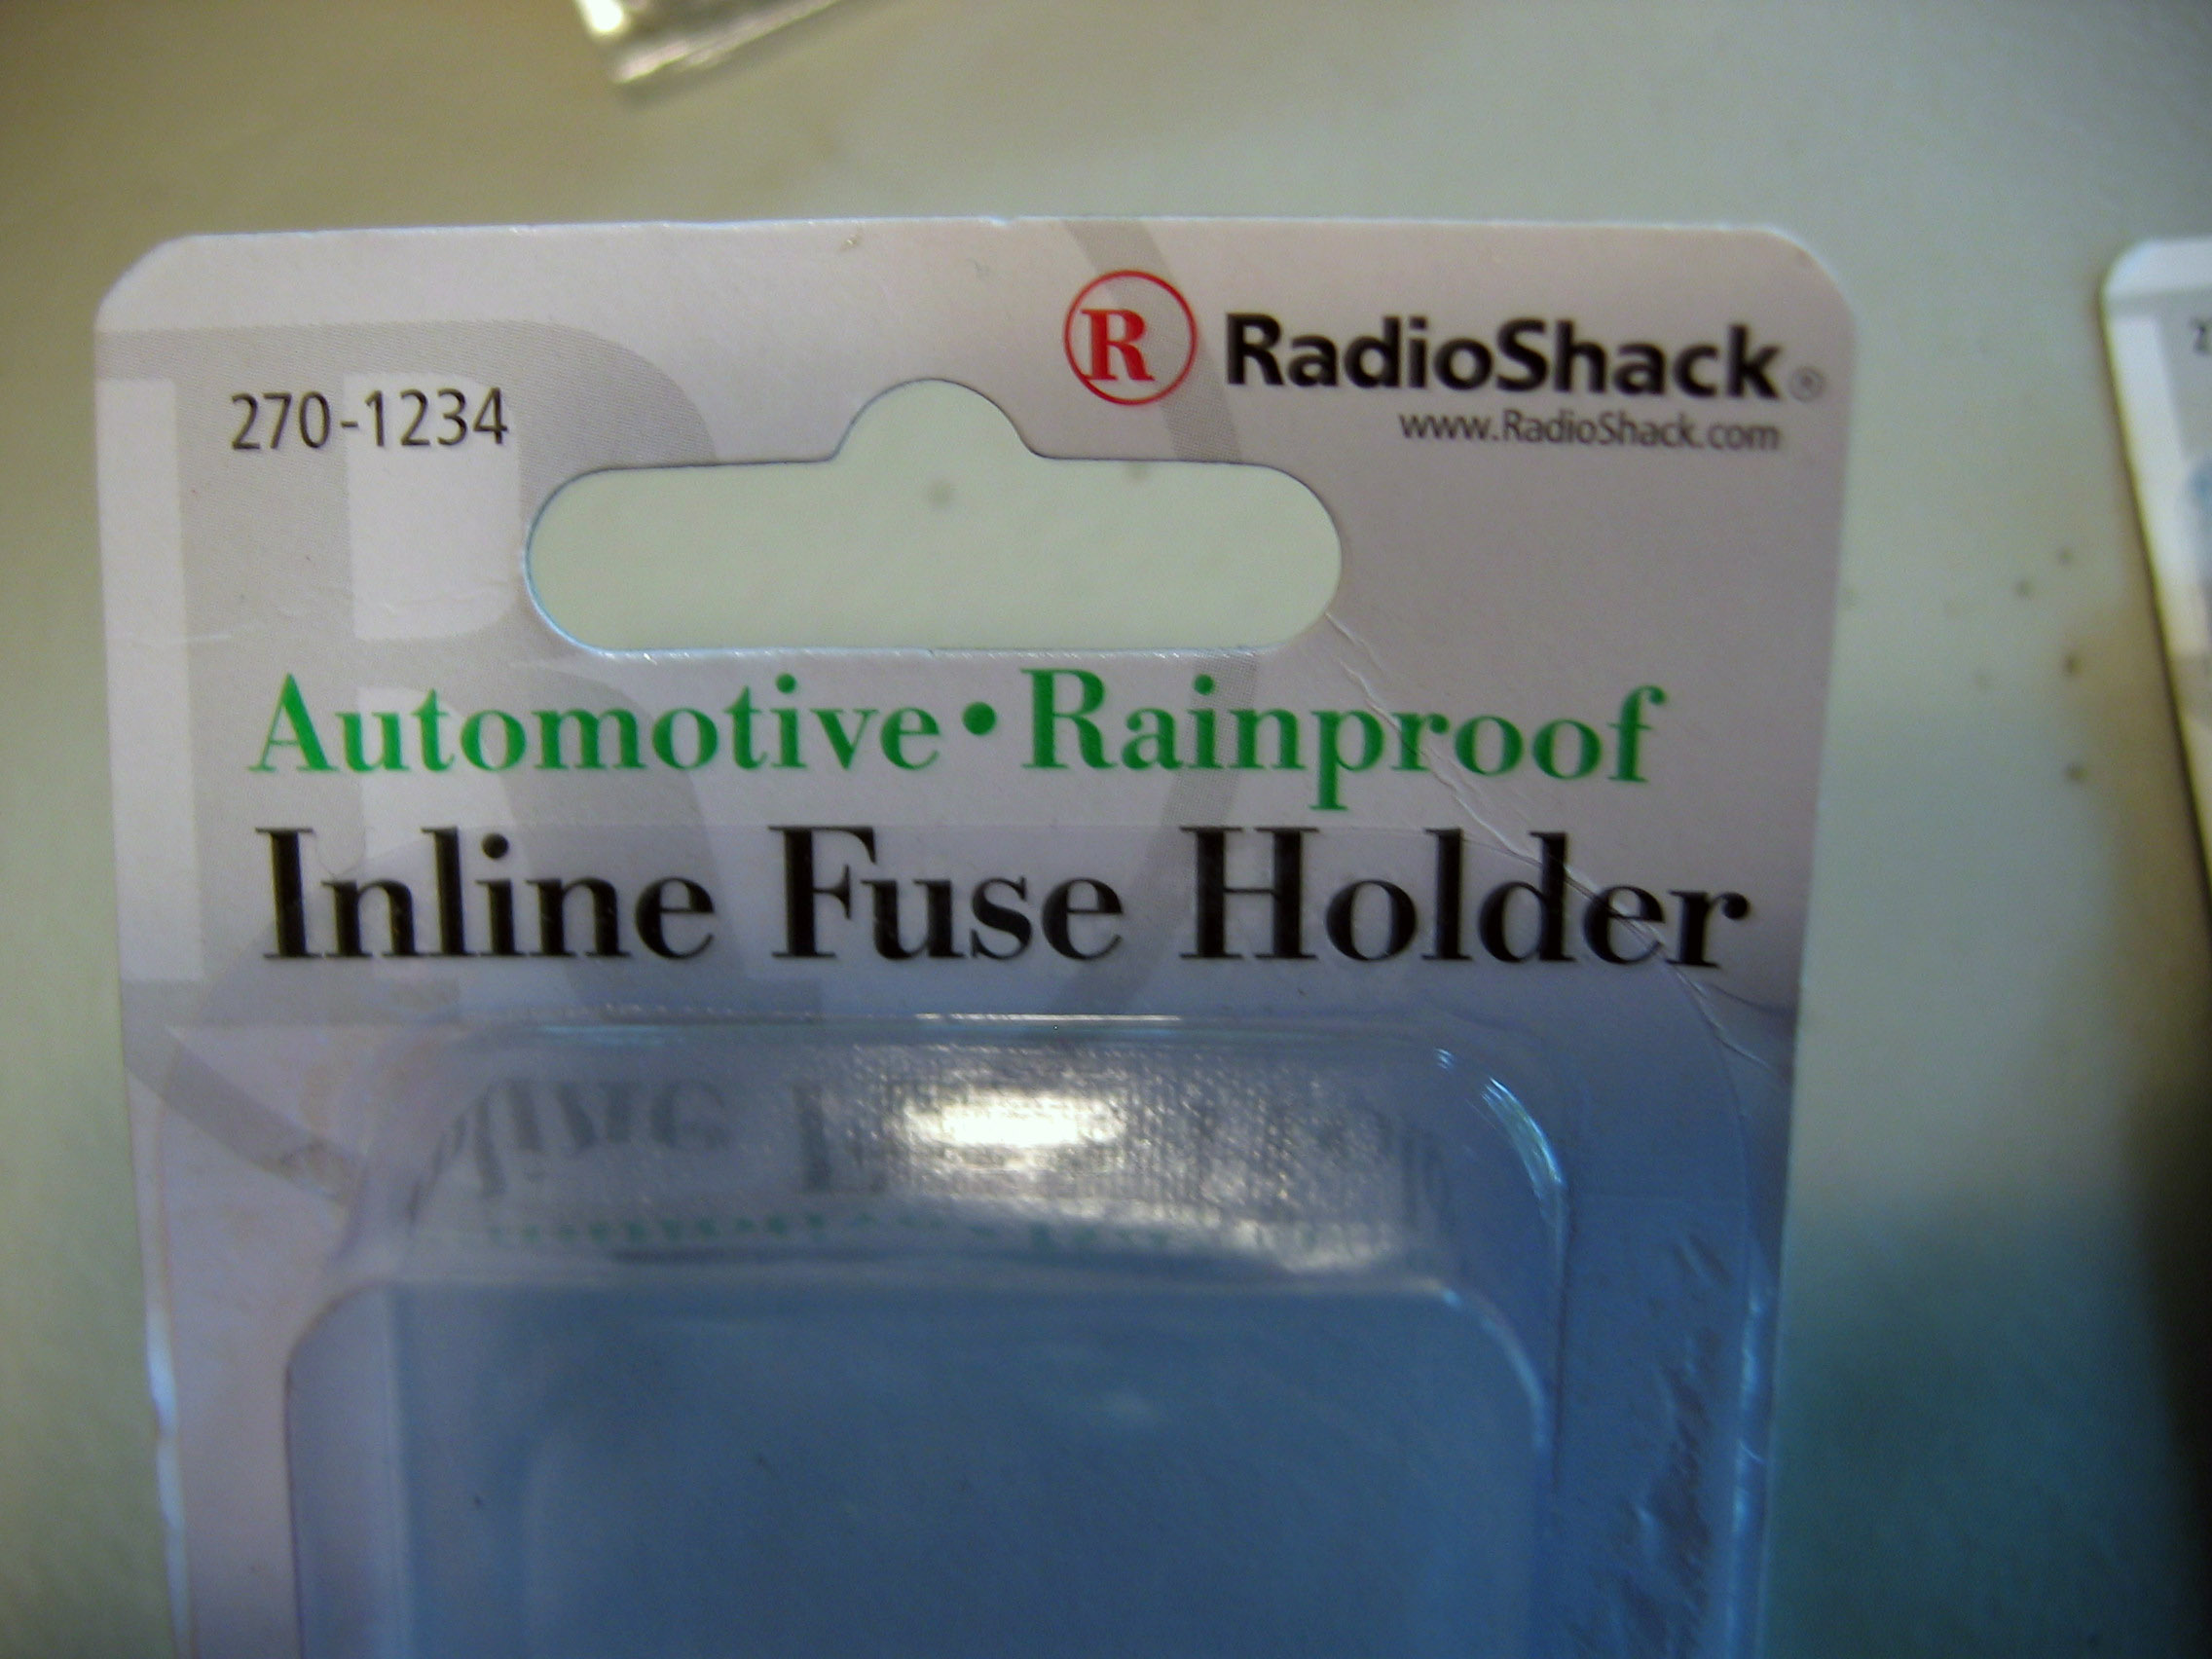
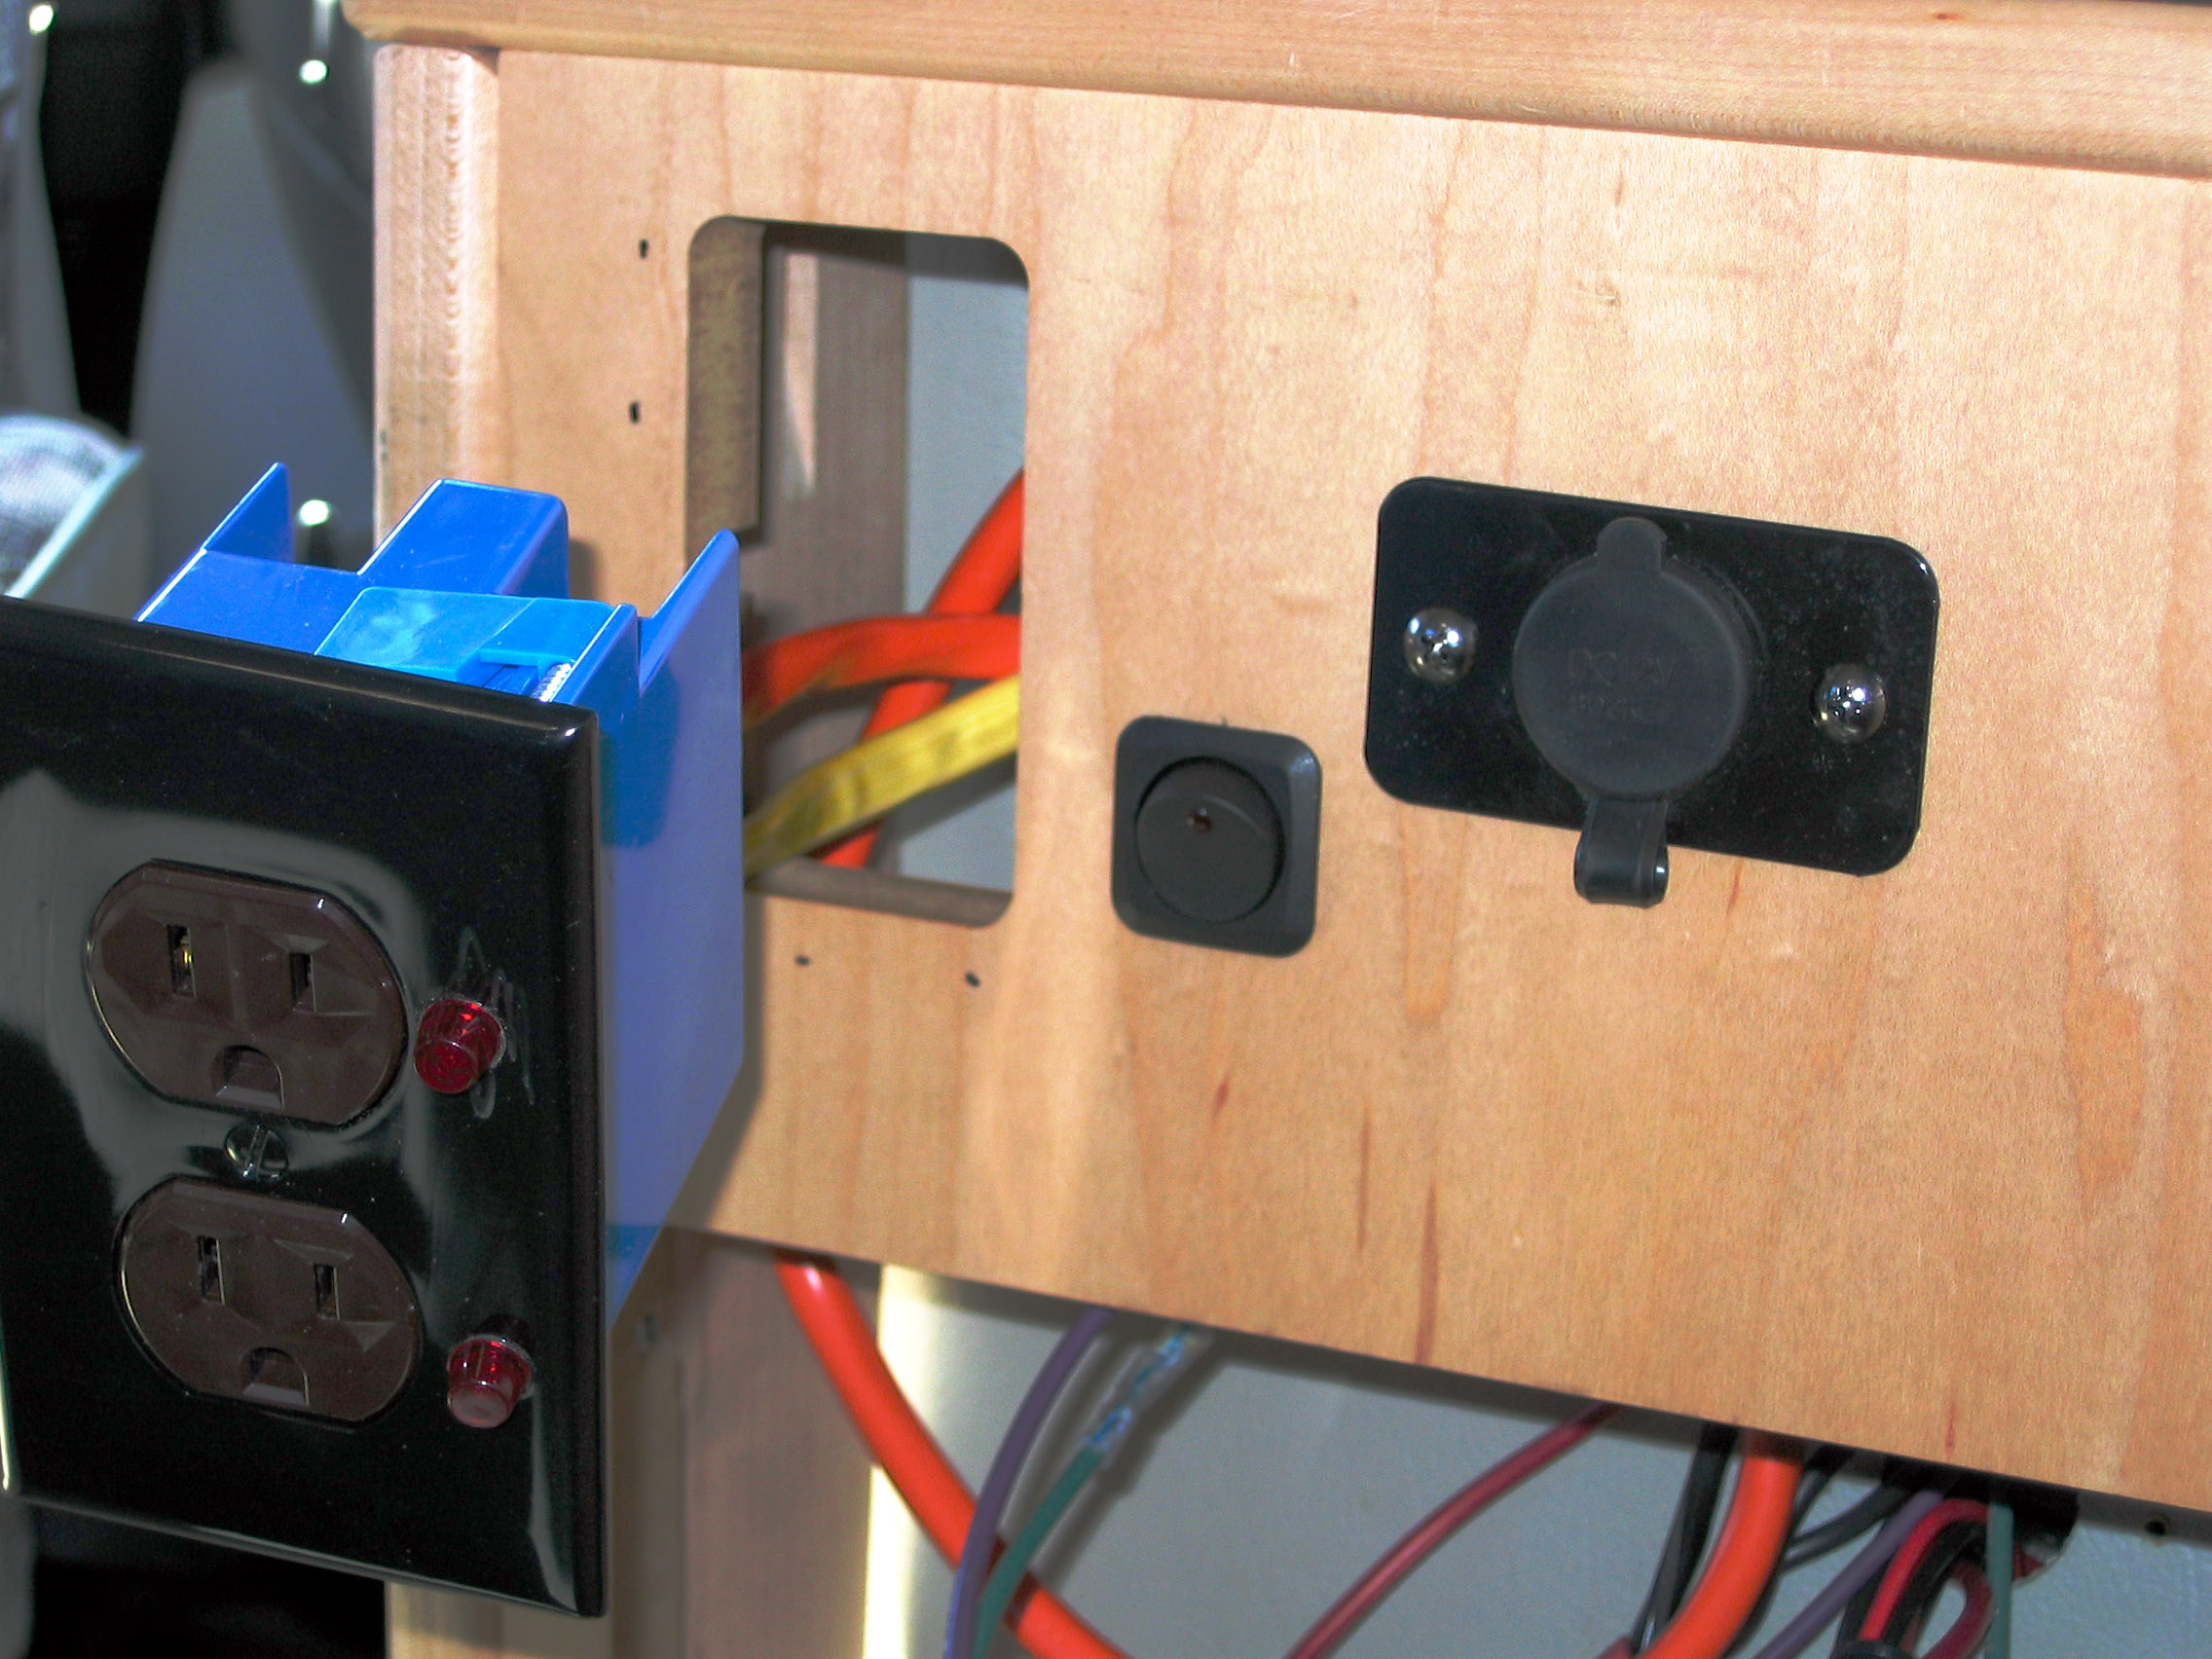
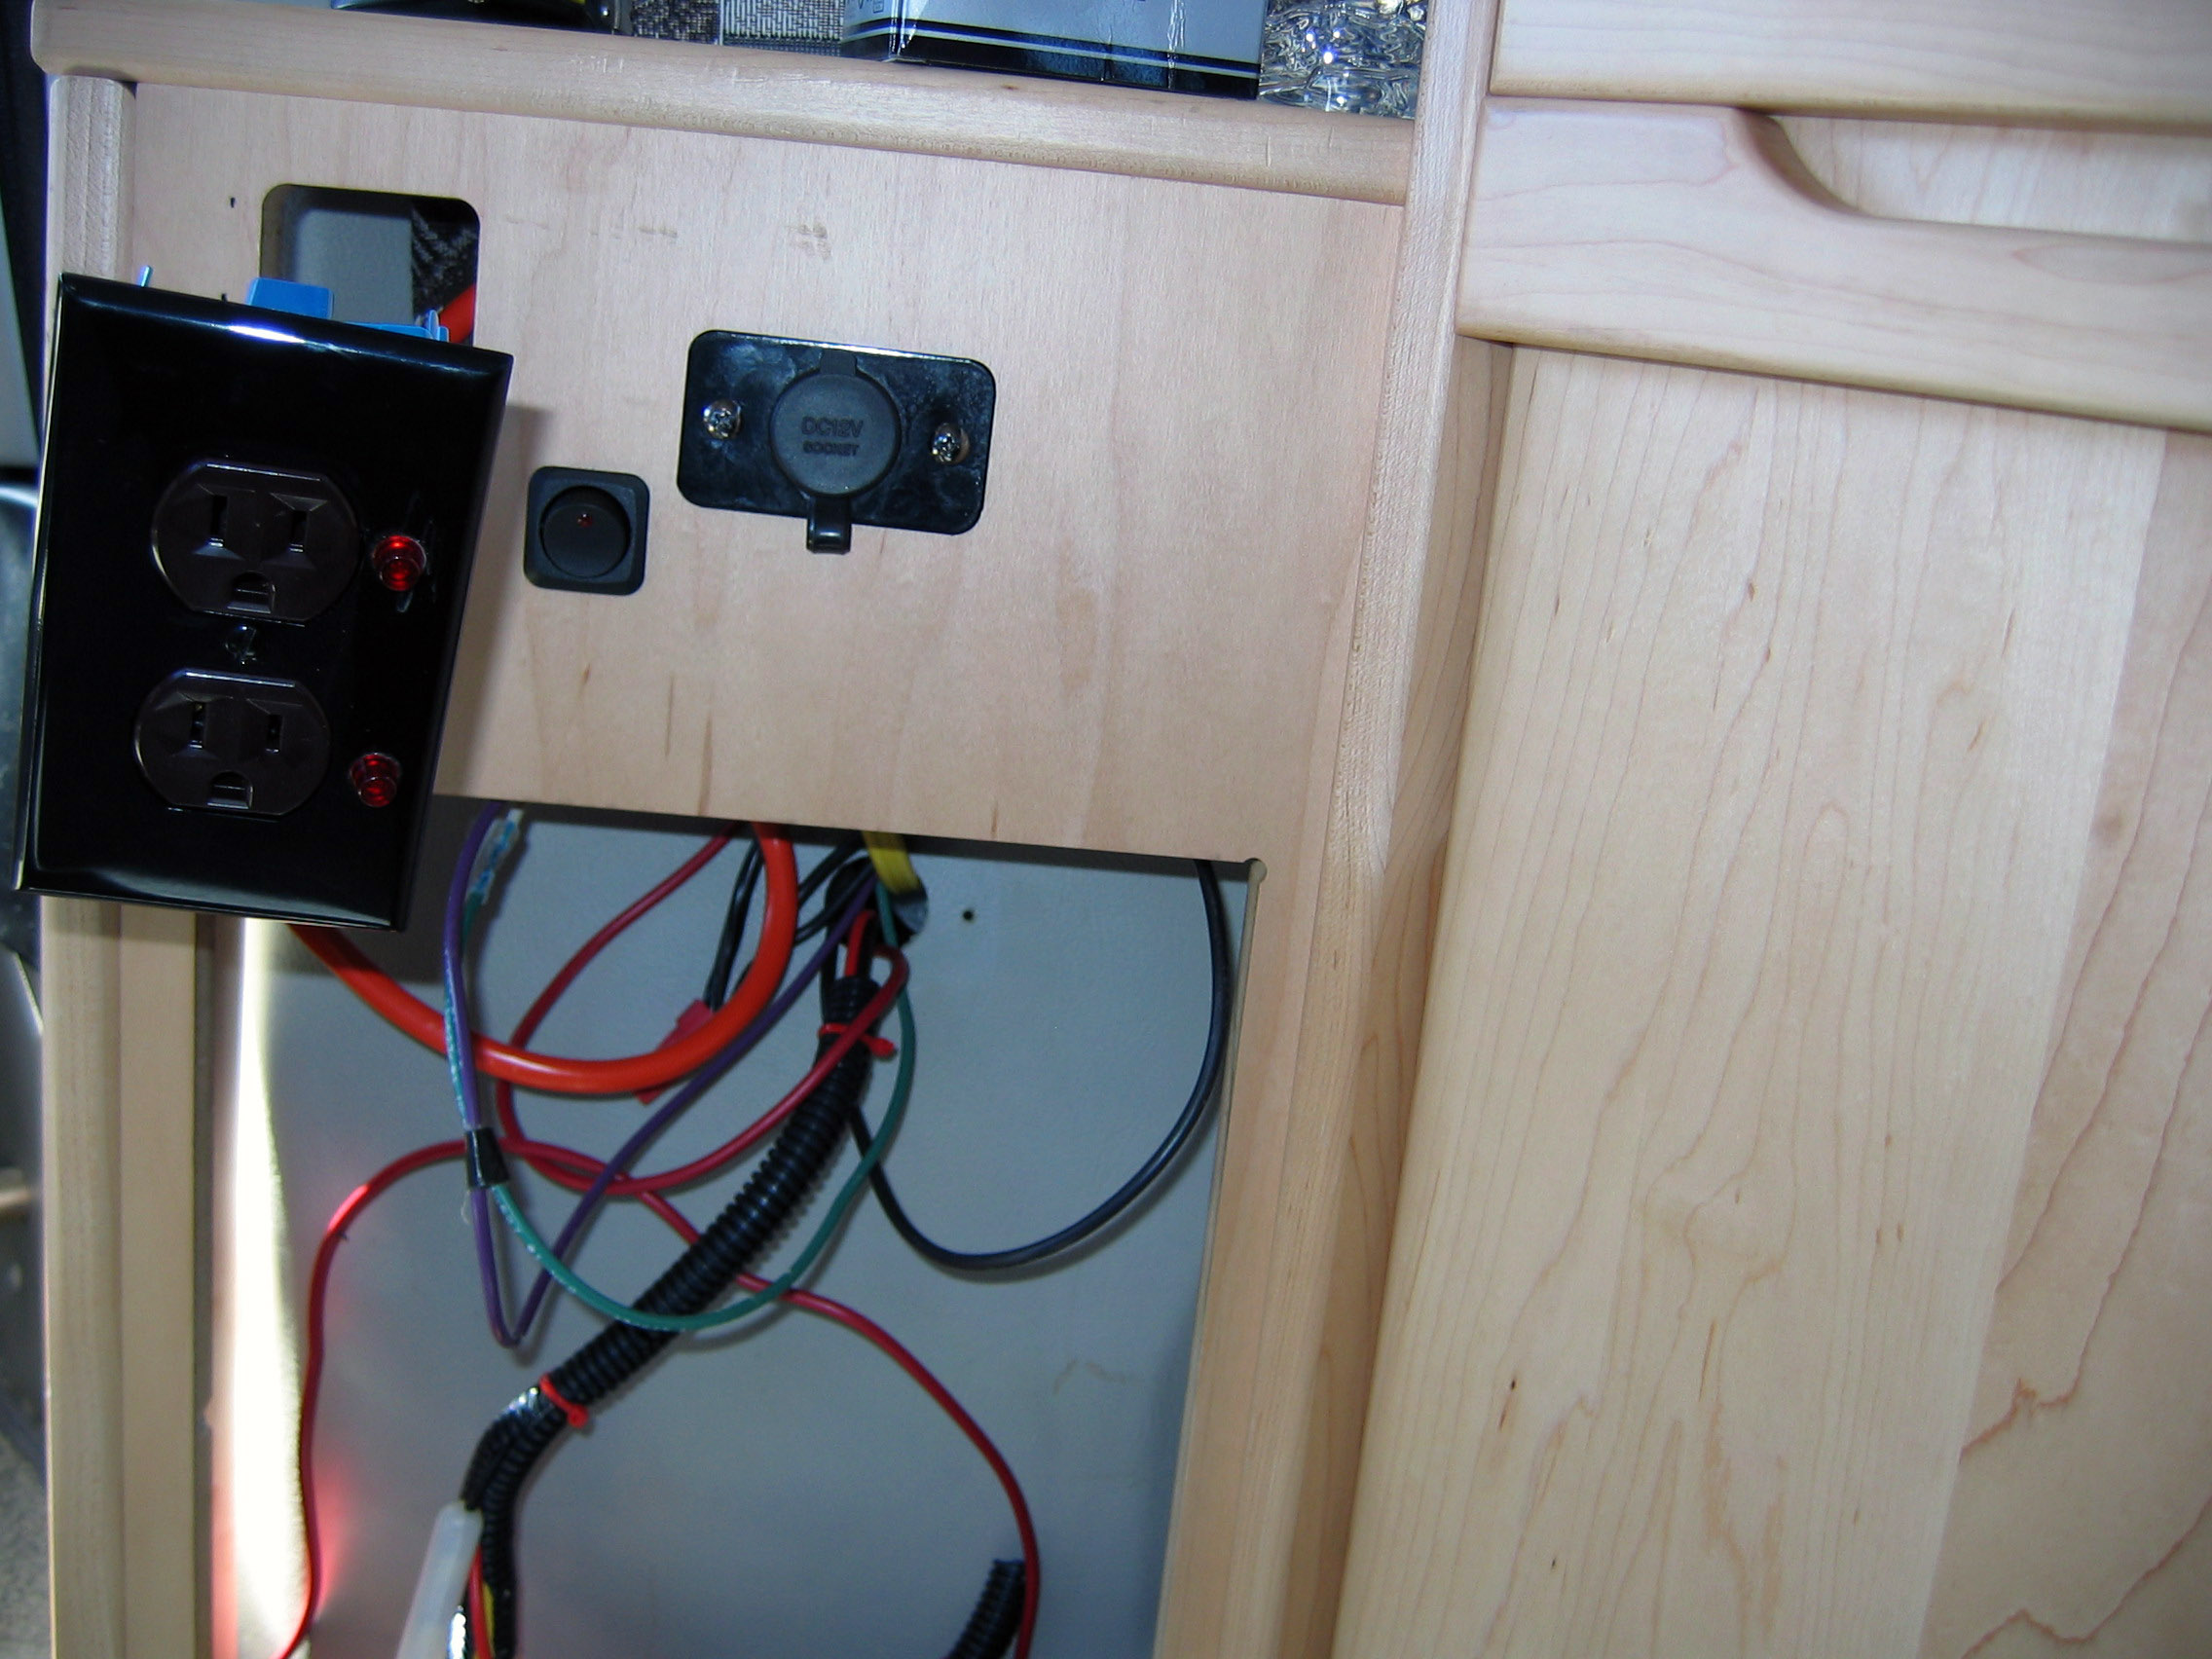
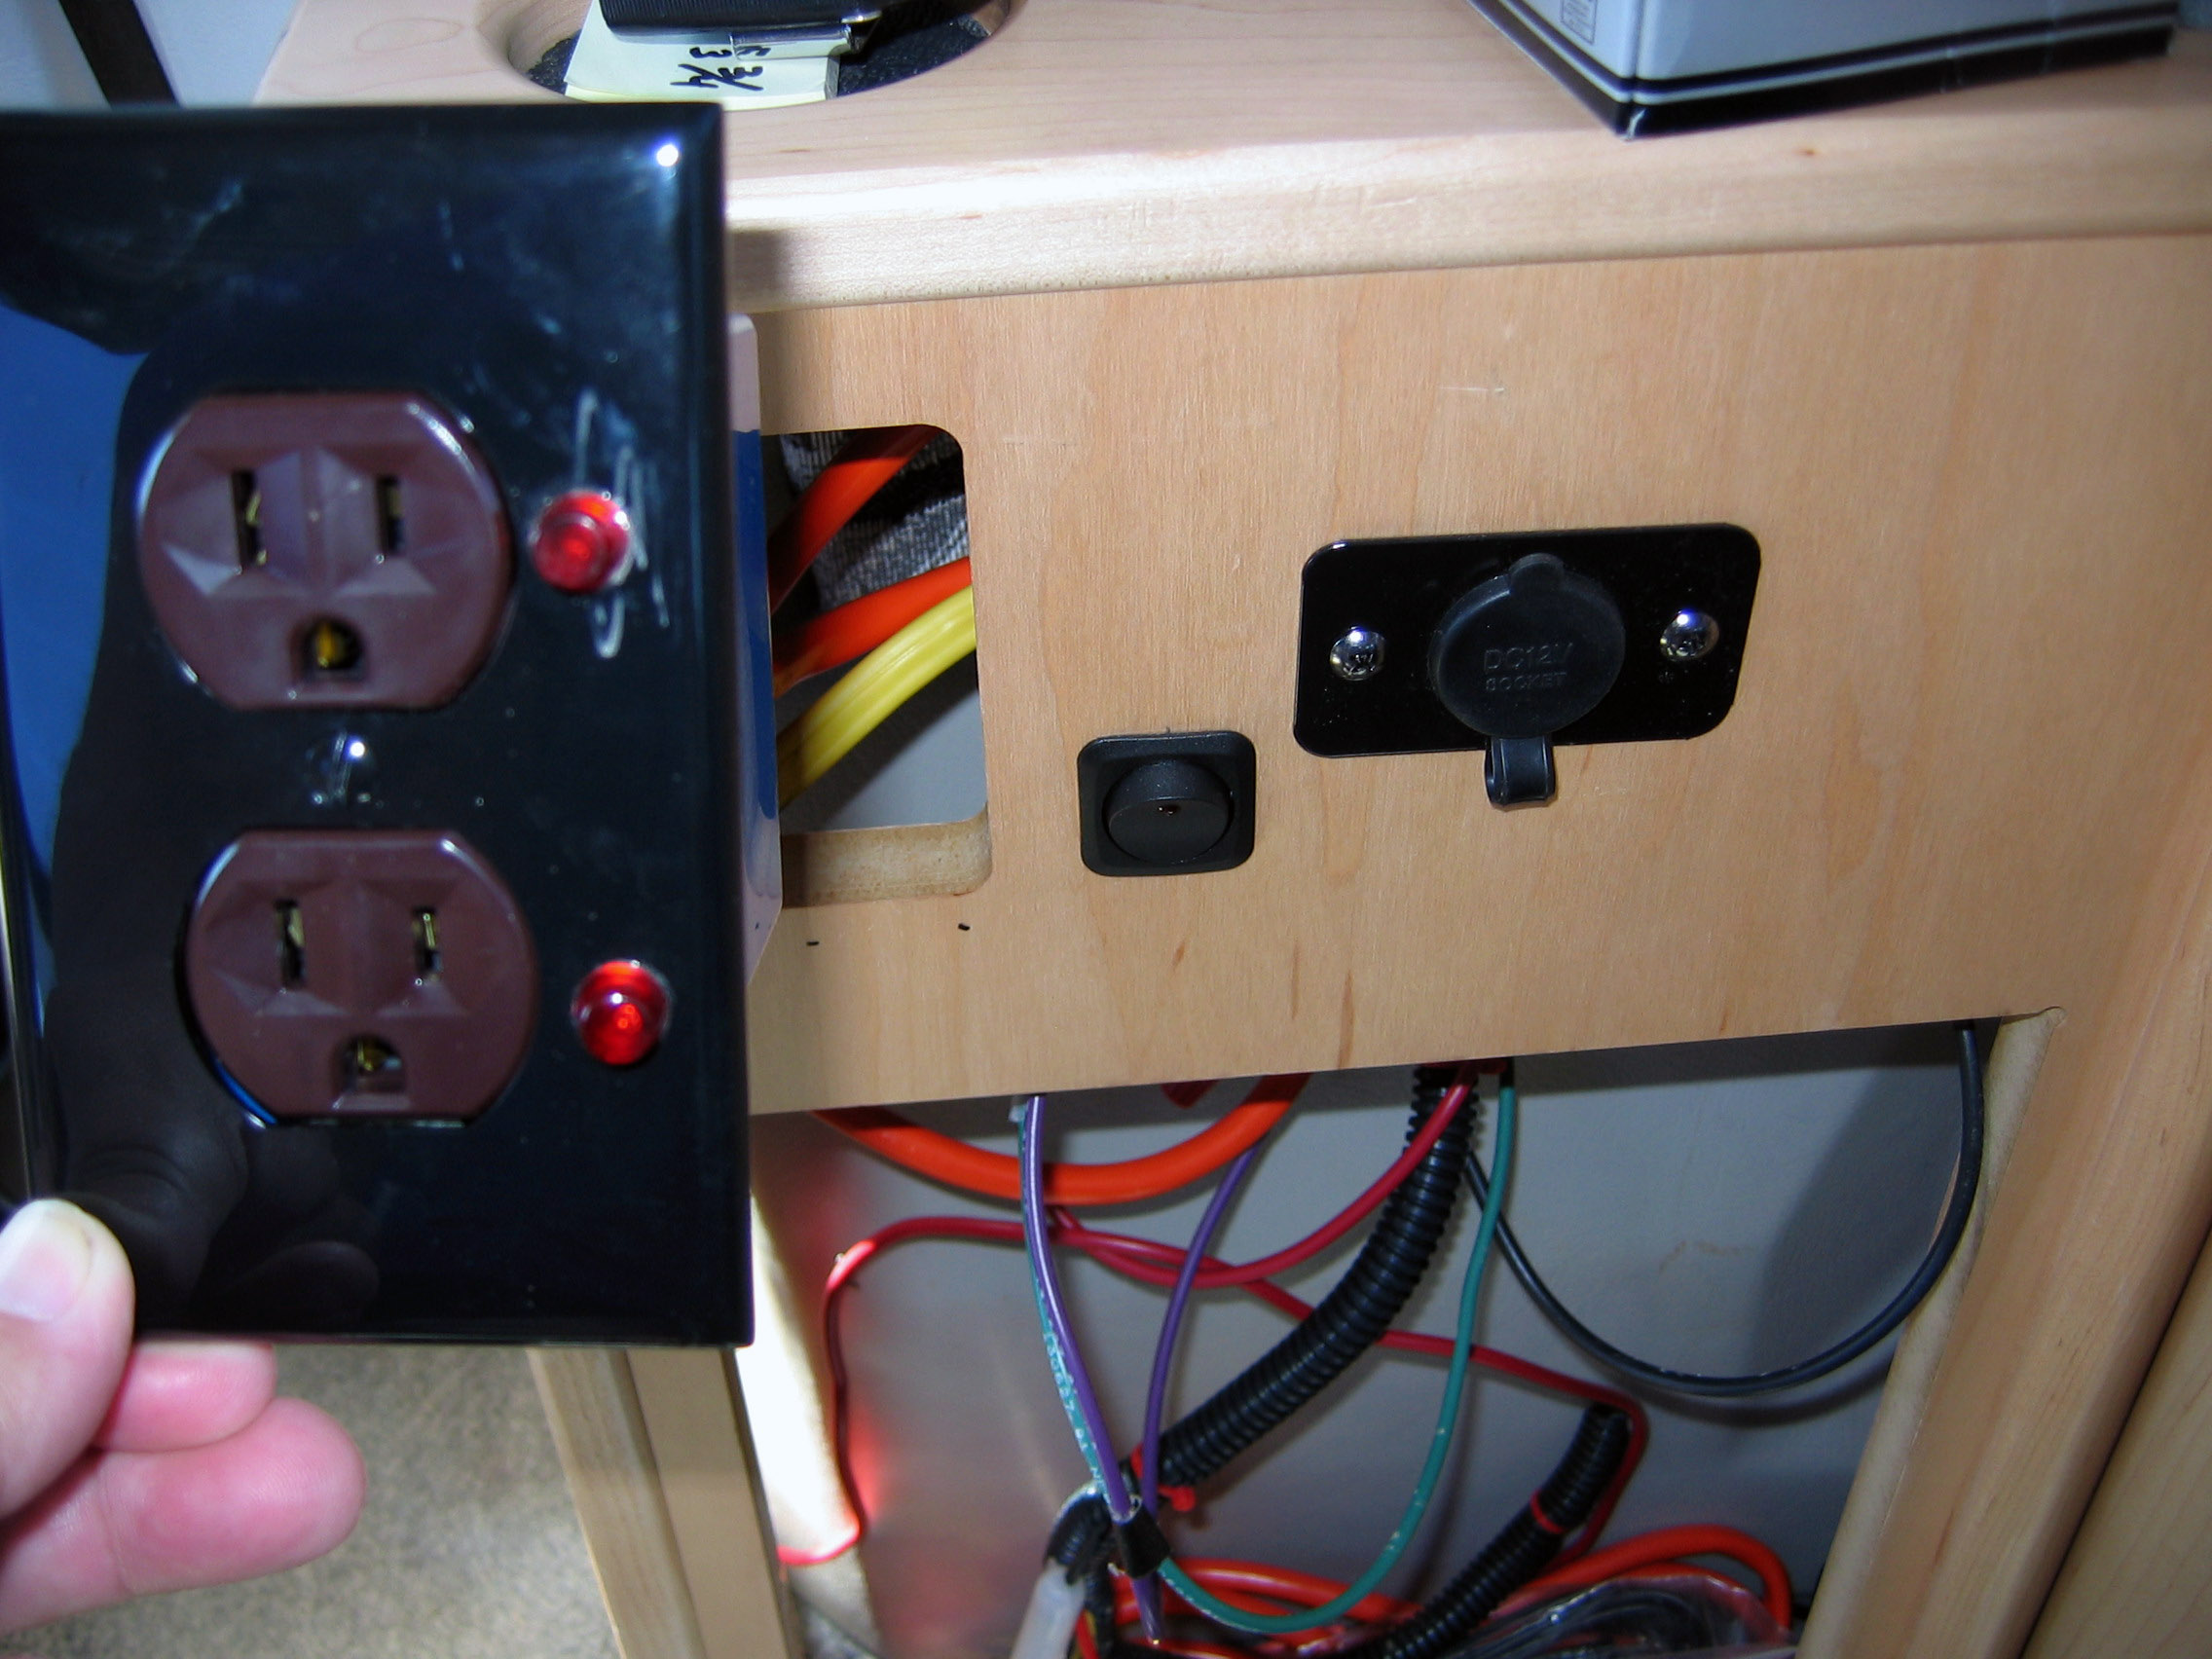
Also shown is the path of the wiring to the inverter we tucked 
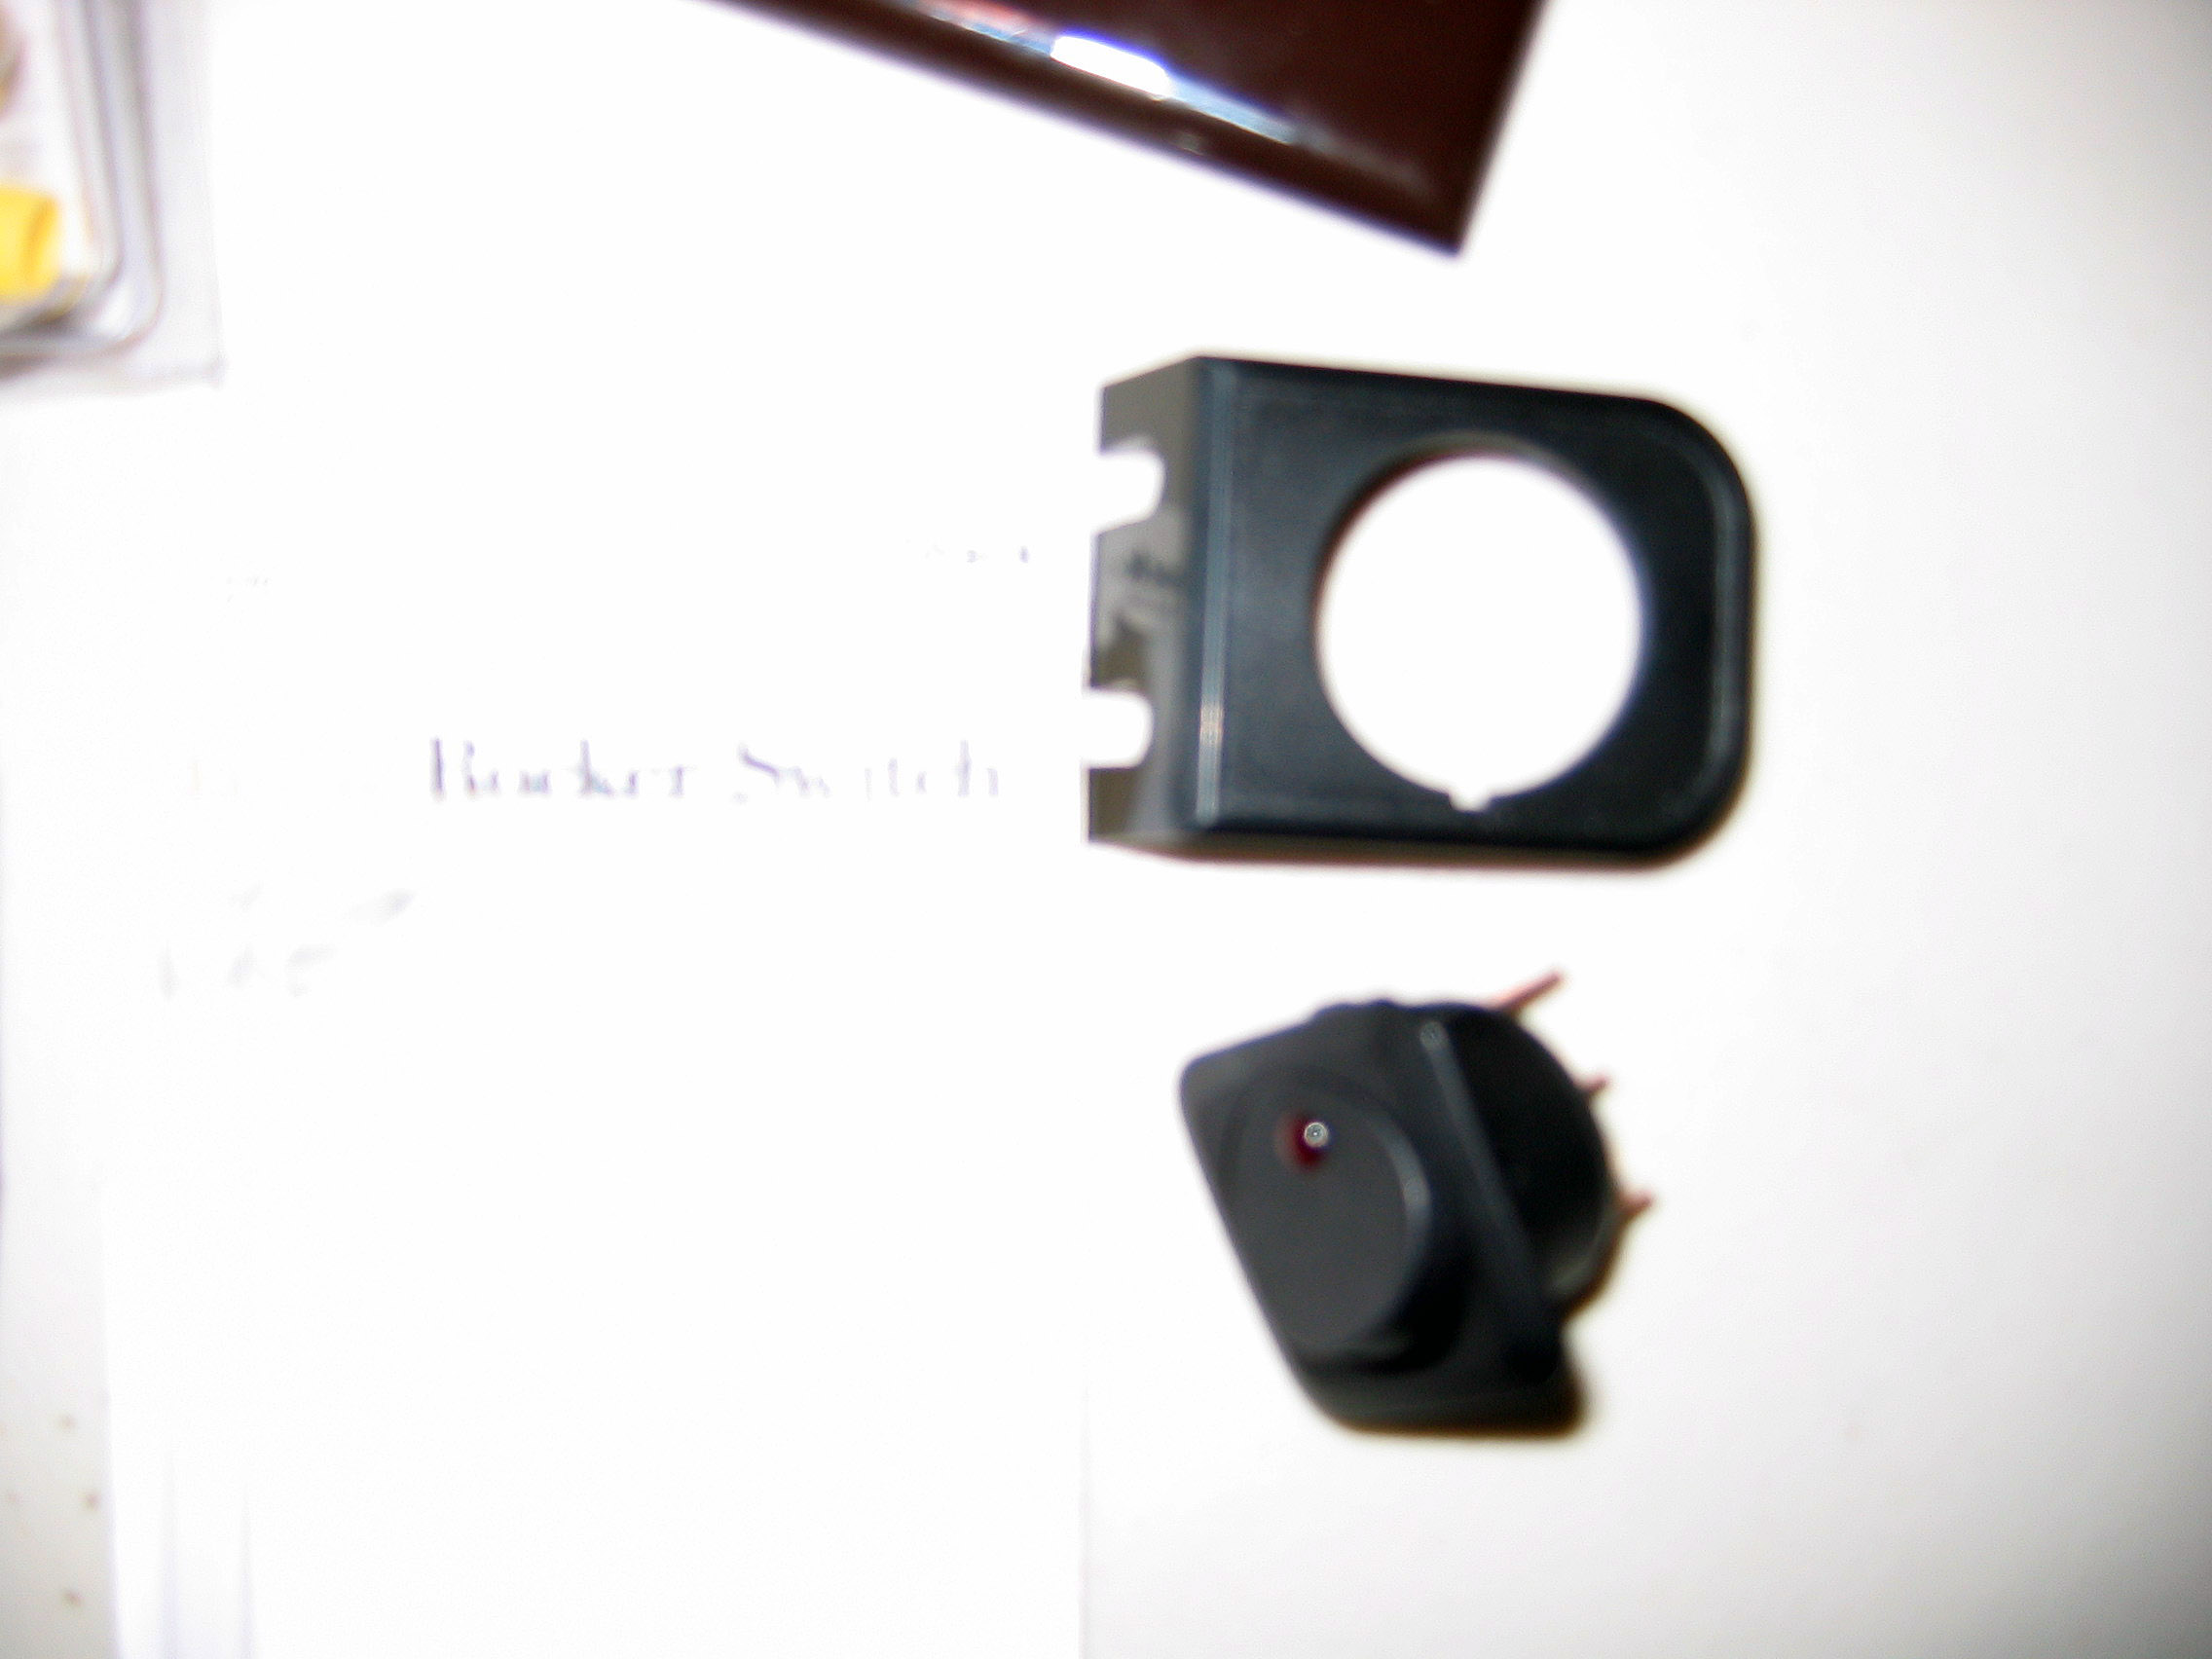
behind the pull up table, the wiring on the rocker switch that turns it off and on, and the outlet that Niels added lights to so that it will show which outlet is live depending on whether we're plugged into shorepower or inverter or generator.  The inverter fit nicely behind the top of the table to the right of the outlets.  I do not know why Niels felt it was important to place it at the top.

I apologize for the quality of the pictures.  I was trying to get close enough to show as much detail as possible.  Some of them aren't worth all that much, but show some particular angle that might be helpful so I just left them in.

We later re-did some of the cosmetic things, like the outlet cover, etc.  I had Winnebago re-seat the base of the chair and re-attach the table professionally because the base of the 1995 swivel chair I purchased from another 
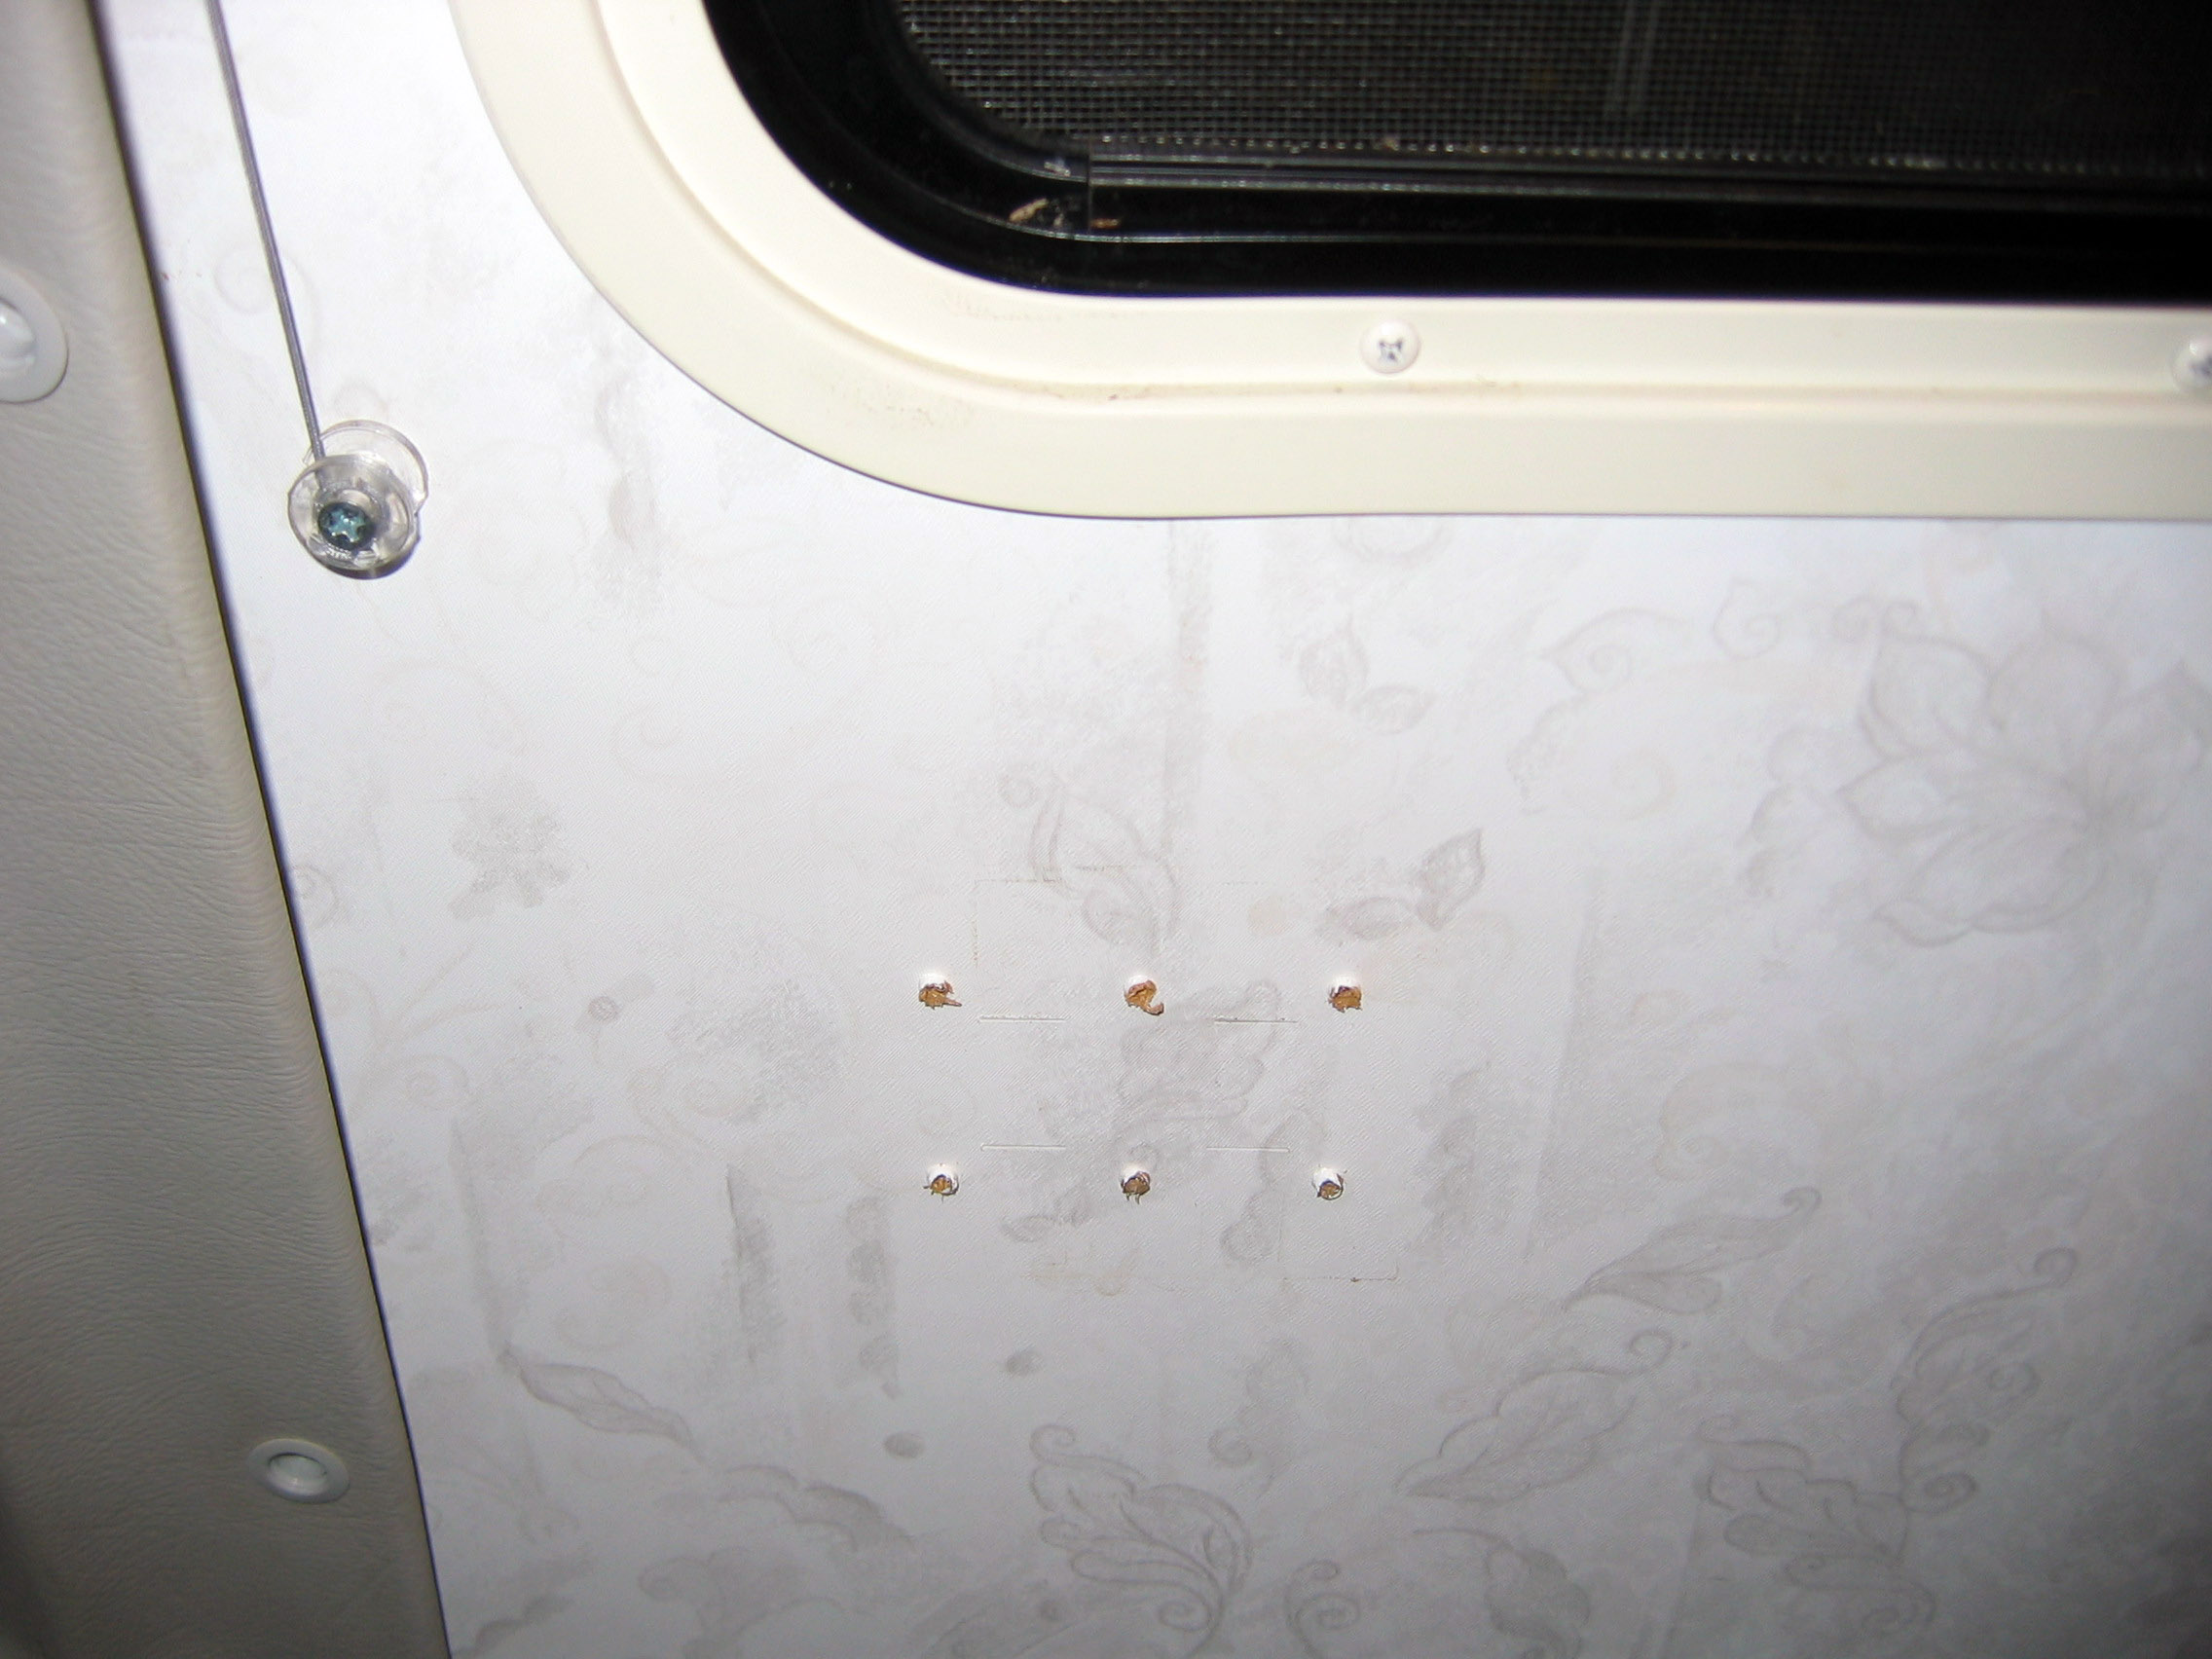
owner did not match the holes uses for the base on the 1999 Rialta.  They drilled new holes for the chair, filled the existing 1999 holes so that I can 'un-fill' them later and reinstall the quad seat if I prefer.

Hope this helps.

hht
99QD-H
Reston, VA

NOTE - If you click on any image, it will be displayed in it's full size resolution.  However, your web browser will probably resize the image so that it fits on your screen.  To see the full resolution within your web browser, look for and click on the "resize gadget" in the lower right hand corner of the image.

Click on any image to view full size

Click on any image to view full size

Click on any image to view full size

Click on any image to view full size

Click on any image to view full size

Click on any image to view full size

Click on any image to view full size

Click on any image to view full size


Click on any image to view full size


Additional Modifications:

[ Arm Rest Removal ] [ Automatic Transfer Switch ] [ Awning ] [ Bathroom Shelf & Basin ] [ Battery Disconnect ]
[ Belly-Pan Cutout ] [ Bicycle Rack ] [ Cabinet Storage ] [ CB Radios ] [ Center Console ]
[ Closet Shelf ] [ Coach Door Seals ] [ Coach Entry Floor ] [ Computer Table ] [ Convex Door Mirror ]
[ Curtain Track ] [ Door Catch ] [ Daylight Running Lights ] [ DVD Conversion ] [ Entertainment Center ]
[ Entry Handrail ] [ Exterior Power Inlet ] [ Exterior Shower Drain ] [ Fuel Pump Jumpers ] [ Furnace Vent ]
[ Galley Faucet ] [ Generator Fuel Cutoff ] [ Granite Countertop ] [ Headboard ] [ Jack Handle Storage ]
[ LCD TV Conversion ] [ LED Bulbs ] [ Magnum Shooters ] [ Map Box ] [ Microwave Convection Oven ]
[ Propane Detector ] [ QD-H Conversion ] [ Rear Axle Stiffener ] [ Rear Couch Foam Roll ] [ Heat Control Label ]
[ Rear Seat Kick Panels ] [ Refrigerator DC Mode ] [ Refrigerator Conversion ] [ Roof Air 13,500 ] [ Roof Rack ]
[ Satellite Dish ] [ Sewer Dump Valve ] [ Sewer Hose Storage ] [ Shade Standoffs ] [ Shower Faucets ]
[ Shower Filter ] [ Simple Shoreline Conversion ] [ Skylight Panel ] [ Spare Tire Carrier ] [ Super Freezer ]
[ Throttle Body Cleaning ] [ Transmission Dip Stick ] [ Trunk Handle ] [ Wheel Covers ]  

[ HOME ]
No images, artwork, or photographs may be used without  permission.
Page Updated: 19 February 2015