|
There are some limitations that you should be aware of regarding CB sets and
antennas in the Rialta. Volkswagen, as do most other modern car manufacturers,
recommends against any type of radio broadcast antenna being mounted close to or
being used near the instrument panel because of the complex electronic parts found
under the dashboard. While some say this is nonsense, you can safely avoid any pitfalls
by heeding their advice and choosing a more feasible and practical location for
the antenna. Also try to avoid the hand-held set with the antenna connects right
on the set (walkie-talkie), especially if held close to the instrument pane.
Note that if you sign up to tour with a commercial caravan group, they usually
require each vehicle to have a CB radio so that they can pass on directions or keep
the group informed if one vehicle breaks down. If you normally don't have a CB and
don't plan to keep one afterwards, plan on using a small set powered through the
cigarette lighter and use a magnetic mount antenna.
If you are unsure about what to use, just pull into a major big-rig truck stop
that sells and installs CB radios and ask them for advice. Also consider having
them perform the complete installation.
On this page:
CB Sets
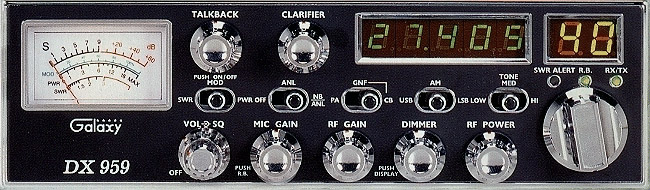
There are many different type of CB sets available on the market
today and any of them will work well with your Rialta. The biggest factors to
consider are the relative size of the set, how and where you will attach or mount
it, and power requirements.
Almost all CB sets are made to run directly from the vehicle's 12V power system.
When permanently mounted the power leads are usually connected to a switched 12V
hot wire or fuse so that when the ignition is turned off, the radio is also turned
off. If you are considering only a temporary installation, then you can purchase
a "cigarette lighter" adapter which will draw 12V and allow you to connect the
power leads from the CB set.
Unless you like to channel-hop, the set itself does not have to be located
under the dash or in the immediate vicinity of the driver. It can be several feet
away and only the microphone on a long cord is needed to be near the driver/passenger.
Some sets are complete "hand-held" sets with the microphones and channel-changing
capability all in one. The main part of the set can then be located under the
driver's seat.
[ return to top ]
CB Antennas
There are really only two things to decide when selecting an antenna for the Rialta.
First is how big? Second is what type of mount. The ultimate length that you select
can be anything from a short 1 foot antenna to a full size 102 inch whip. Aesthetics
are a major concern. The location and mounting type also influence the size of
the antenna.Choosing a CB antenna is fairly easy once you have sorted through
a few basic rules. This information should help.
Basic Rules:
- Top loaded (helical wire-wounds) antennas perform better than center loaded
antennas, center loaded antennas perform better than base loaded antennas.
- Taller antennas perform better than shorter antennas.
- Antennas mounted higher perform better than if mounted lower.
- Single antennas perform better when mounted as close to center as possible
on metal vehicles
- Base loaded antennas cannot be co-phased with satisfactory results.
- Fiberglass and aluminum vehicles, or those with little available ground
plane, need co-phased or "no ground plane" antennas systems.
- The physical length of the antenna should be determined by the likelihood
of repetitive hitting of overhead objects and/or the type and strength of the
antenna mount itself.
- At least two-thirds of the antenna should be above a vehicles roof line
for optimum performance.
- If the antenna/mount combination is available in a kit form, you will normally
save money by purchasing it as a kit.
- The bandwidth of the antenna should always meet or exceed the needs of a
40 channel CB.
How does an antenna size affect my CB radio?
If you put 4 watts into a four-foot antenna, you will get the same power
out of that antenna as if you were putting 2 watts into a 102-inch whip.
If you put 4 watts into a 3-foot antenna you will get the same power out
as if you were putting about 1.5 watts into a 102-inch whip.
If you put 4 watts into a 7.5 inch antenna on a hand held CB, it would put
out as much power as a third of a watt into a 102-whip.
If you put 4 watts into a 102-inch whip antenna, it is the same output as
if you put 11 watts into a 3-foot whip.
If you put 4 watts into a 102-inch whip antenna,, it is the same as if you
put 14 watts into a 28-inch antenna.
If you put 4 watts into a 102-inch whip antenna, it is the same as if you
put 54 watts into a 7.5 inch antenna.
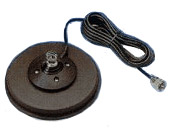
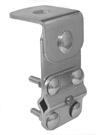
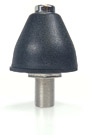
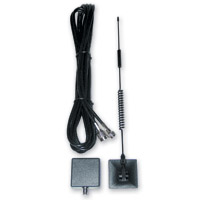
Types of Mounting:
NOTE - Each type of mount can vary greatly from the image shown above. The
through-the-glass type is probably the worst choice but the best looking. Performance
for the CB transmission range is greatly hindered because of its restrictive mounting
location.
[ return to top ]
How To Adjust The SWR On Your CB Radio
Needed: SWR meter, short jumper coax 3 foot.
Procedure: The SWR meter needs to be placed in line between
the antenna and the CB. Connect the antenna (normally connected
to the back of the CB ) to the connector marked "Antenna" or "Ant" on your
SWR Meter. Connect one end of the short jumper coax to the "transmit" or "Xmit"
on the SWR meter. Connect the other end of your jumper coax to the CB.
Assuming you have a standard SWR meter the switches should
read as follows: REF or SWR, FWD, and there should be a slide switch marked "set"
or "Adjust". If different consult your meter's owners manual.
With the radio on the lowest channel (1 on CB) and the SWR meters switch in
the Forward (FWD) position, depress the transmit switch (key up) located on the
microphone. While holding the unit in this transmit mode, adjust the meter needle
to the set position using the Set or Adjust knob on the meter. As soon as the
needle is in alignment with the corresponding mark on the meter face, flip the
switch to the Reference (REF) position. The meter is now showing your SWR on channel
one. Note the value and quickly release the microphone switch. Record this reading.
Repeat the previous step on channels 19 and 40.
How to read your results: If SWR on channels 1, 19 &
40 is below 2.0, your radio can be operated safely.
If SWR on all channels is above 2.0 but not in the "red zone" (normally over
3.0), you may be experiencing coaxial cable reaction (bad quality, wrong length,
etc.), insufficient ground plane, or have an ungrounded antenna mount.
If SWR is in the "red zone" on all channels, you probably have an electrical short
in your coax connectors, or your mounting stud was installed incorrectly and is
shorted. Do not operate your radio until the problem is
found, serious damage can occur to your radio.
If SWR on the lowest channel is higher than it is on the highest channel, your
antenna system appears to be electrically short. Your antenna length may need
to be increased.
If the SWR on channel 40 is greater than that on channel 1, your antenna is
considered to be "LONG" and reduction of physical height and/or conductor length
will correct this situation.
[ return to top ]
Suggested Antenna Mounting Locations
To begin with, the center of the vehicle at the highest point of the roof is
the BEST location. But since that is really impractical, here are some other locations
suggested by Rialta owners.
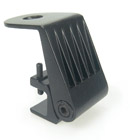
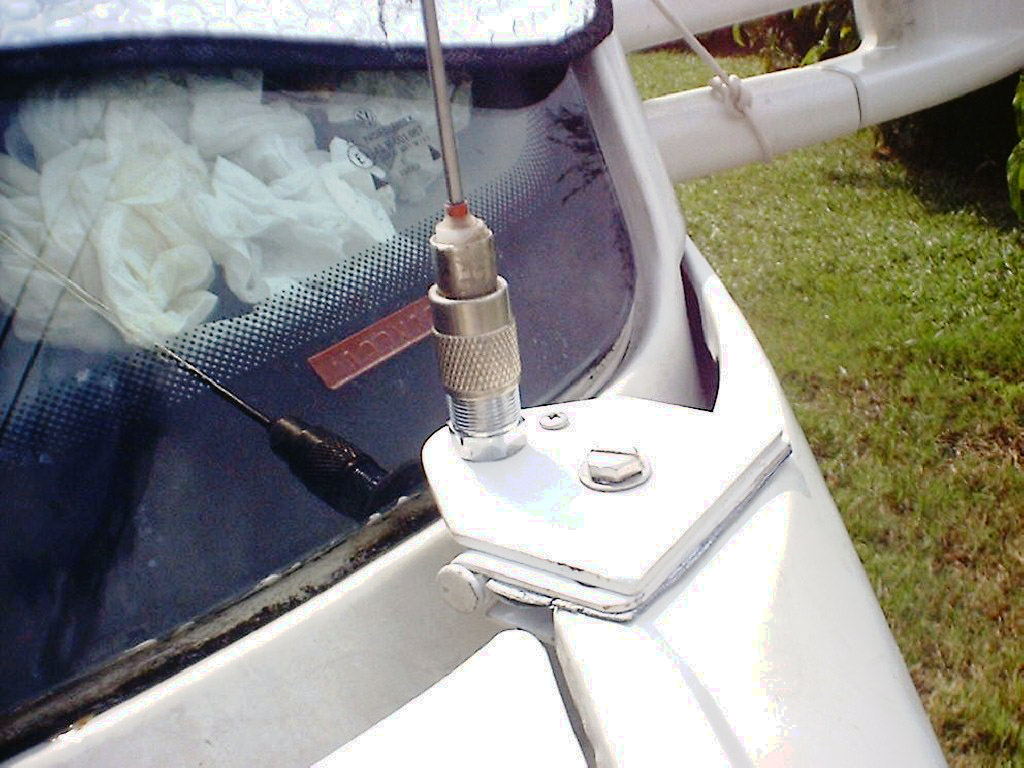
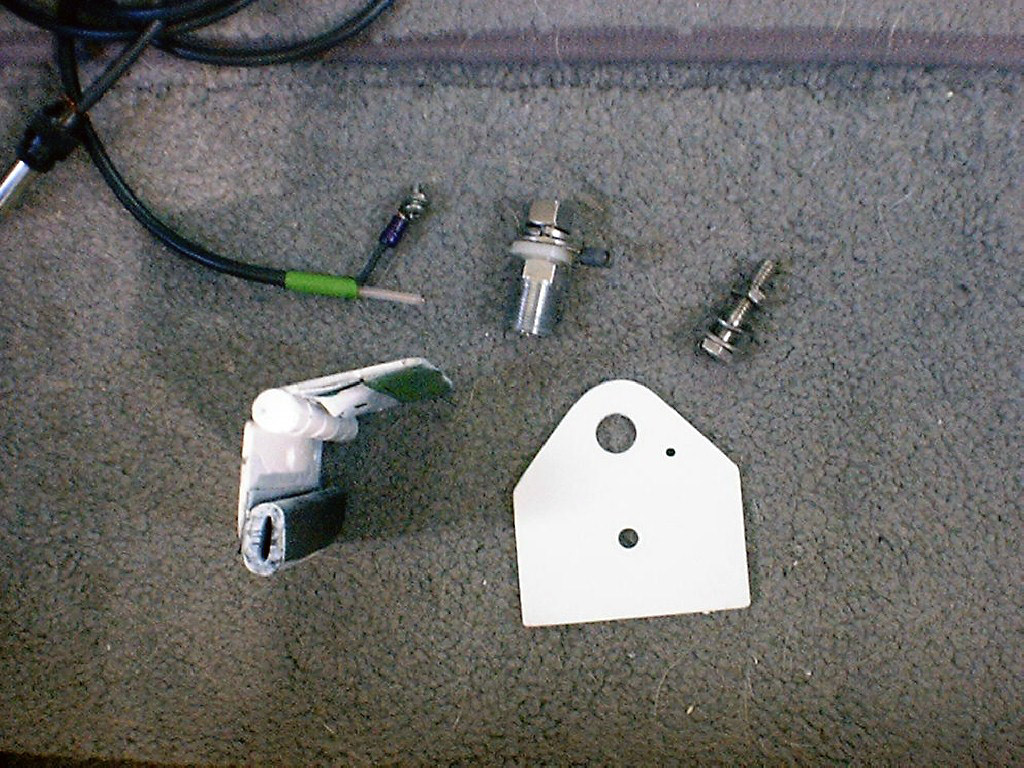
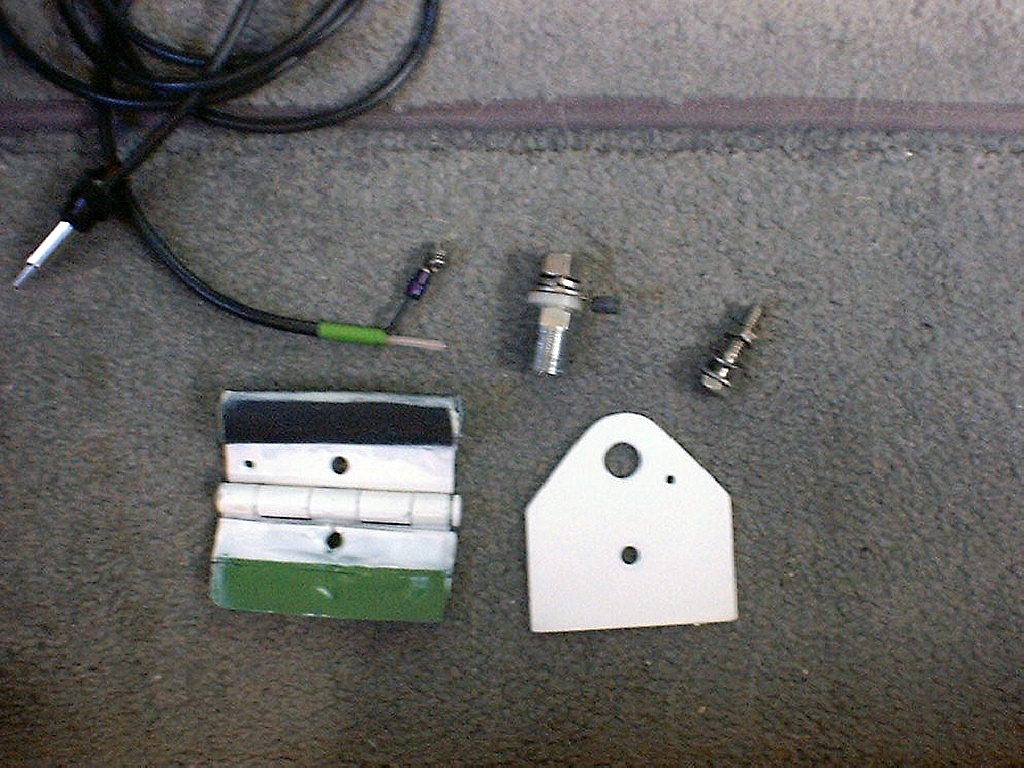
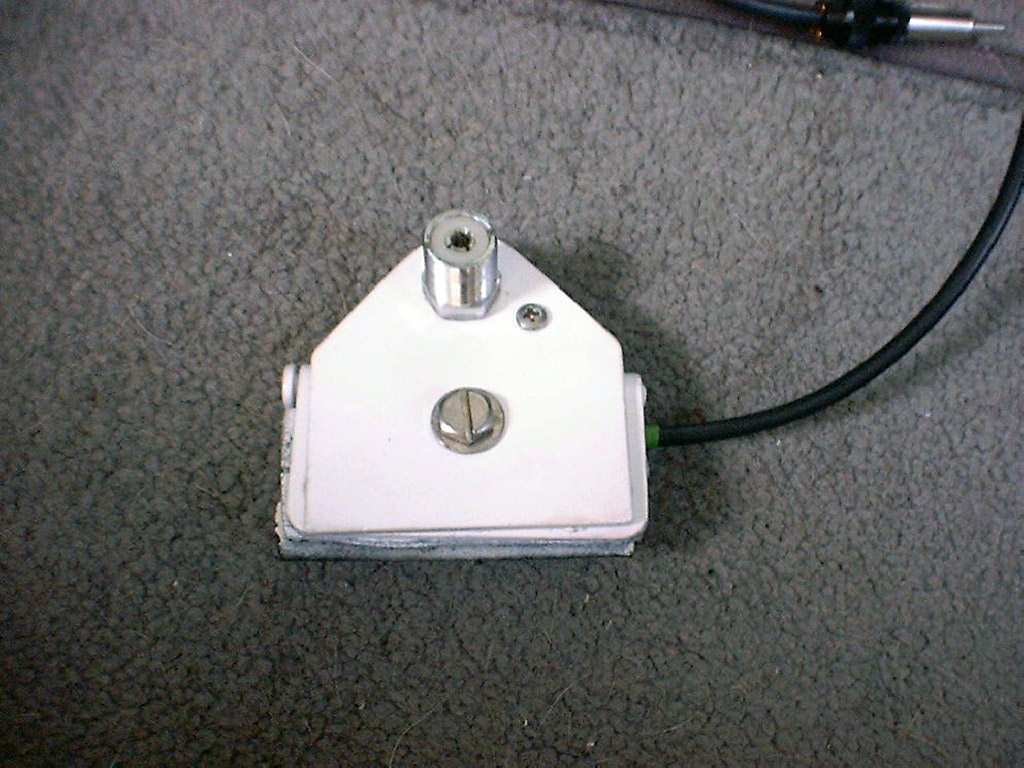
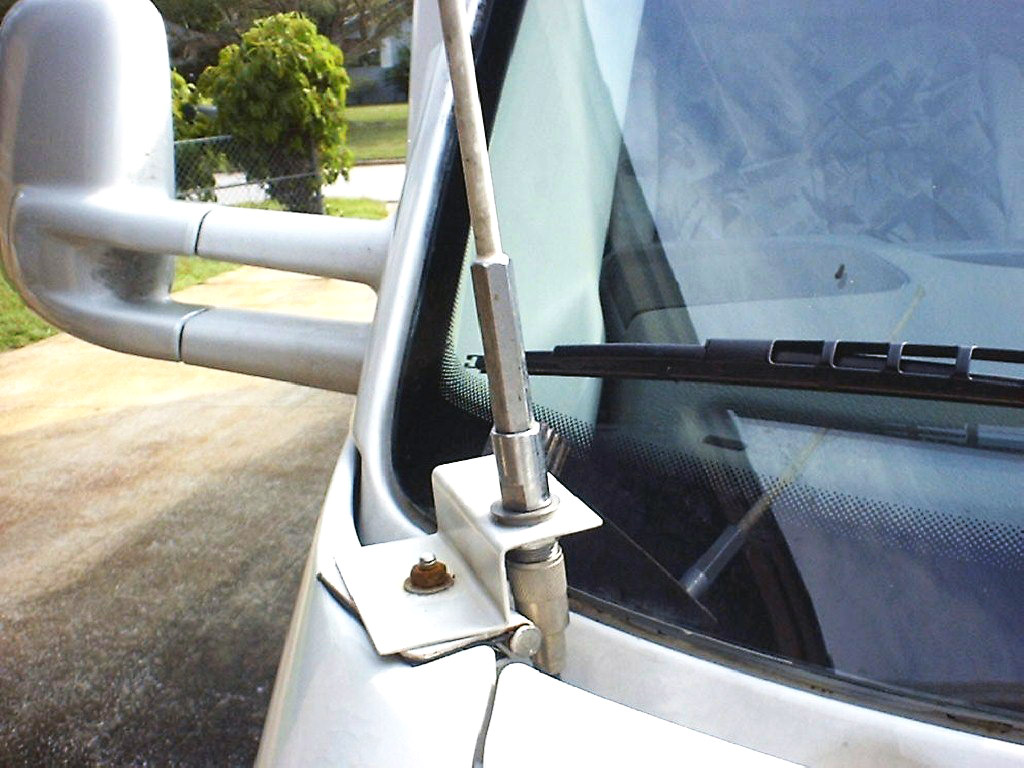
Here is one example of an antenna using a permanent mount on the windshield
cowl using an old hinge and rubber pads as a clamp. One comment: I'm not sure
of the functionality of having the antenna grounded only to the metal hinge which
appears to be electrically insulated from the rest of the body by the rubber pads.
From: "batbasterson" <batbasterson@...>
Date: Tue Aug 31, 2004 1:59 pm
Subject: Re: CB radio batbasterson
The only good location is on top of the roof. Otherwise, your
transmission (TX) will be hampered by the body. Another option might be a whip
on the rear towing tongue that replaces the usual ball. Then you could run the
coax under the body and pop up into the engine firewall. Put a tennis ball on
the whip to keep from banging into the body.
Bat
Attaching to the roof via a permanent hole being drilled is probably not the
best choice. There are other ways fabricating a mounting bracket that could be
attached to a utility pipe, roof air, or other major part on the roof. The antenna
could then be mounted onto the bracket thereby eliminating any drilling of holes
in the roof. The drawback to any roof location is deciding on how to feed the
coax cable back into the interior.
[ return to top ]
Additional Modifications:
|