
|
|
|
|
In all cases, it is best to have an assistant stand towards the rear and provide the driver with arm and hand signals for safety and to insure that the vehicle doesn't accidentally back into a tree or over a utility hookup in a campground. The back-up alarm will warn people of the intent of the vehicle but the extra person to assist the driver is still recommended. These back-up alarms are relatively cheap and simple to install. In order to make them sound the warning beeps only when the vehicle is placed in reverse, the wiring should be spliced directly into the wires that supply the back-up lights. On a Rialta, you can determine which wires power the back-up lights by either reading the wiring diagram, if you have one, or simply remove the tail-light assembly and read the number on the wire that goes to the back-up light. Next, obtain access to the left rear area of the vehicle where you'll see the bundle of wires that go to the rear of the vehicle and service the tail-light assembly. Inside this bundle of wires you'll find the one yellow wire previously identified as the back-up light. Simply splice your wires from the back-up alarm into this yellow wire and the white wire which is the ground. Assuming that you are going to mount the back-up alarm underneath somewhere near the left rear of the vehicle, you will probably have to drill a small 1/4" hole through the floor near the bundle of wires and run the wires through the hole down to the location of where the alarm is mounted. I recommend using a rubber grommet in the hole to keep the wires from being cut from the sharp metal edge and to keep water and other debris from getting inside. Most auto-supply stores will carry a generic brand that should work fine. Try to avoid the higher priced commercial products that have a sound output in excess of 100 decibels (not good in an RV park). I purchased mine from JC Whitney for less than $10 and it's sound output is actually somewhat reduced which is just fine for its intended RV use. Here are some other sources for backup alarms:
Additional Accessories:
|
|
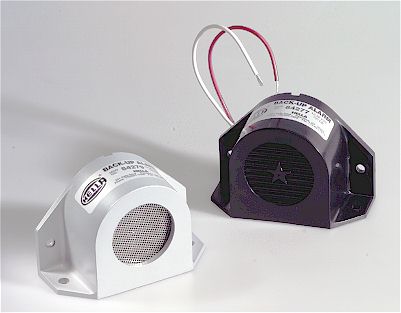 One
problem about maneuvering any RV in a crowded campsite is that young children and
in-attentive adults think nothing about walking right behind a large RV that is
backing up. In spite of the rear view mirrors and large back window on the Rialta,
visibility is still limited.
One
problem about maneuvering any RV in a crowded campsite is that young children and
in-attentive adults think nothing about walking right behind a large RV that is
backing up. In spite of the rear view mirrors and large back window on the Rialta,
visibility is still limited.